A simple no pattern gathered skirt refashion this week – a spur of the moment project. It’s rare to go from “I like this” to “ta dad” within 48 hours, but I had an inspiration moment when I saw my friend Brooke’s skirt! Decided to make one too then and there and get into the Valentine’s / Galentine’s spirit. A celebration which I typically ignore but in these weird times I’ll take any reason to make something fancy or get dressed up and feel good.
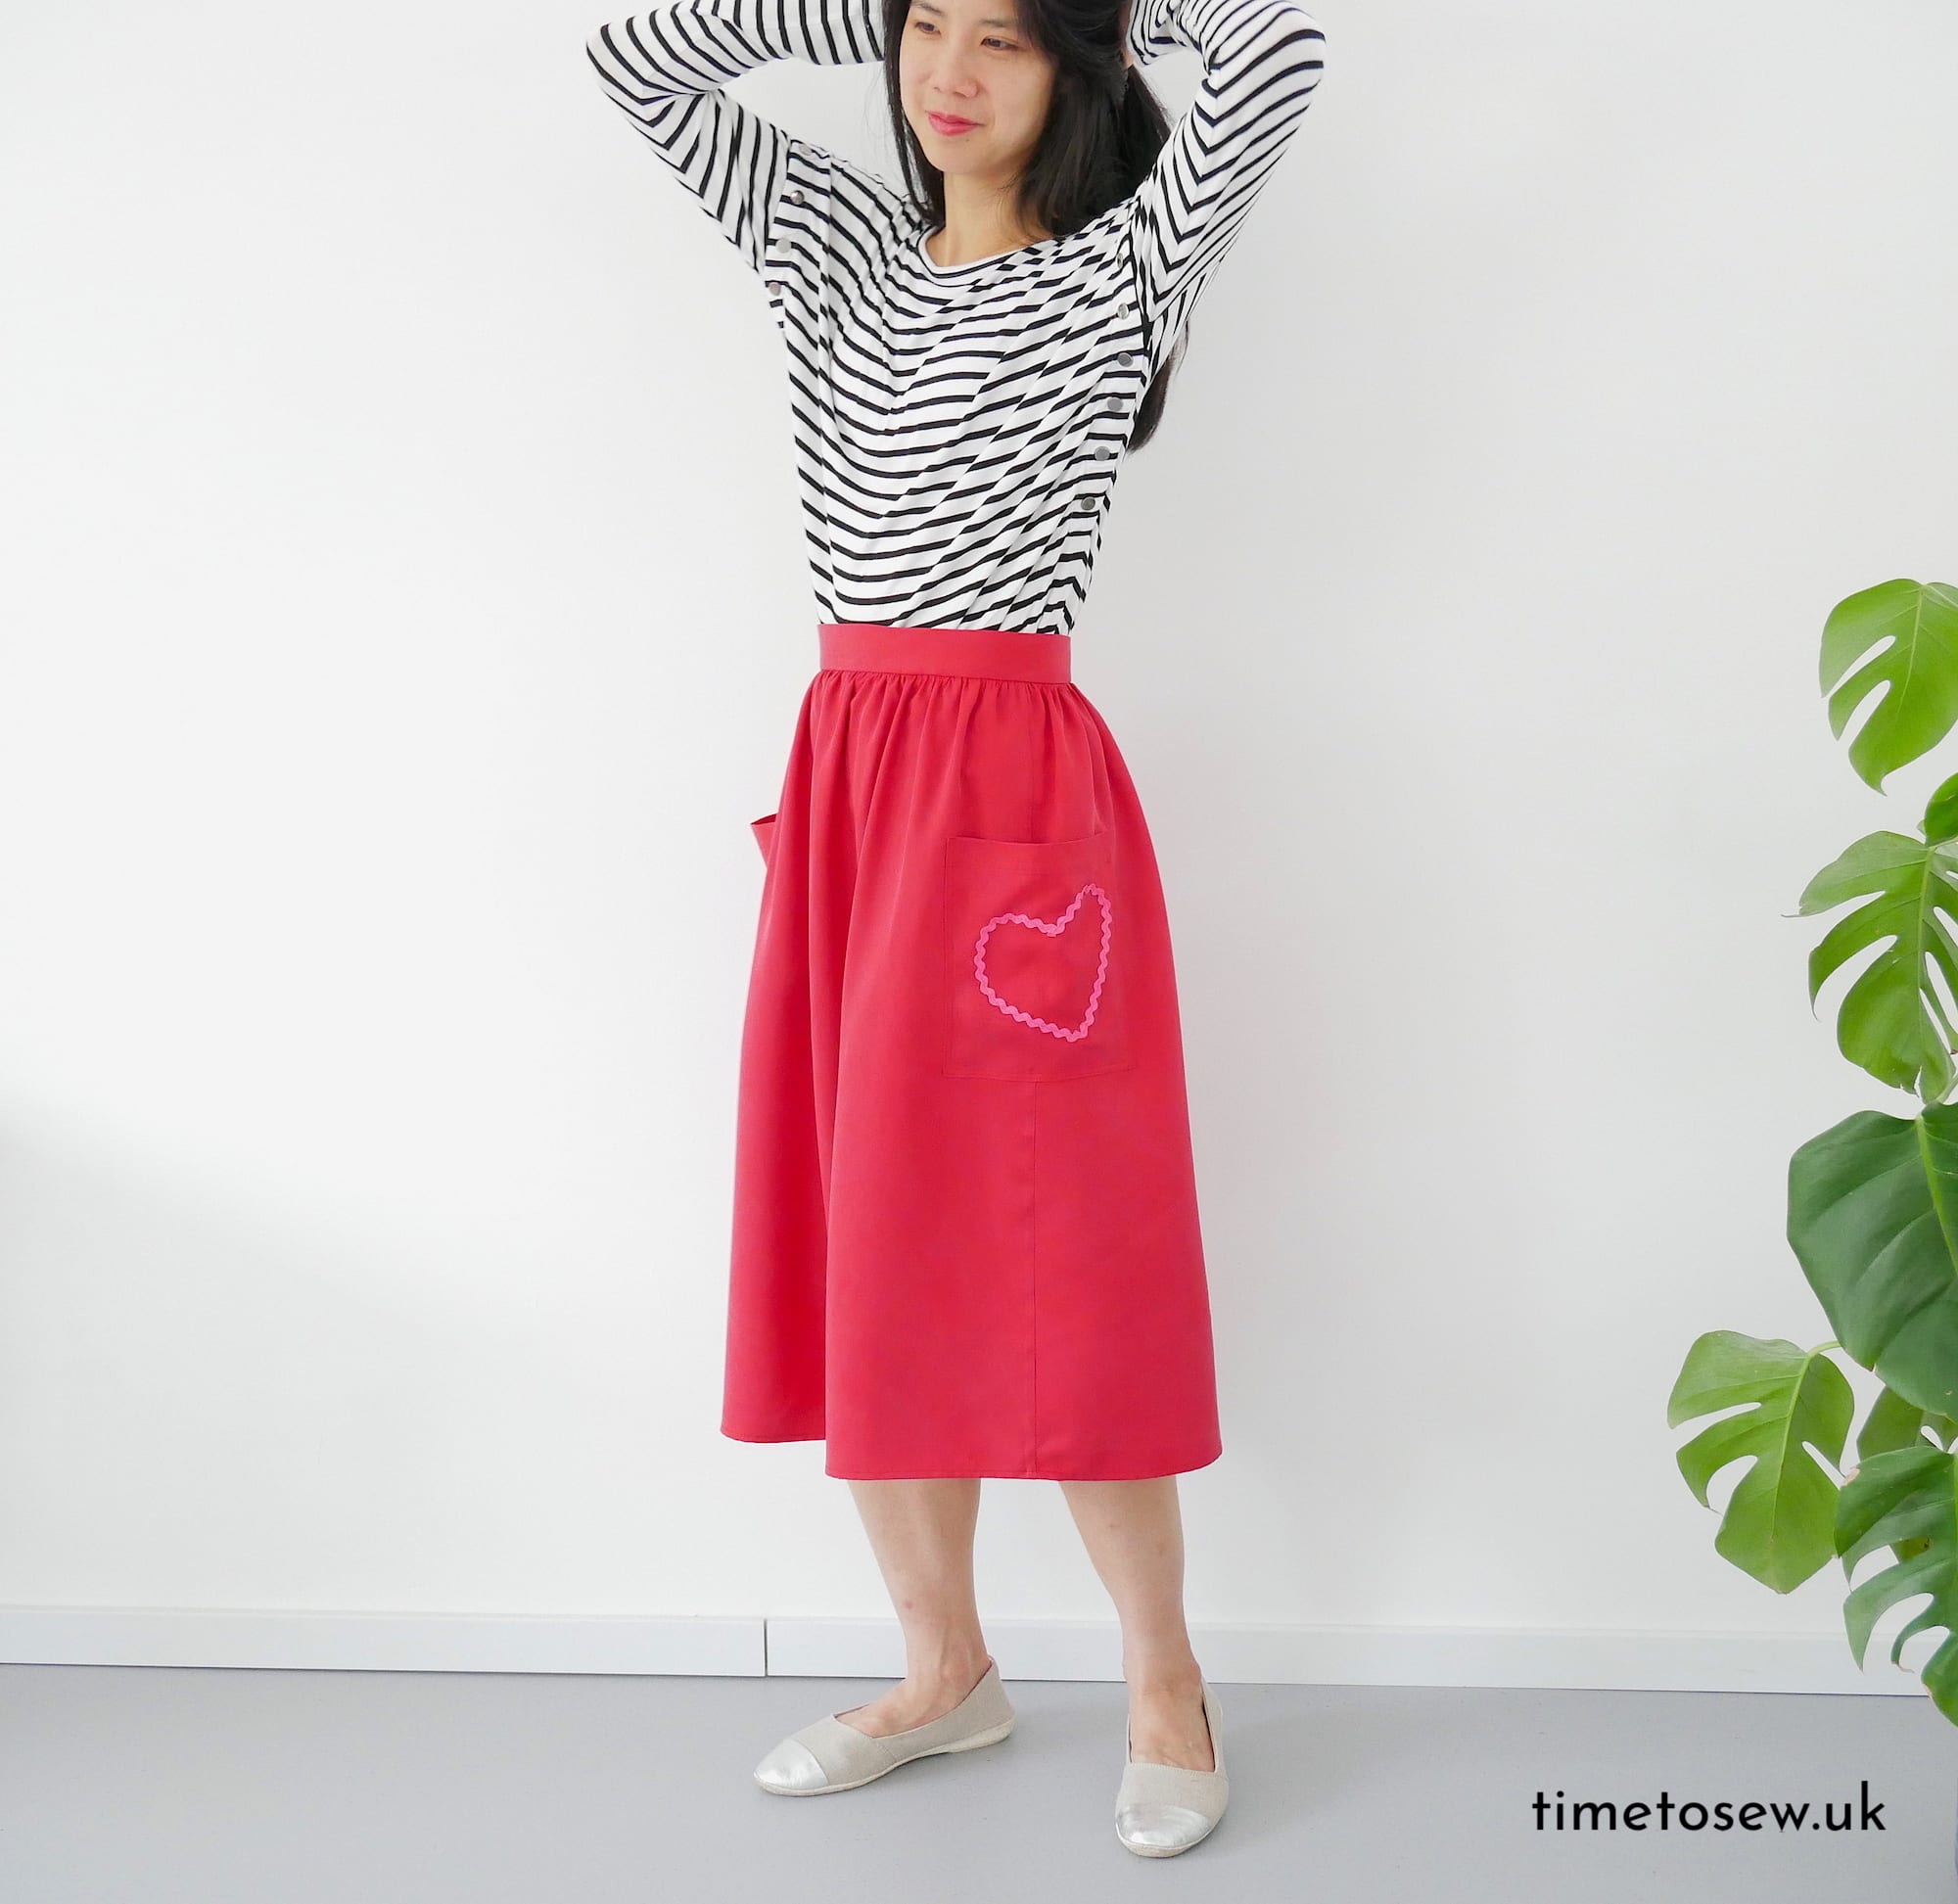
No pattern gathered skirt
No need for a pattern on a simple gathered skirt. It’s so simple I even hesitate to use the words “self draft” which make it sound like I actually did something funky! Which I did not.
The original dress
So I began with this dress. Unfortunately, I did not toile the original dress and the wrap needed to fit properly at the bodice and waist to look good. It did not fit. I should have toiled, I didn’t, then I ran out of energy so it went in the naughty pile. The silliest thing, looking back at this photo, is that it doesn’t even look bad! Just not what I wanted it to be. The colour combo with the style makes me feel a bit like a waitress in a restaurant (I’m probably thinking this because it’s Chinese New Year.
PS. Sorry for photo quality, this was taken at night when I was trying to assess what was up with the dress.
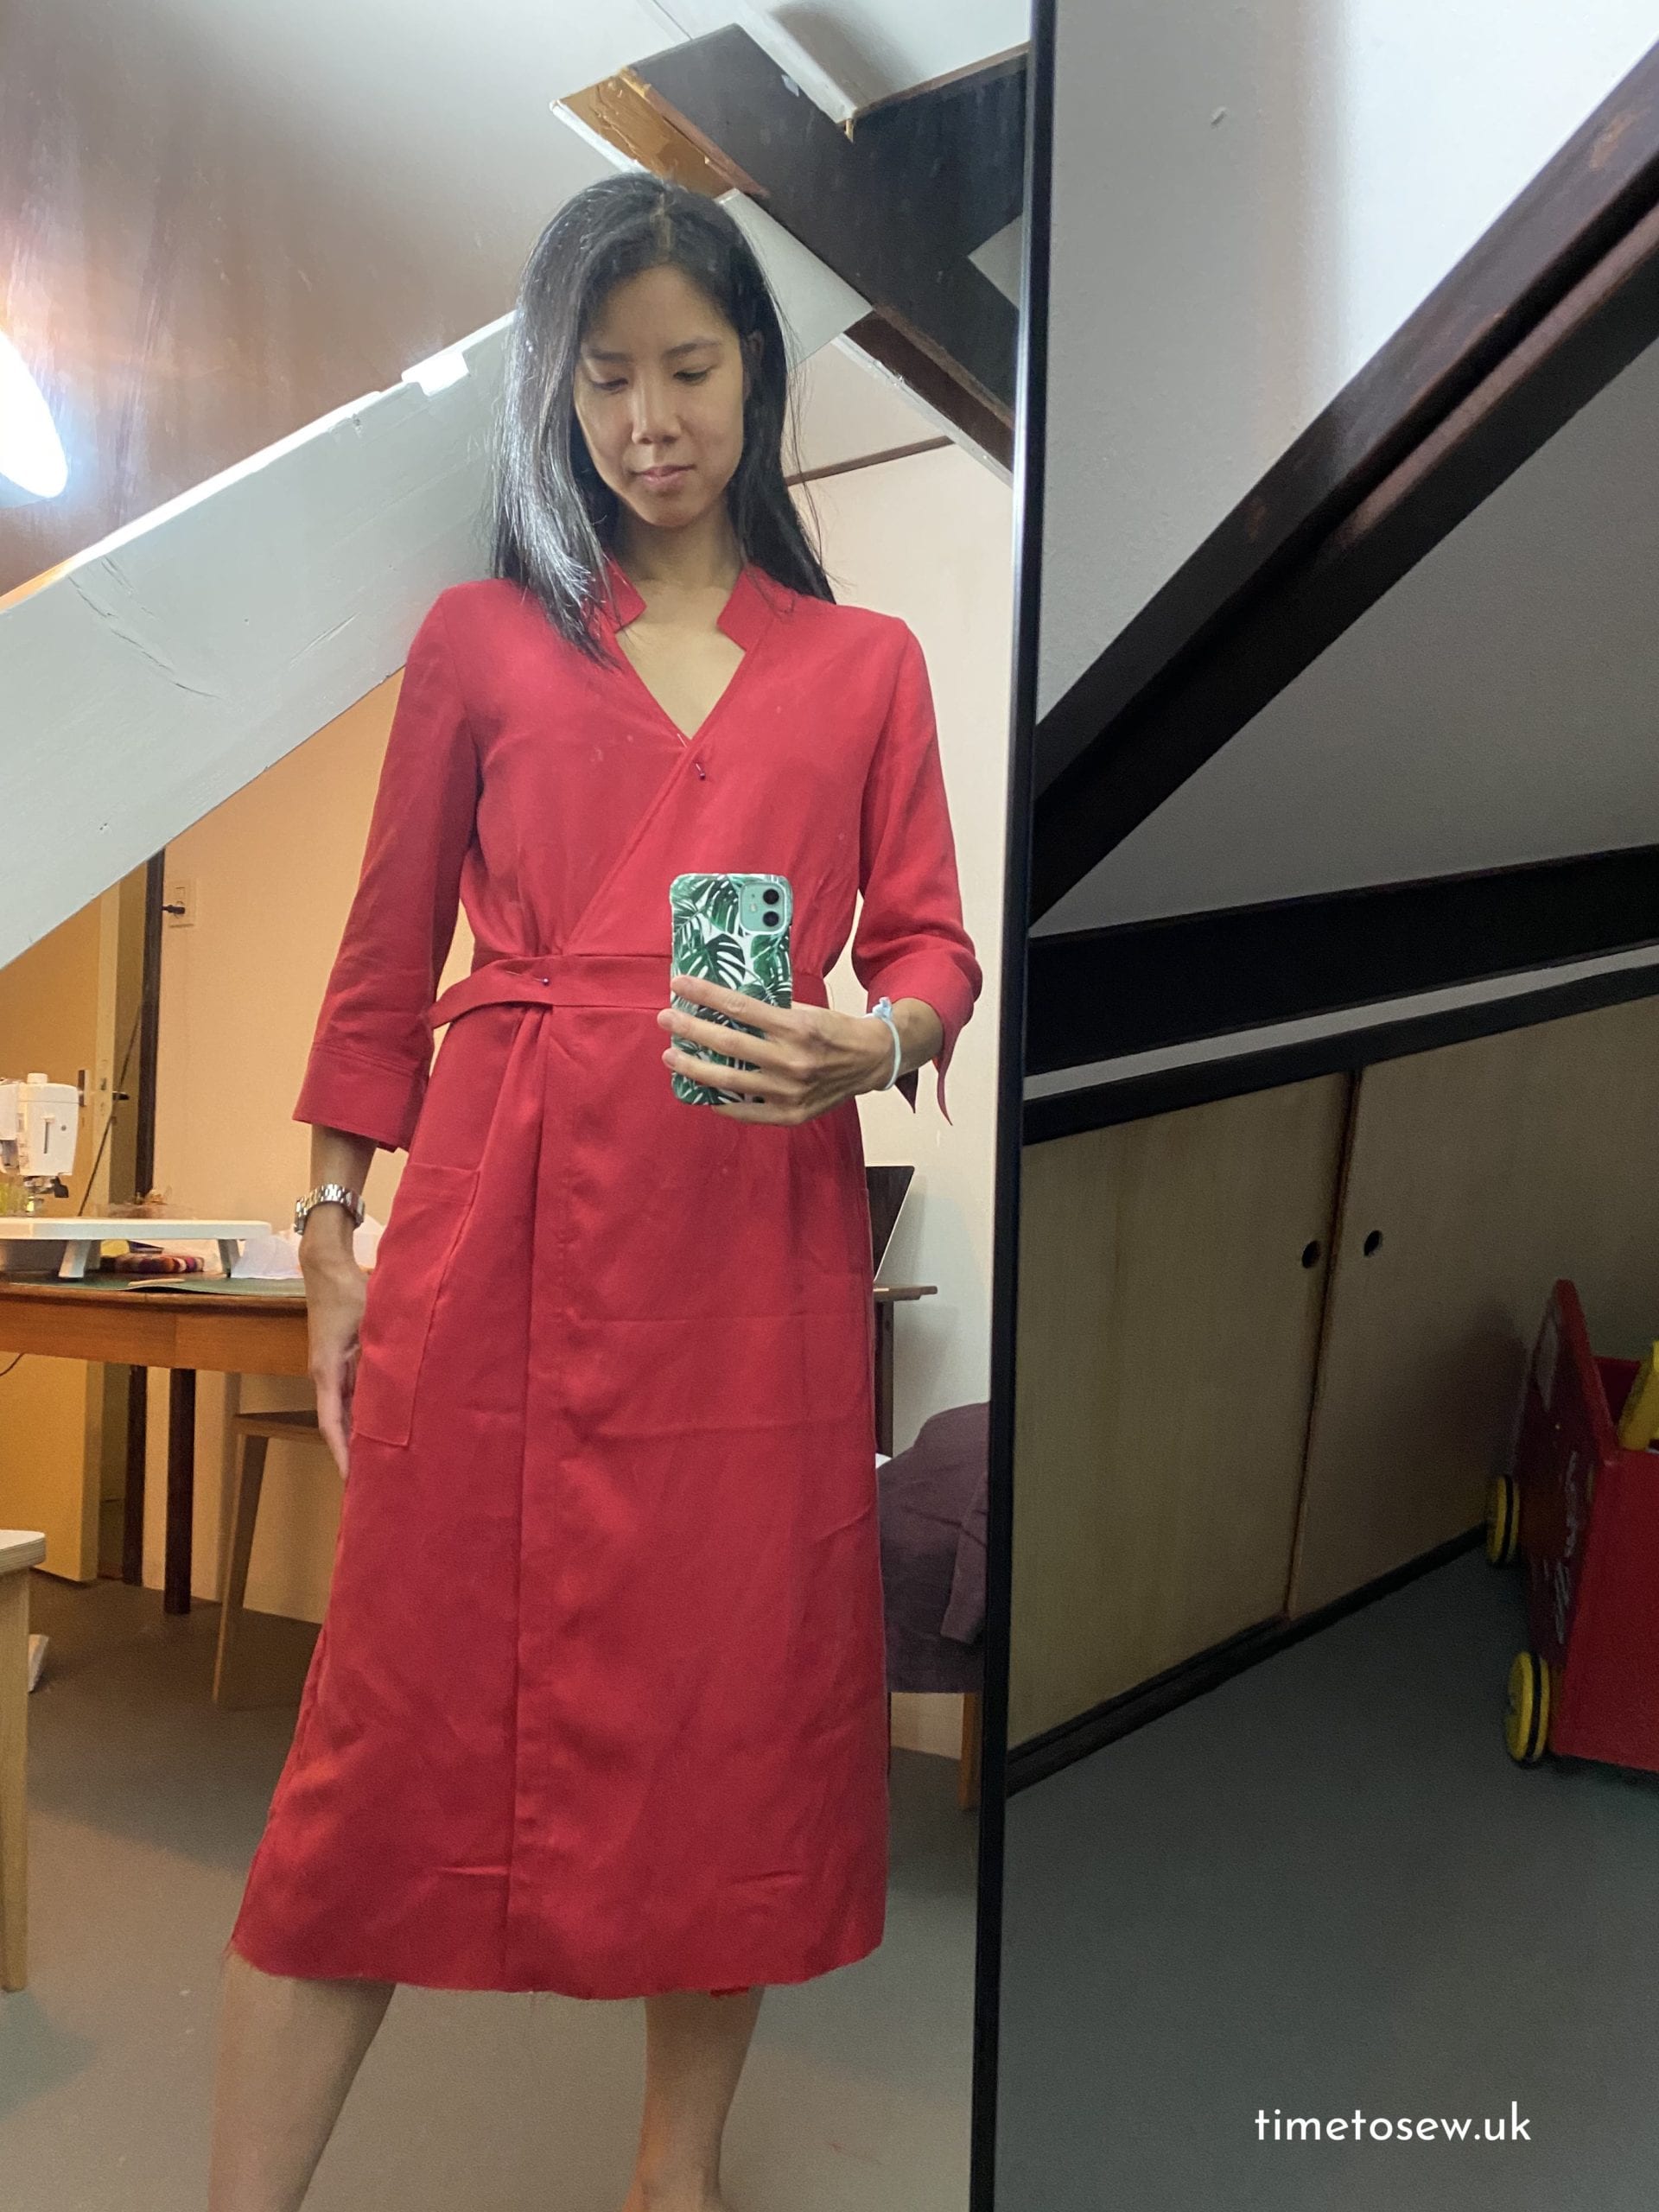
As you can see, there is a wrap at the front. There are patch pockets that go over the side seams. There is a waistband (inner and outer).
I paid a lot of attention to my double topstitching so I left the pockets as they were.
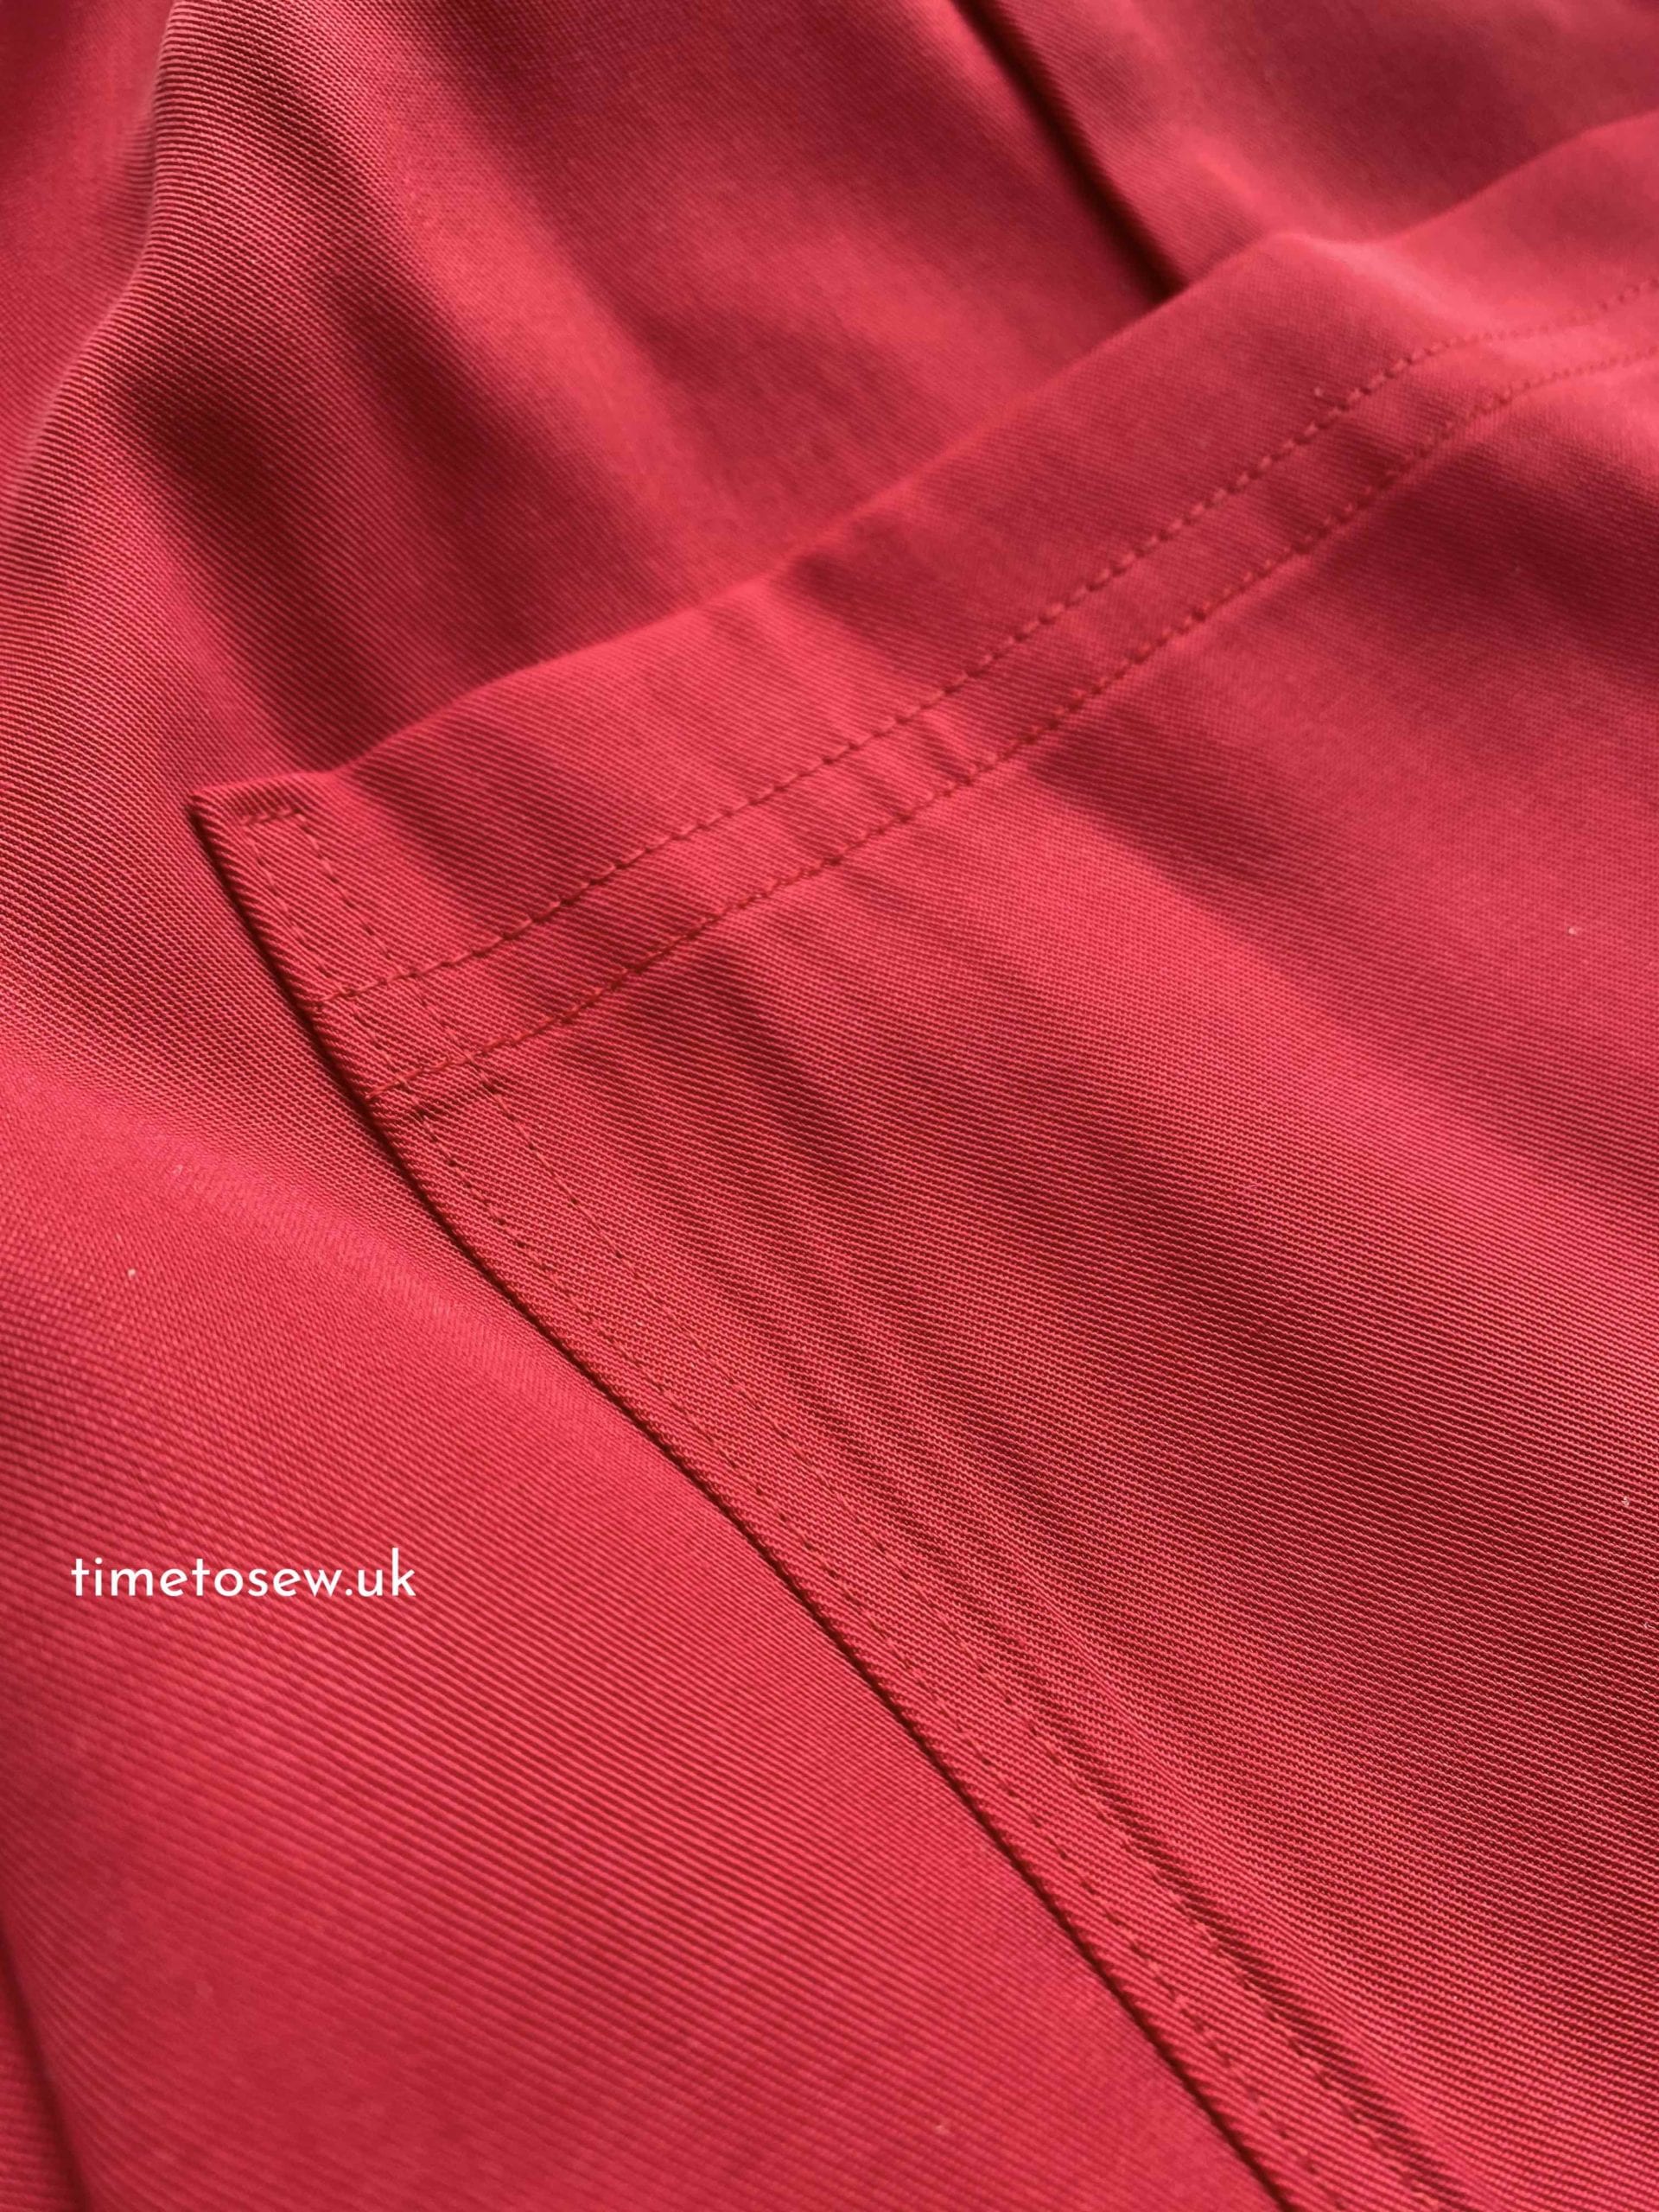
Skirt construction
- Remove the skirt from the bodice of the dress (leave it attached at the side seams)
- Unpick the waistband inner and outer.
- The front wrap (two sides = two pieces) ended up becoming the back since they were already separate pieces.
- Insert invisible zip into the centre back seam.
- Gather the top of the skirt. See my tutorial here on a pain free way to gather long pieces of fabric!
- Attach waistband.
- Hem
That was it. Not a comprehensive tutorial I know, but if you’ve made a skirt with a fixed waistband and invisible zip before, you should be able to follow. If you’ve not made one like that before I recommend watching my sewalong of the Fibre Mood Hettie skirt here (pattern available here – affiliate link).
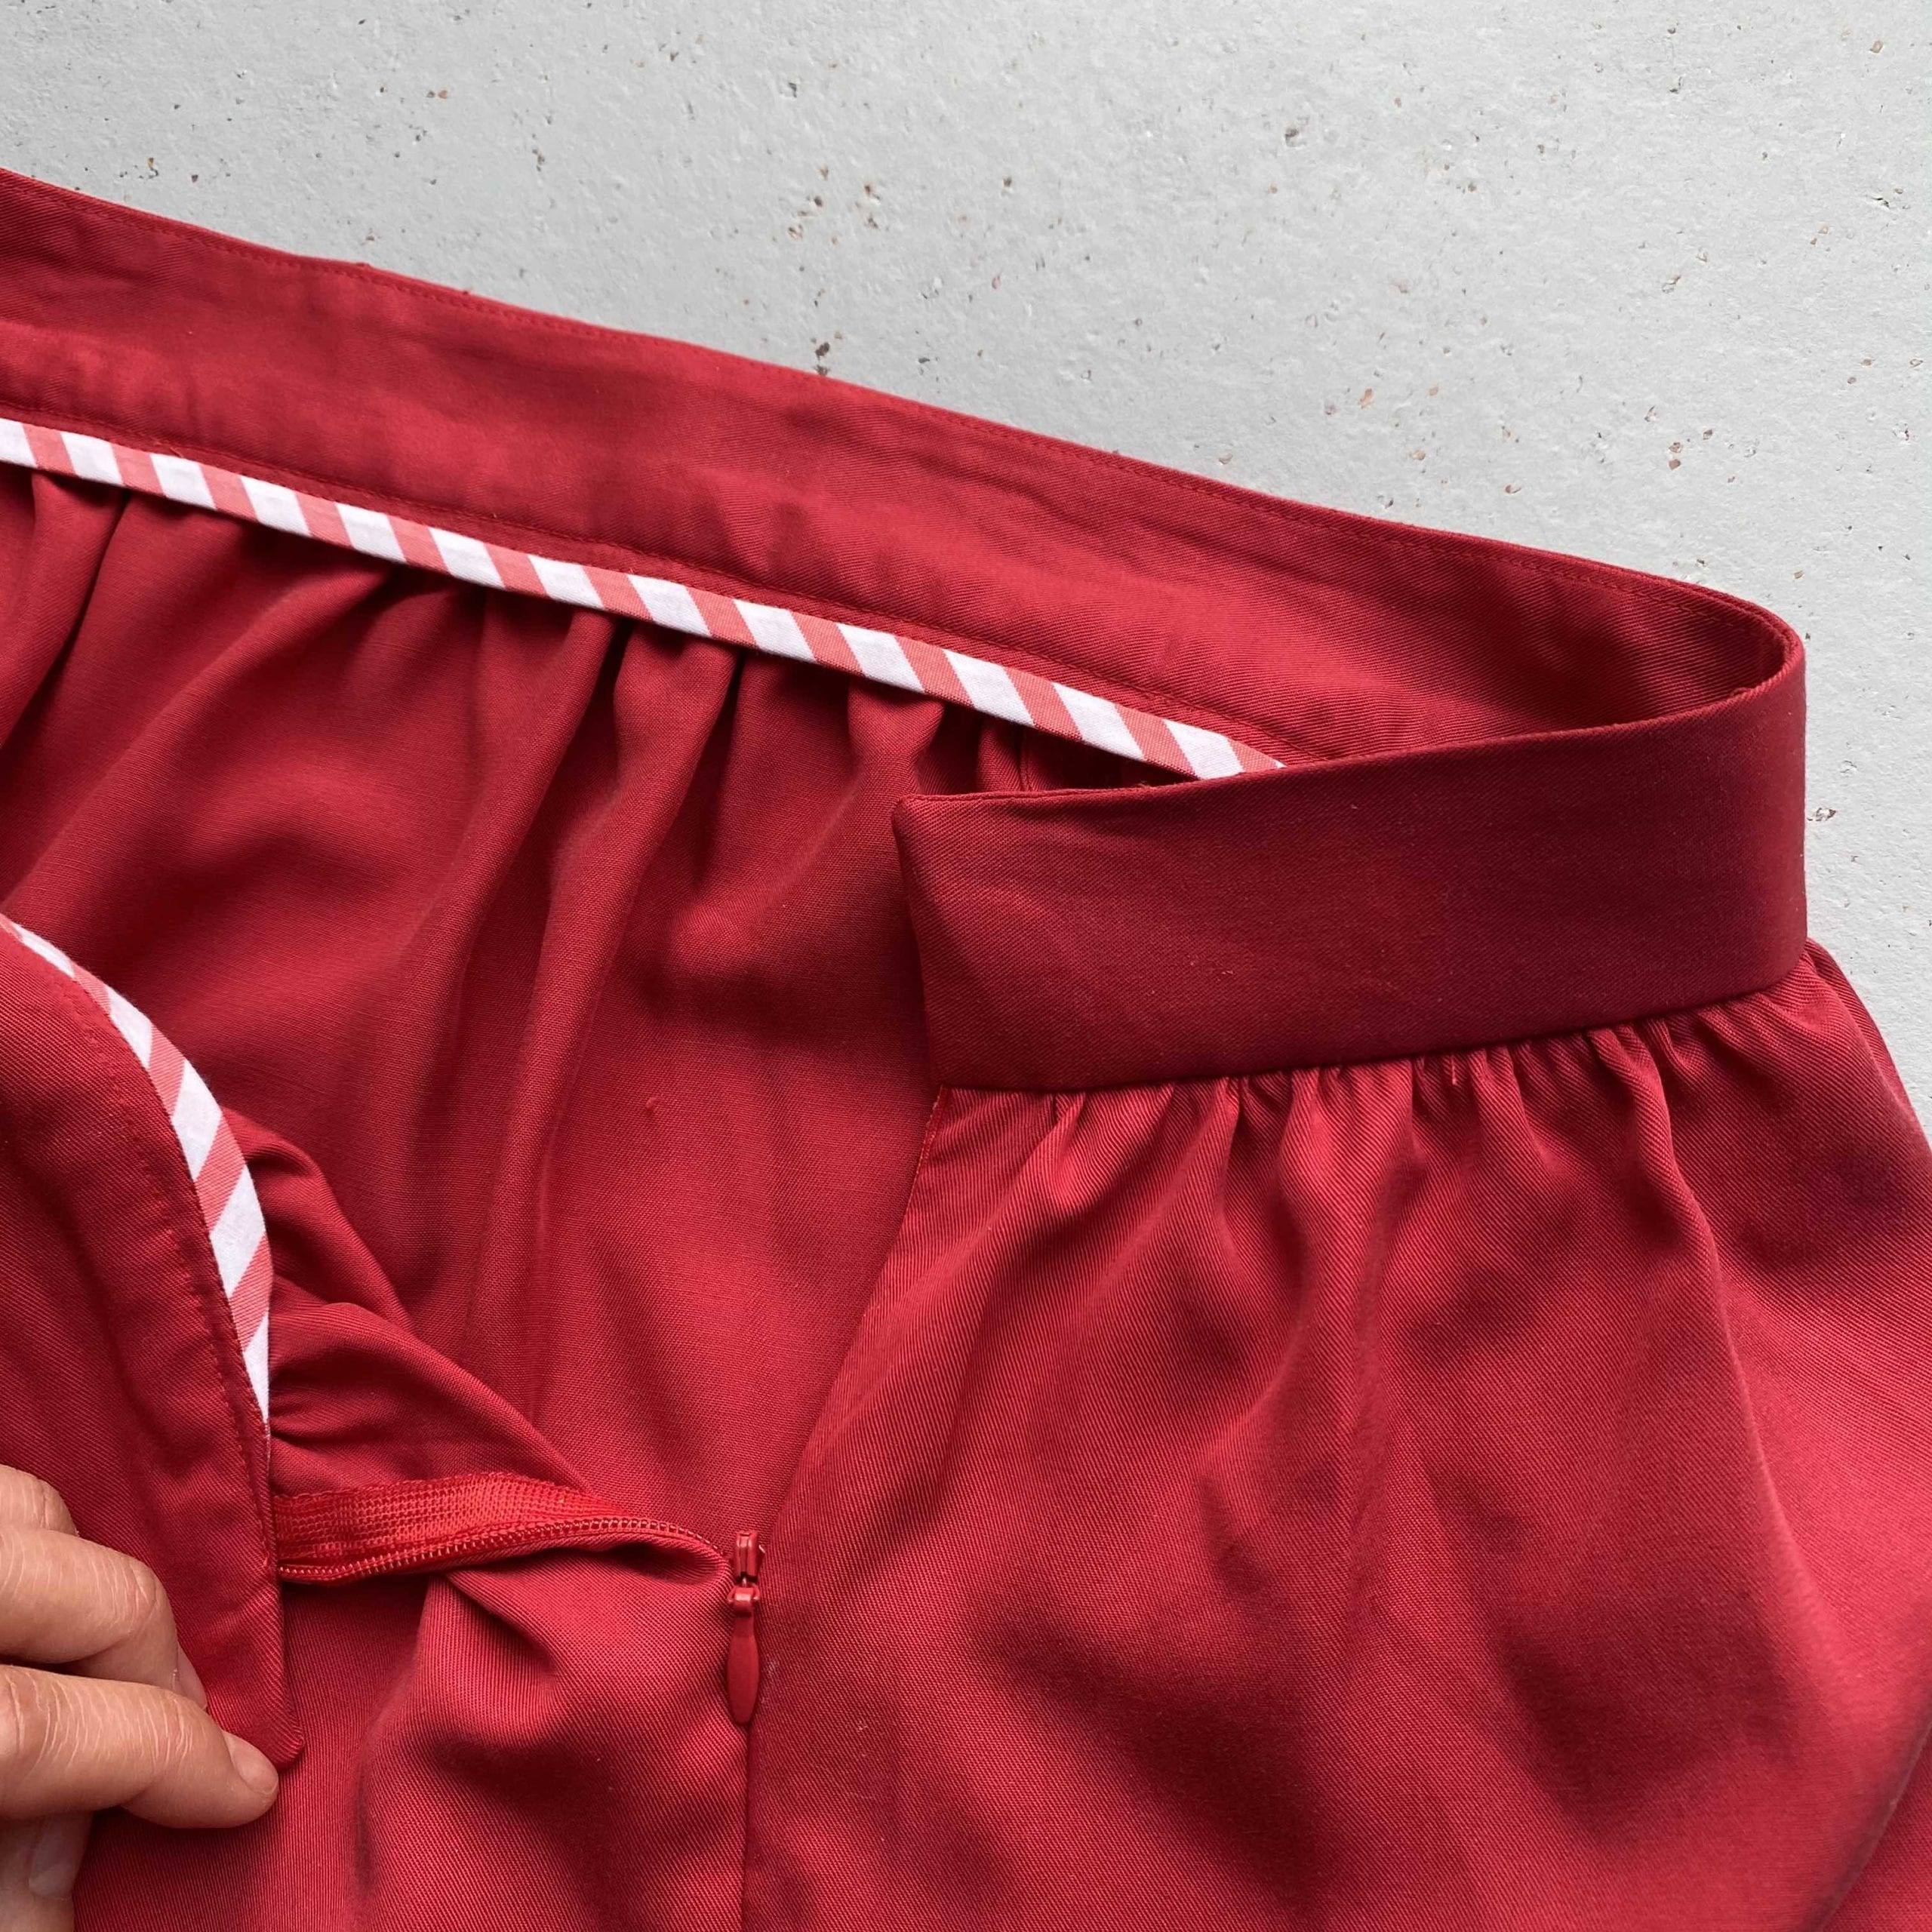
Skirt limitations
Because I was working with what I had, the skirt isn’t exactly to the specifications if I had made one from scratch.
Normally I would have preferred a wider waistband (5cm). I would have liked it to be more midi length than knee length. And I would have a fuller skirt in general, and used a heavier material than this red Tencel™ which feels a little limp for this kind of skirt. Also, because the front pieces became the back the side seams don’t sit exactly at the side. This is due to the original dress having strategically placed gathers in different places.
A kitschy heart?
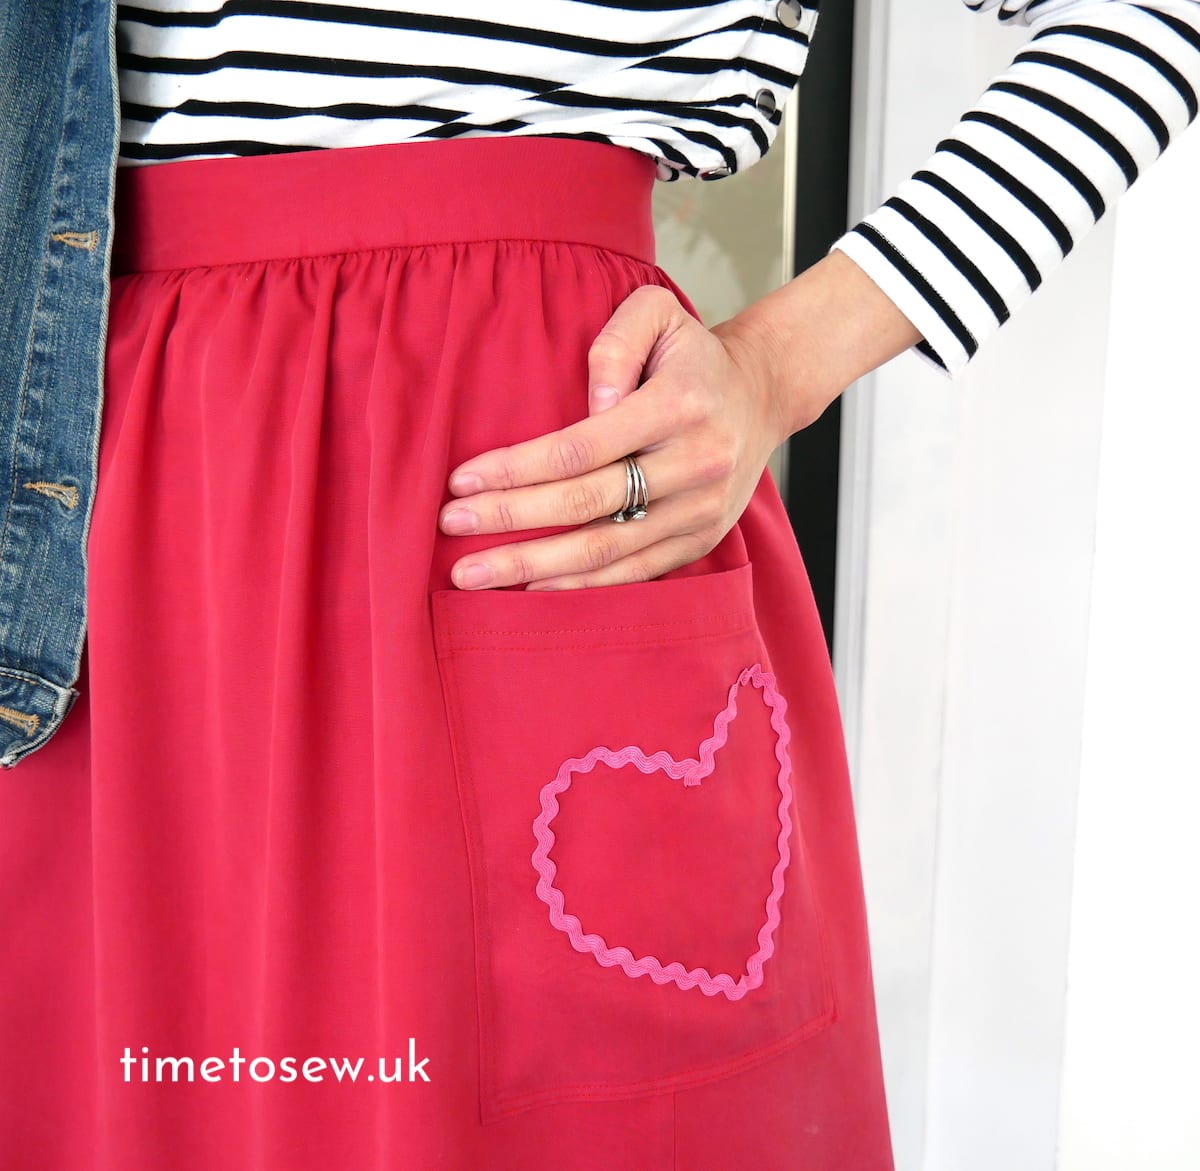
A ric rac heart on a garment would be a bit OTT (over the top) for me. But Brooke made it look cool so I figured if we were going to twin, may as well do it properly. I made an emergency phone call to click and collect a red zip and ric rac from my local fabric shop, and it was in my hands within an hour. They were meant to give me red and silver ric rac, but I got red and pink. Red would have been fine for slightly more subtlety but my local sewing mates voted for pink, so pink it was!
I removed the patch pocket and stitched on the ric rac. There’s a little fray check at the end. (I did try tucking it under and stitching it down, but I’m allergic to bulk. And it was too bulky).
An even easier no pattern gathered skirt?
You could always do an express elastic version. I have elastic skirts but personally I prefer the look of a fixed waistband and zip. Maybe because it’s because we’re in Covid times and loungewear with elastic makes me feel sloppy! Anyway for an elastic version, I’d recommend this method:
- Measure the length of a skirt you like.
- Cut 2 rectangles. Width: 1.5x wider than your waist. Smaller than that will be less of a full skirt, wider than that will be more full. Length: what you measured in (1) + 10cm.
- Stitch together the rectangles at the sides and overlock/zigzag the seam.
- Overlock the top of the tube.
- Fold down top over to the wrong side by 5cm and stitch to secure, leaving a gap,
- Thread through 4cm wide elastic through the gap then close it up.
… or … if you feel like printing and taping and you want a pattern, then you can always download the pocket skirt pattern that Tara (Paper Theory) made for Peppermint Magazine.
Happy sewing and till next time
Kate xx


2 comments
Hi Kate! I enjoyed reading this blog post about your journey to making a matching skirt! I love your version. I think that the ricrac hearts make the ensemble for sure! x
HI there that looks great and I like the pink with the red, it is a great idea to refashion the things we make that don’t quite work out. Super job!