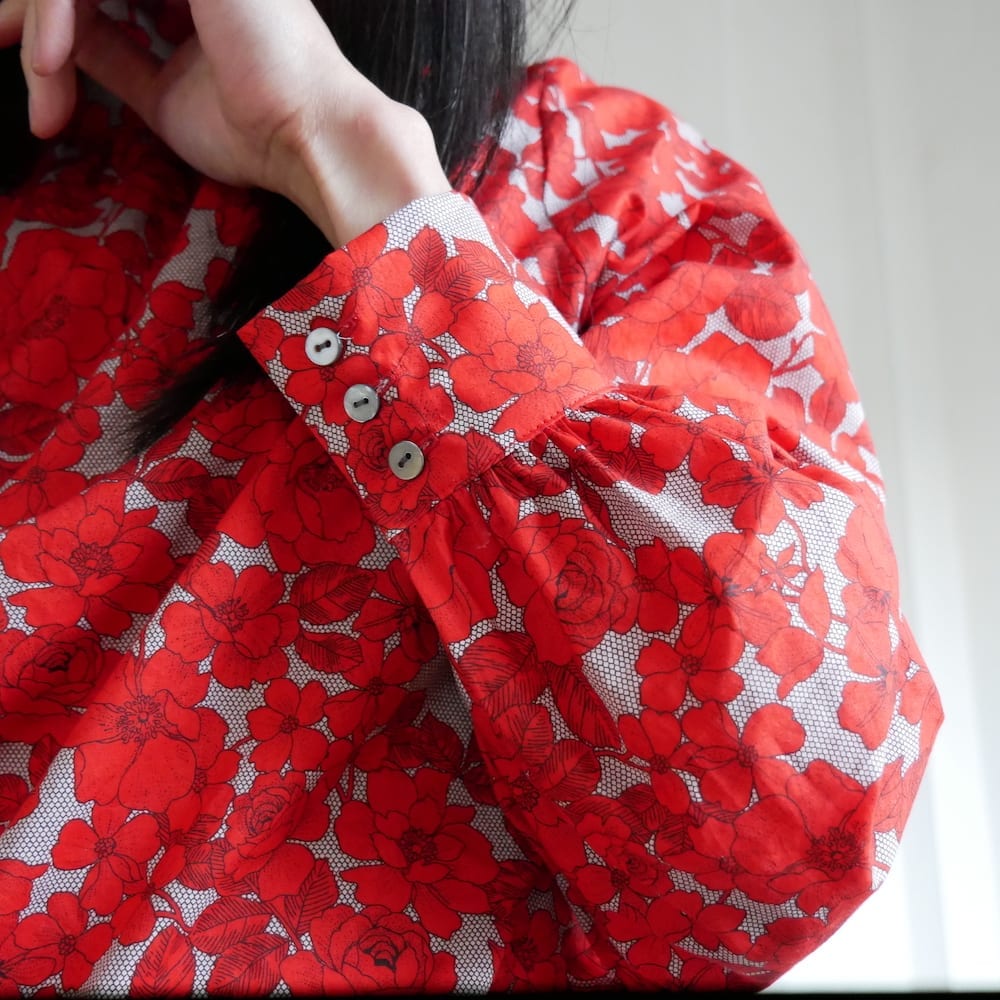
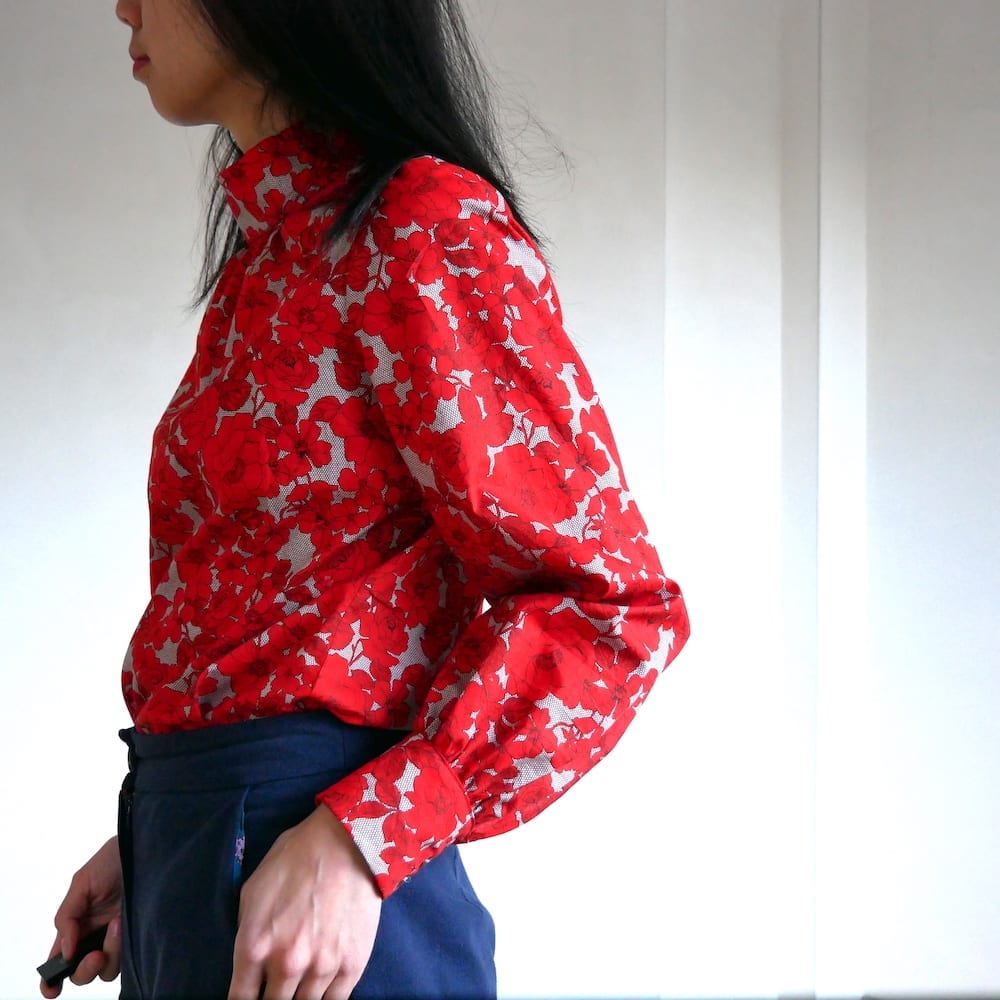
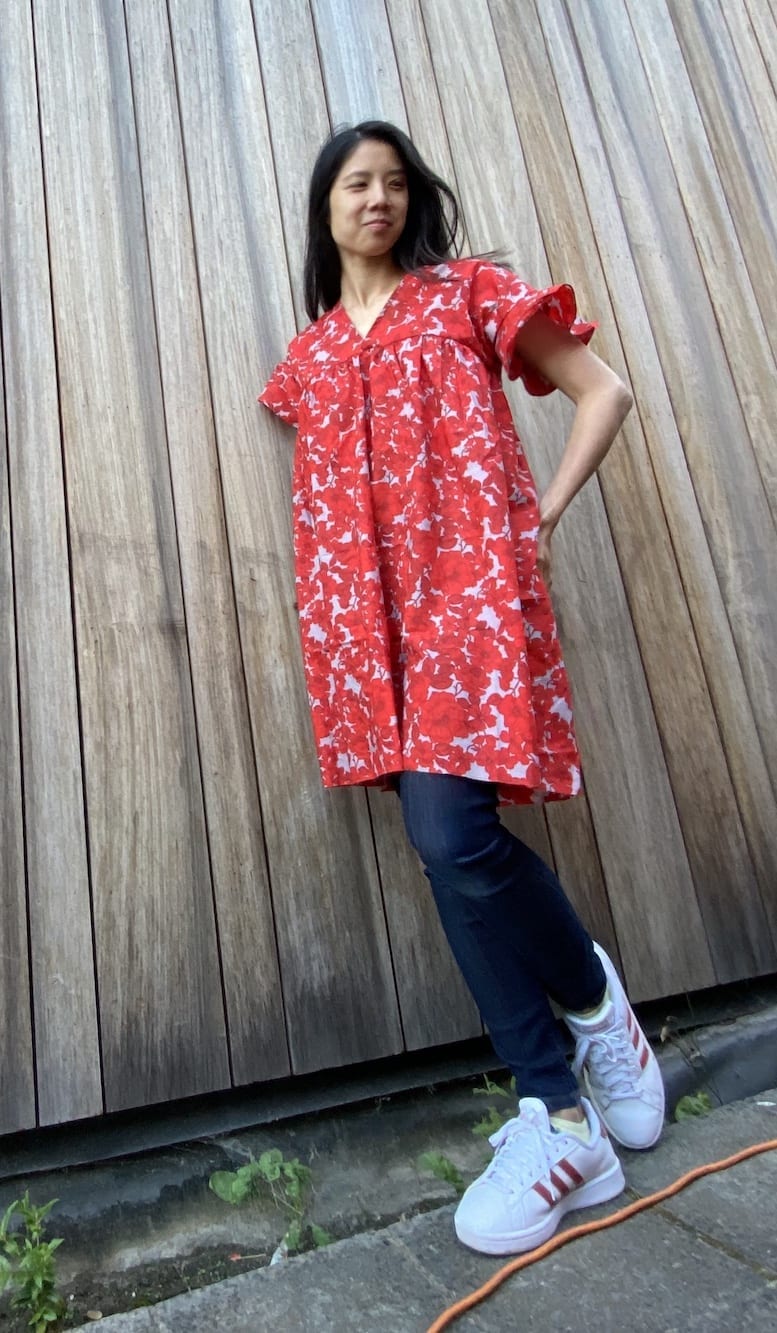
The Peppermint Paddington Top is the latest freebie from Australian lifestyle Peppermint Magazine. Every time they release a new issue they also have a new (free) sewing pattern and they team up with different pattern brands. The Paddington top is made by Sarah-May of French Navy Now. Sarah has been around for sometime, if you’ve been in Instagram land for a few years you might have heard of the Calyer pants, Orla dress, Stellan tee…
As usual, I only blog when I have something to say about a pattern so here goes!
Peppermint Paddington Top pattern details
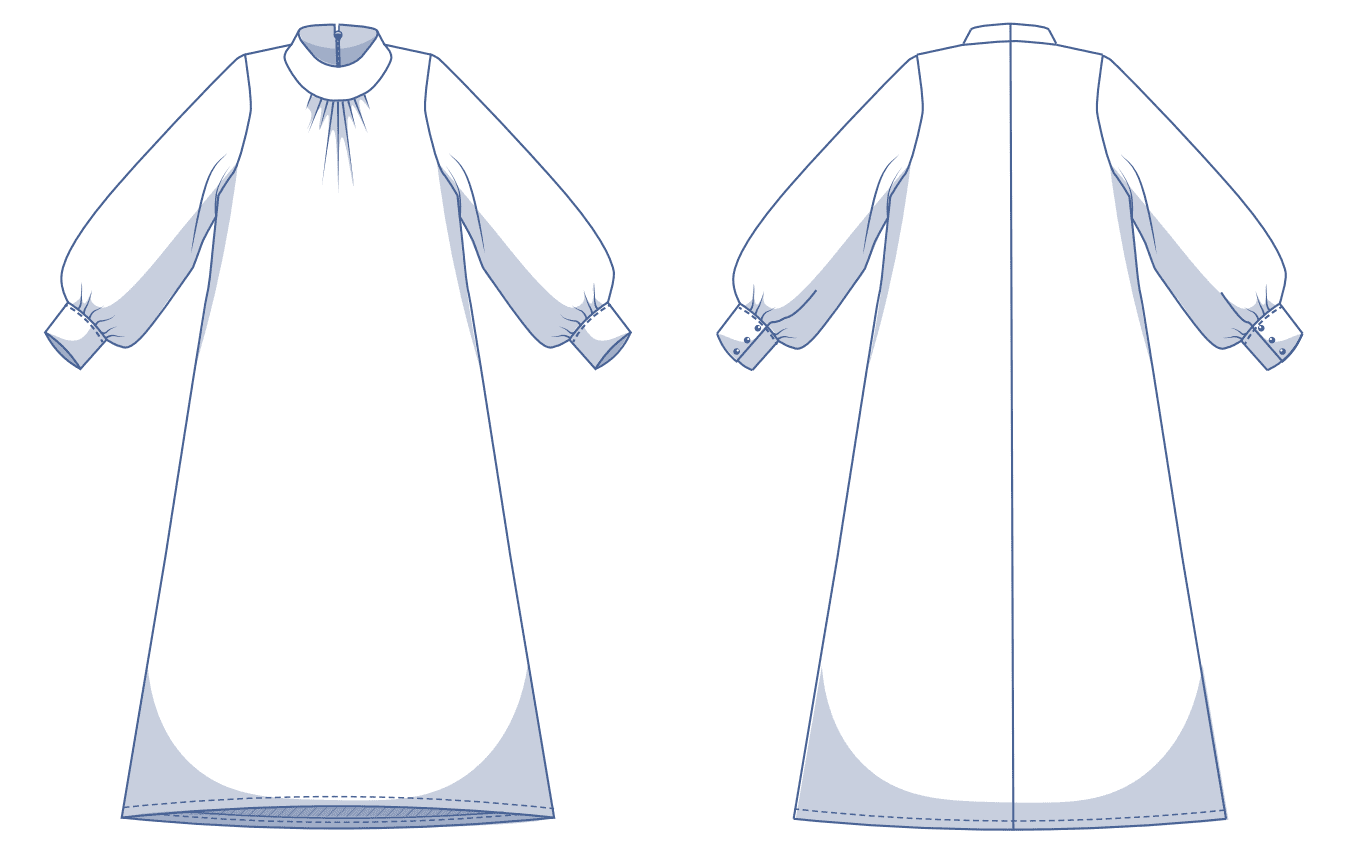
First up is the line drawing. Key features: raglan puffed sleeve; elastic at the sleeve hem; button back; neckline finished with facing; boxy shape; cropped length.

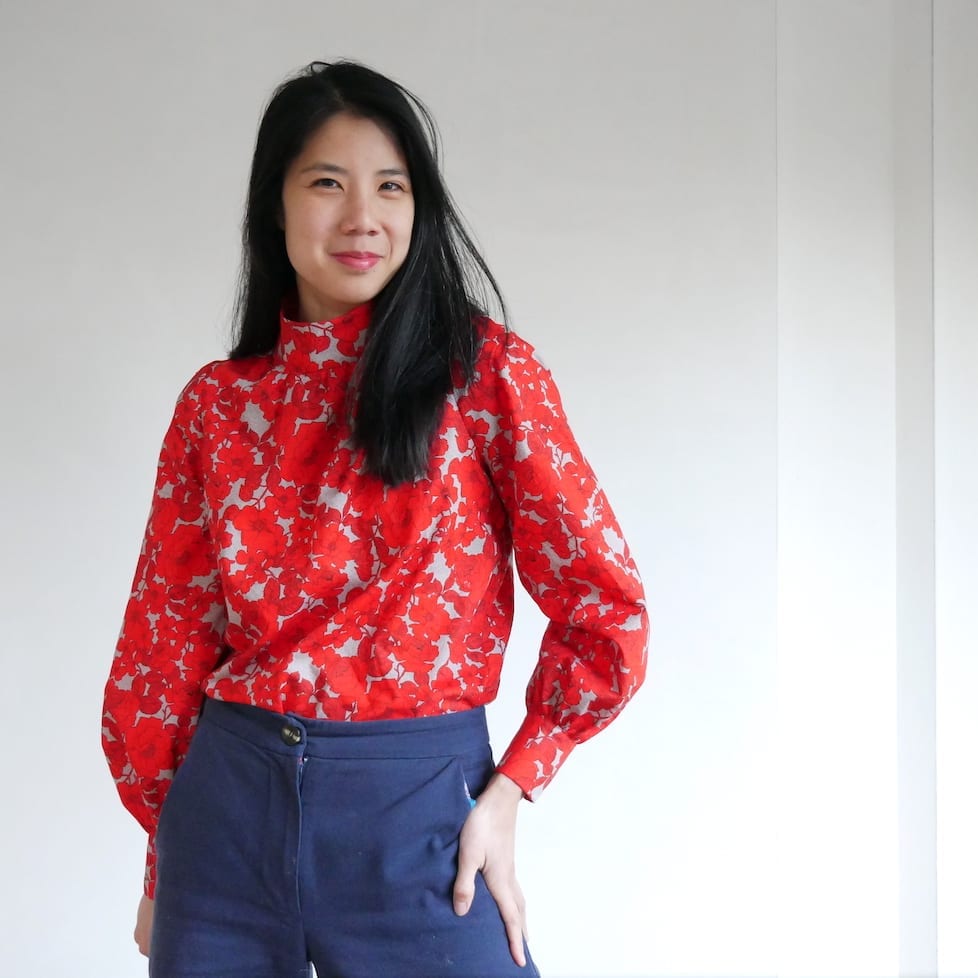
Fabric: you can make this in any light or medium weight woven with good effect. Something like poplin will give you a more structured look, viscose will drape more and the sleeves will be more subtle. My fabric is two bits of tablecloth I excavated from my mother in law’s stash. She said she remembers buying it whilst on holiday in Suriname many moons ago! If you are eagle eyed and want to inspect closely you’ll notice that the blues are different shades and the reds are also ever so subtly different.
Things to look out for
Length is cropped
If you’re a “tucker” you’ll need to lengthen the top. With a finished back length of 43cm for the smallest size (which is what I made), the Peppermint Paddington top isn’t really designed to be tucked. I should have paid more attention to this and lengthened it by at least 7-10cm. But silly me didn’t read the description on the pattern and simply went on IG pictures.
Sleeve hem will have wrinkles… unless you put in a facing
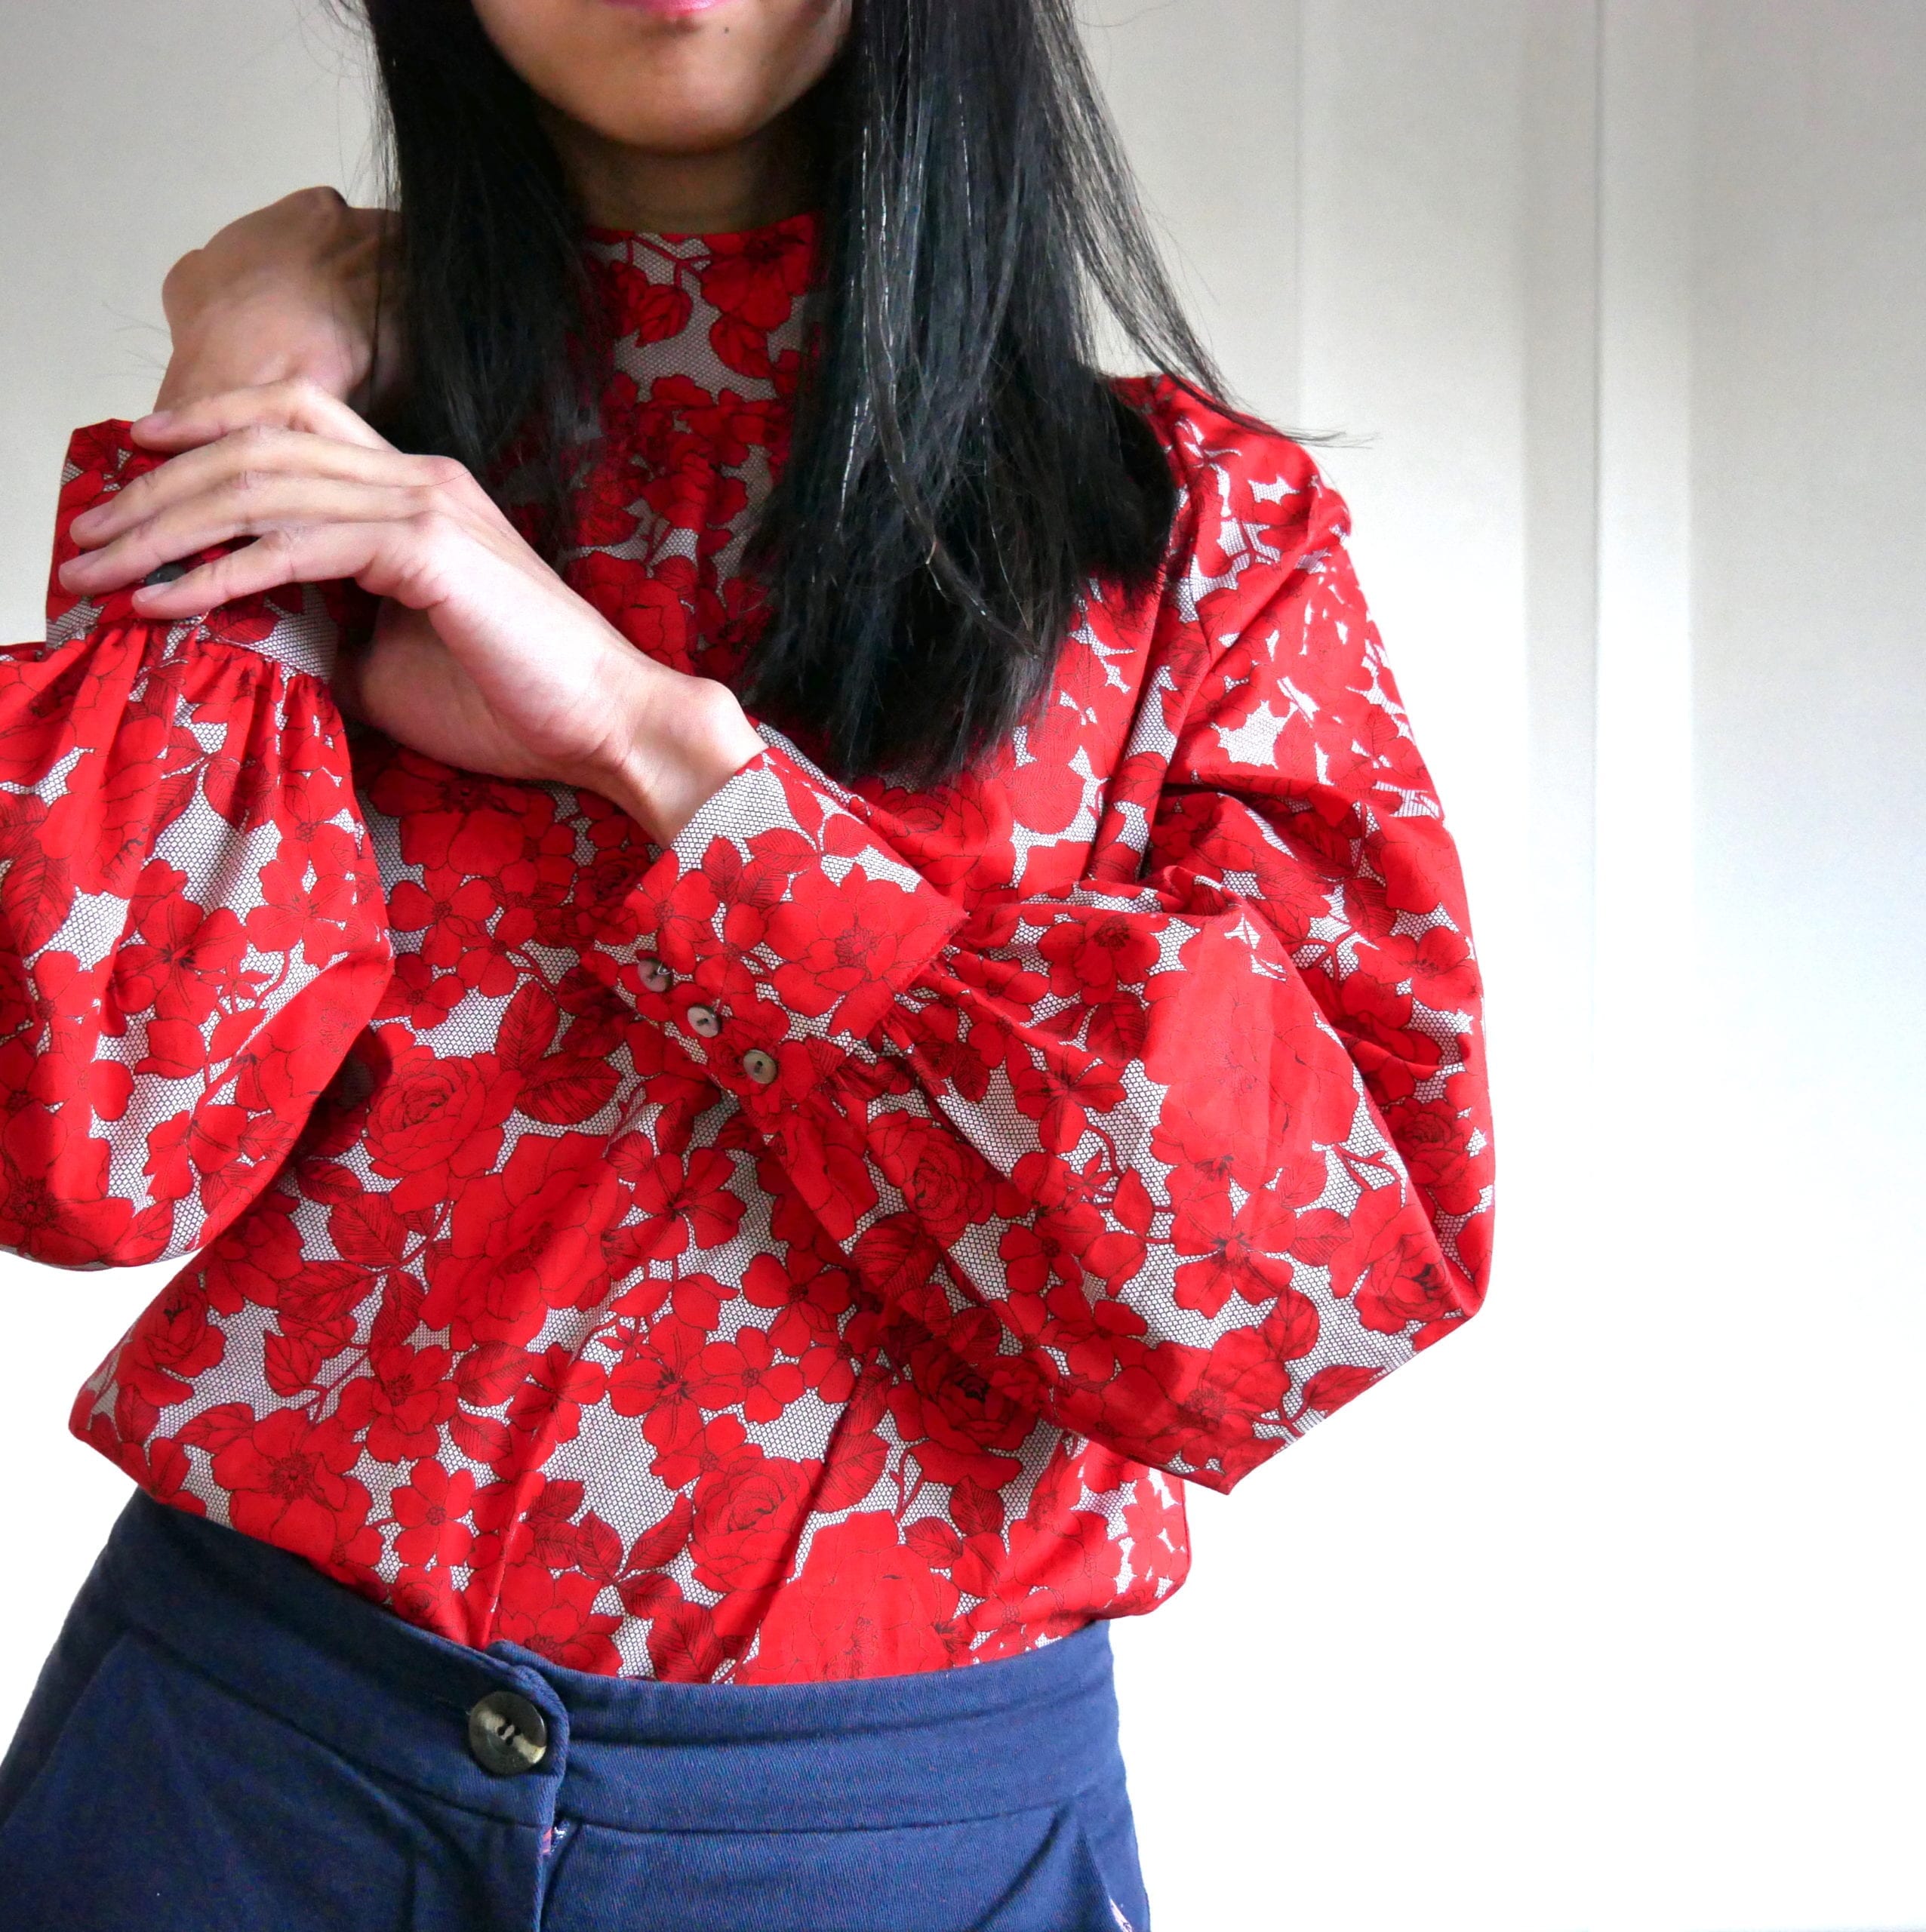
The sleeve hem is curved. You create an elastic channel by folding over by 1cm, then 4cm. If your fabric presses well the 1cm is no problem. The extra 4cm however is not ok in terms of puckers. In the instructions, Sarah suggests putting in lines of gathering stitches and using a lot of steam. I went with it but I wasn’t able to achieve a wrinkle free finish. See the picture. Not that it really matters because it is elastic so it will “wrinkle up” anyway, but still slightly annoying.
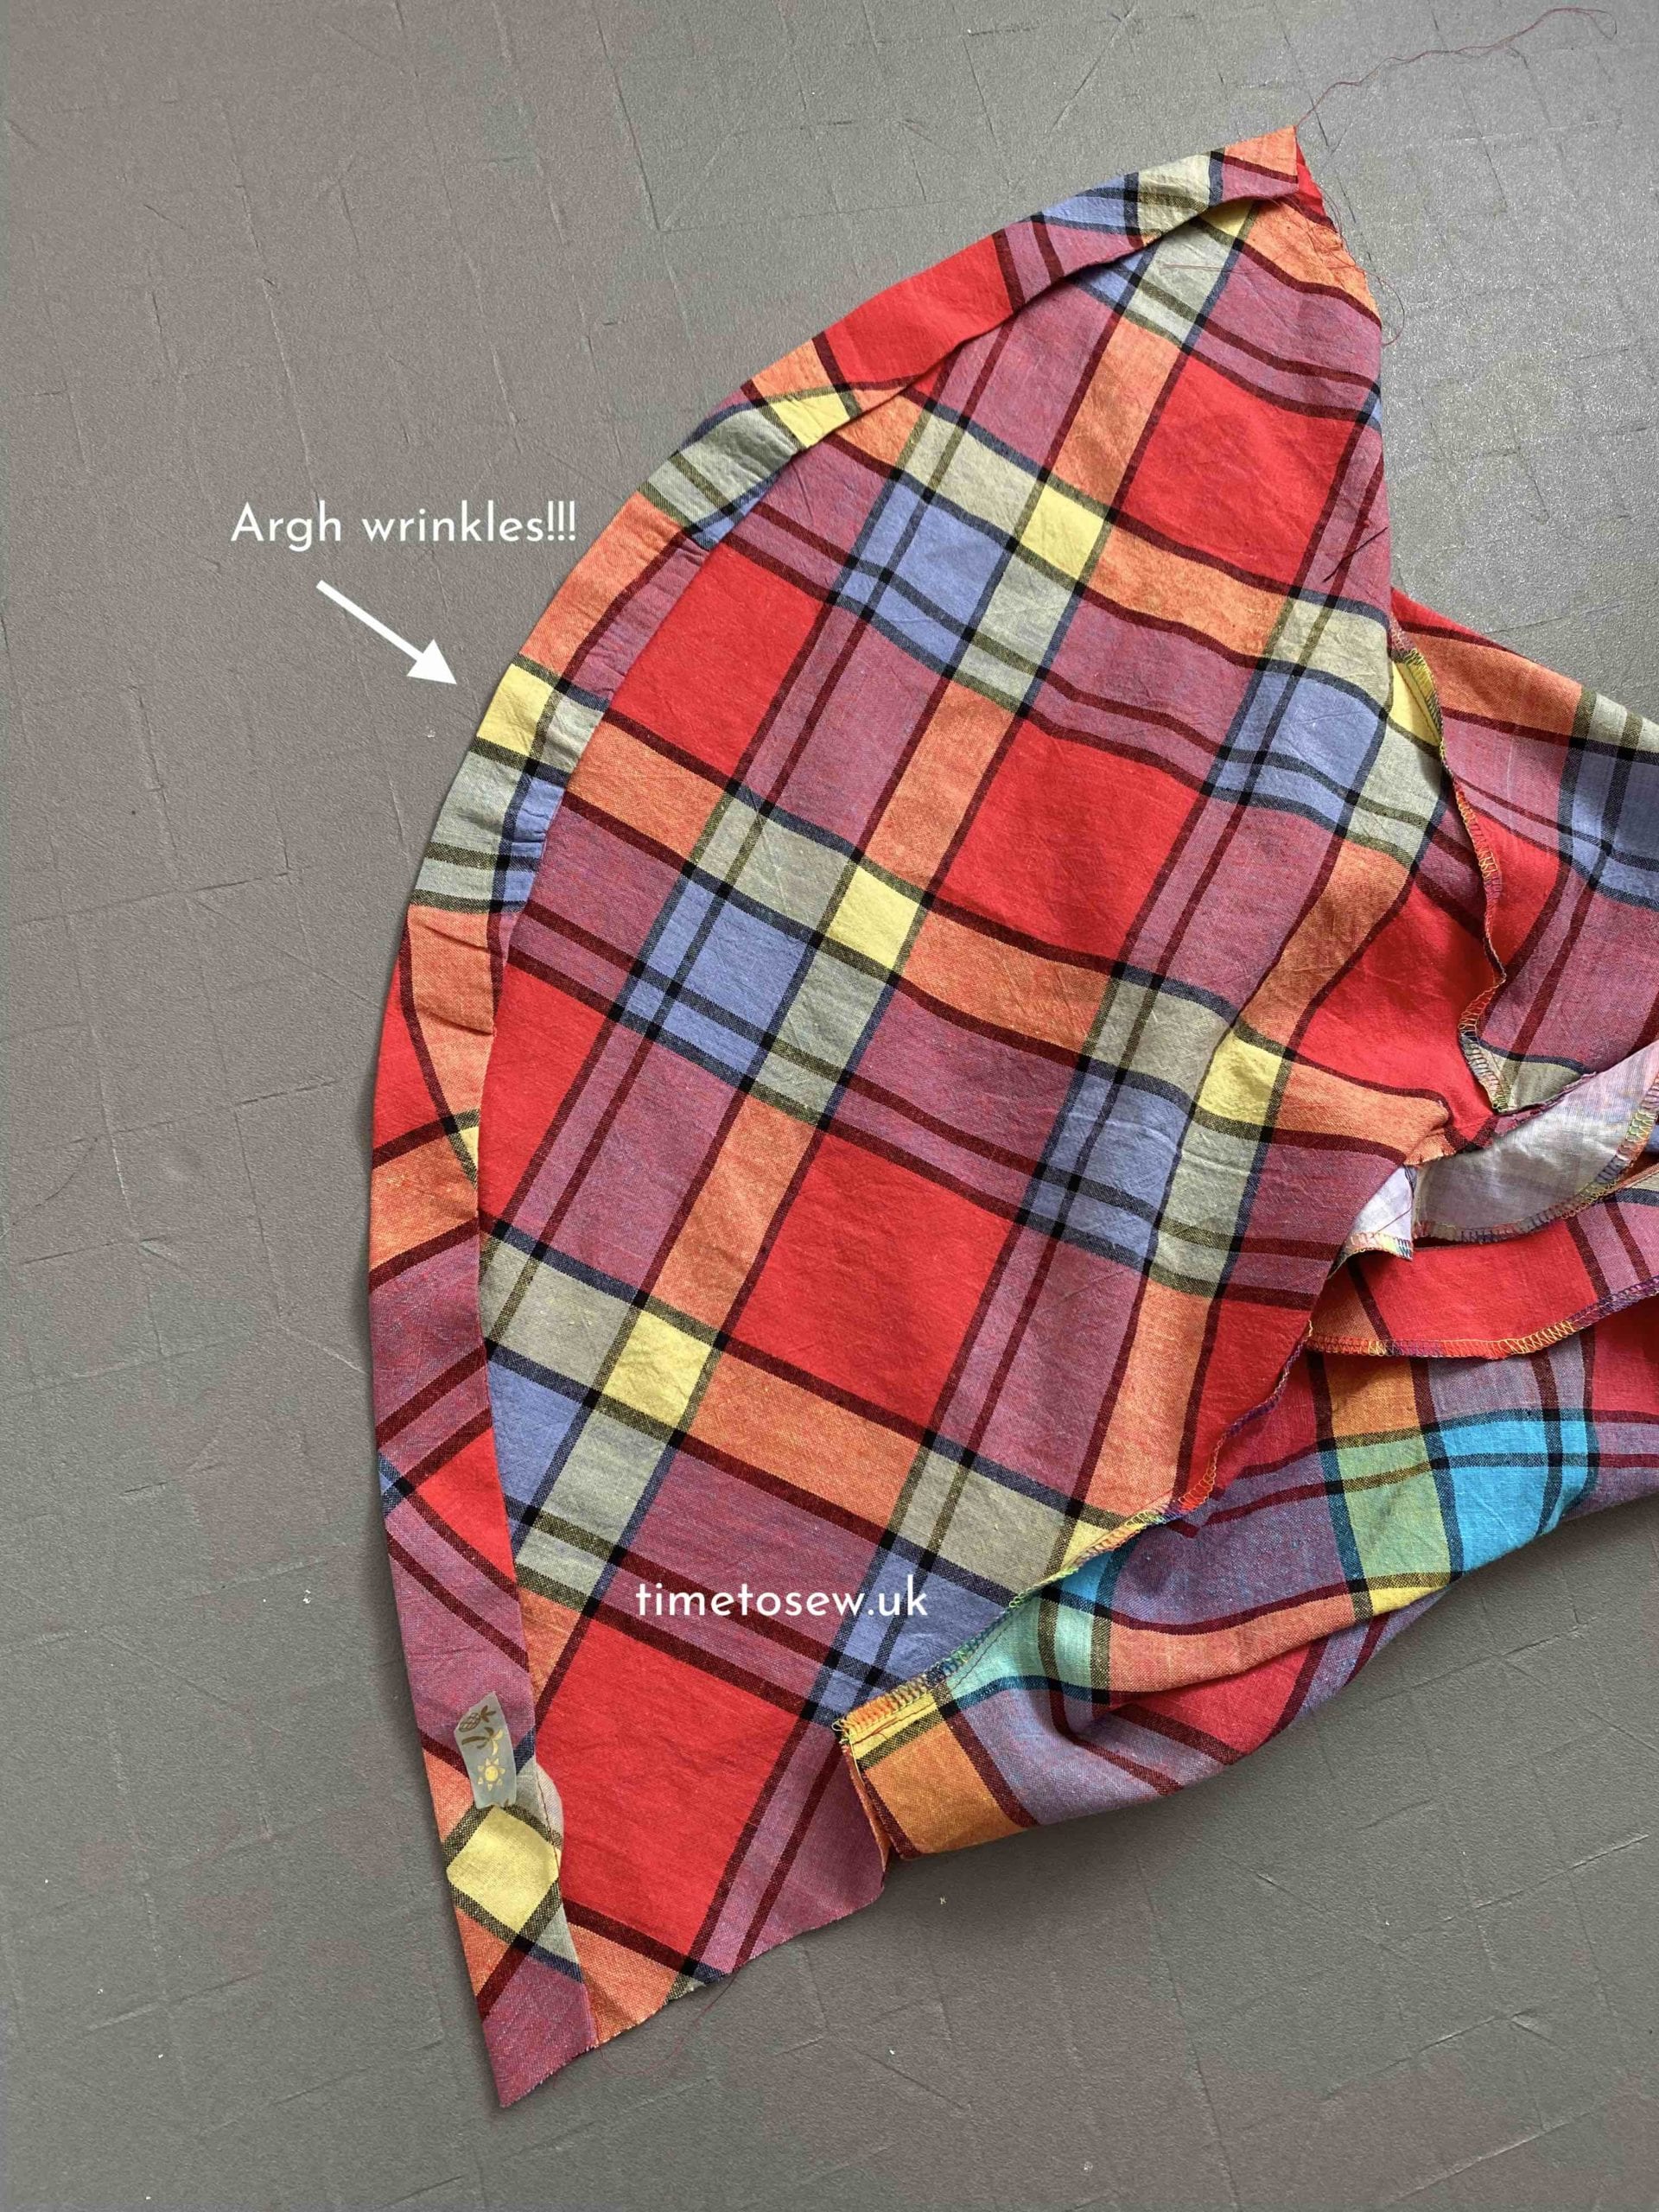
An alternative that would have worked better would have been to draft a sleeve facing as an elastic channel. If I hadn’t been quite so lazy I would have done that.
Back button closure is optional
My button stash doesn’t really exist so I tend to avoid them for spur of the moment sewing. I thought the simplest thing to do would be to sew up the centre back, leave a gap at the top and close it with a hook and eye. Can you tell I was going entirely on autopilot here because “that’s how I normally do it” when I could easily have just sewed up the whole centre back without any closures. I am dead pleased with my check matching though, can you spot the seam?!
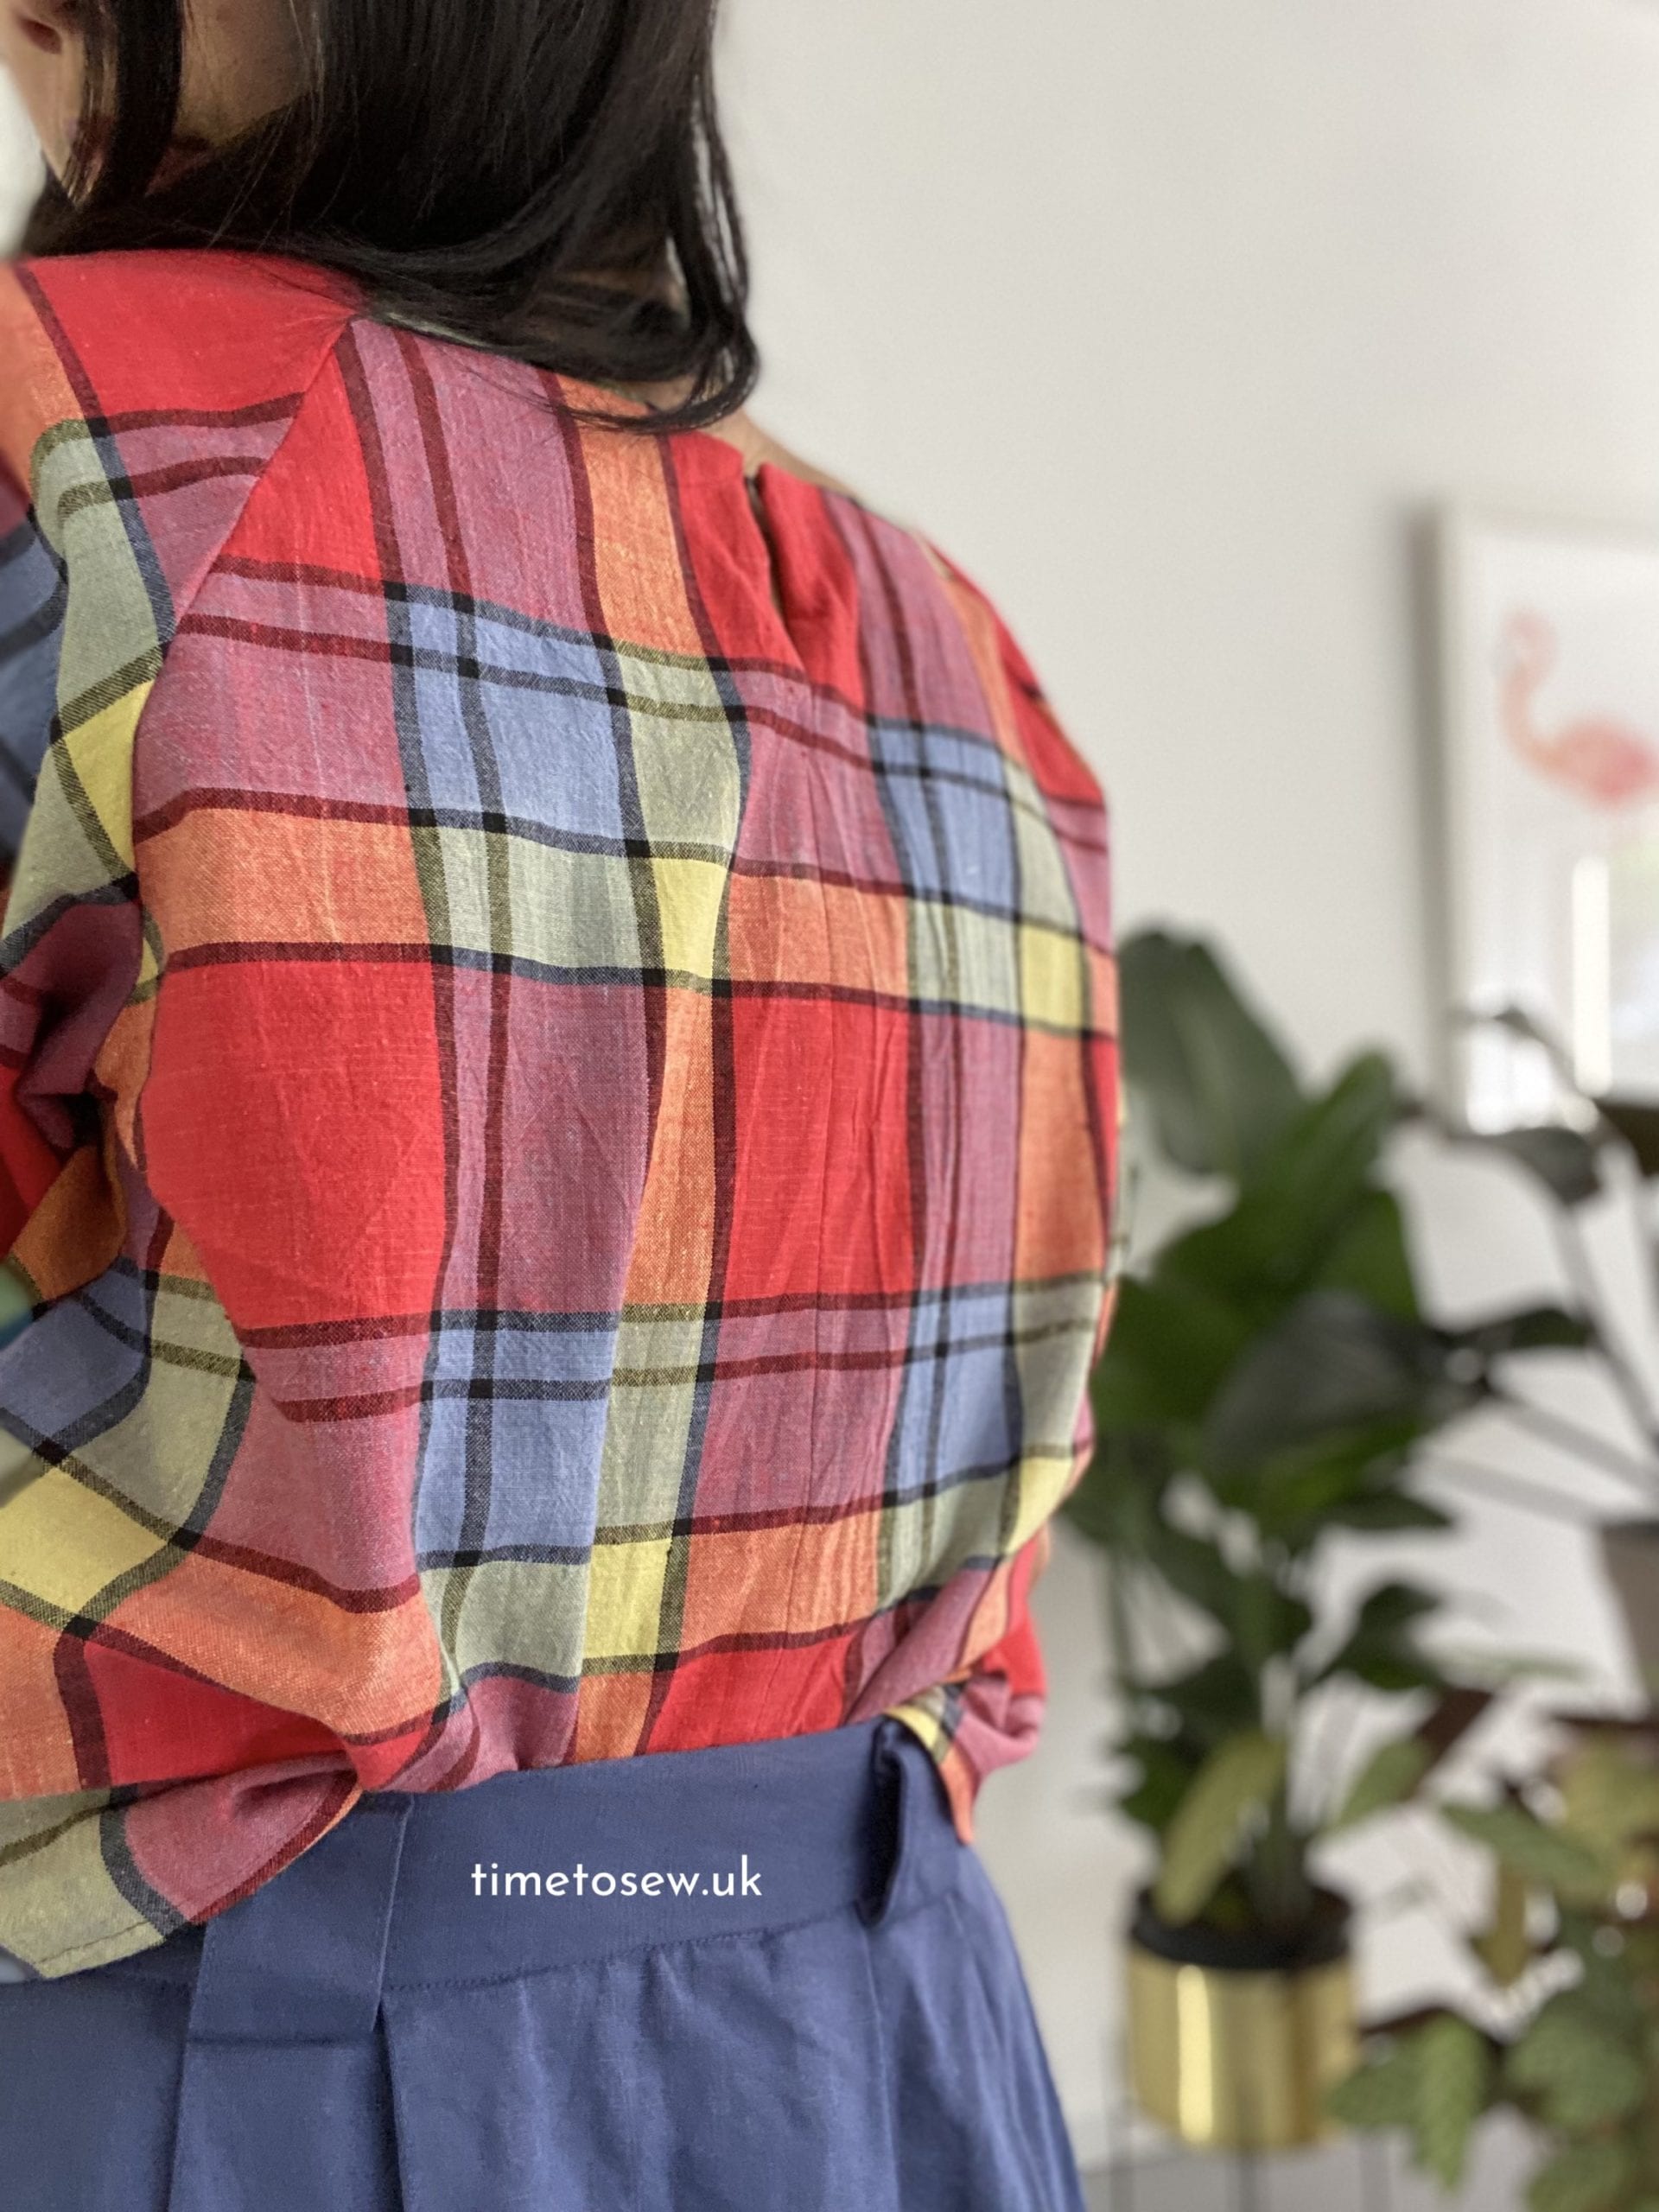
In the end I decided I didn’t want the hook and eye so I took it off, sewed up the back seam. I didn’t fancy recutting the facings though so I just sewed on a label on top.
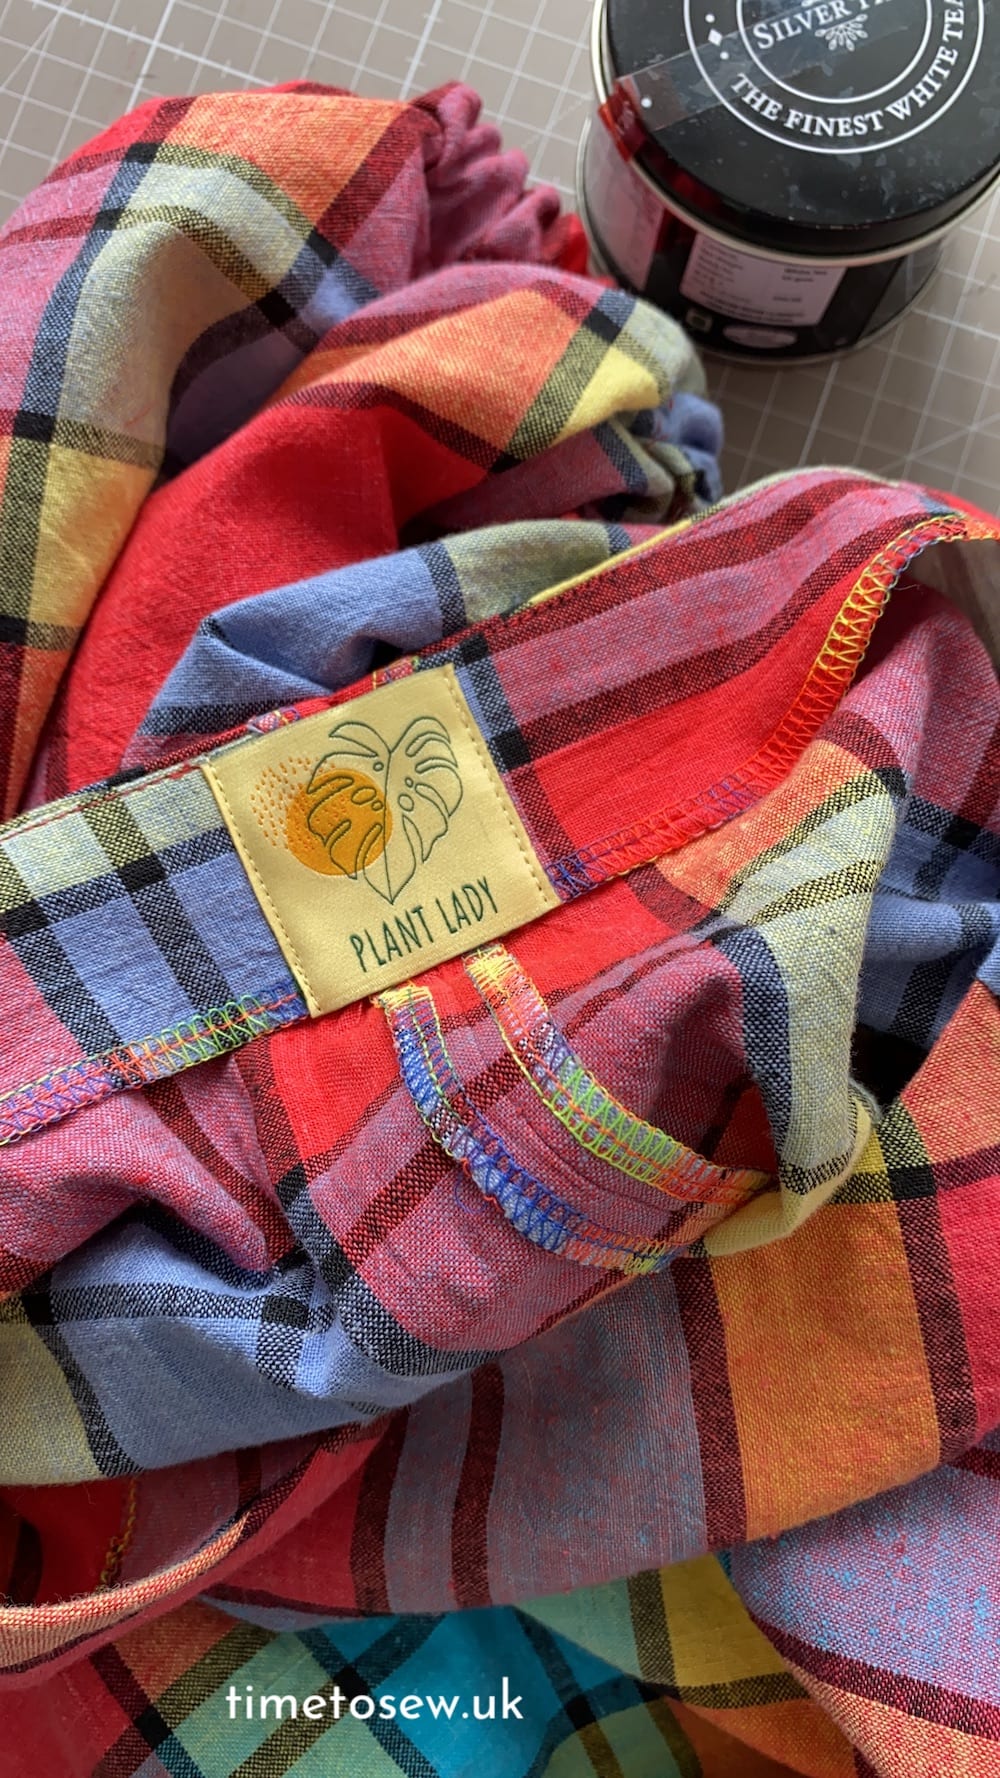
And by doing the above it basically became …..
Style Arc Hope
With a raglan puff sleeve, high neckline and a boxy shape. Which I have made before and liked. Had I thought about this at the start when I already knew I didn’t want the button back, then I may not have made the Peppermint Paddington top. Adapting the Hope dress to achieve a similar effect would have been a simple case of shortening the sleeve to above elbow and lengthening the bodice. Here’s the Hope
But I get distracted by shiny new patterns and I love to try new stuff. Even if I’ve already done a lot of work in fitting old patterns and it would be a simple case to hack it, I seem to be very good at forgetting about it. What about you?
For more of my sewing makes click here
—
Till next time
Kate


