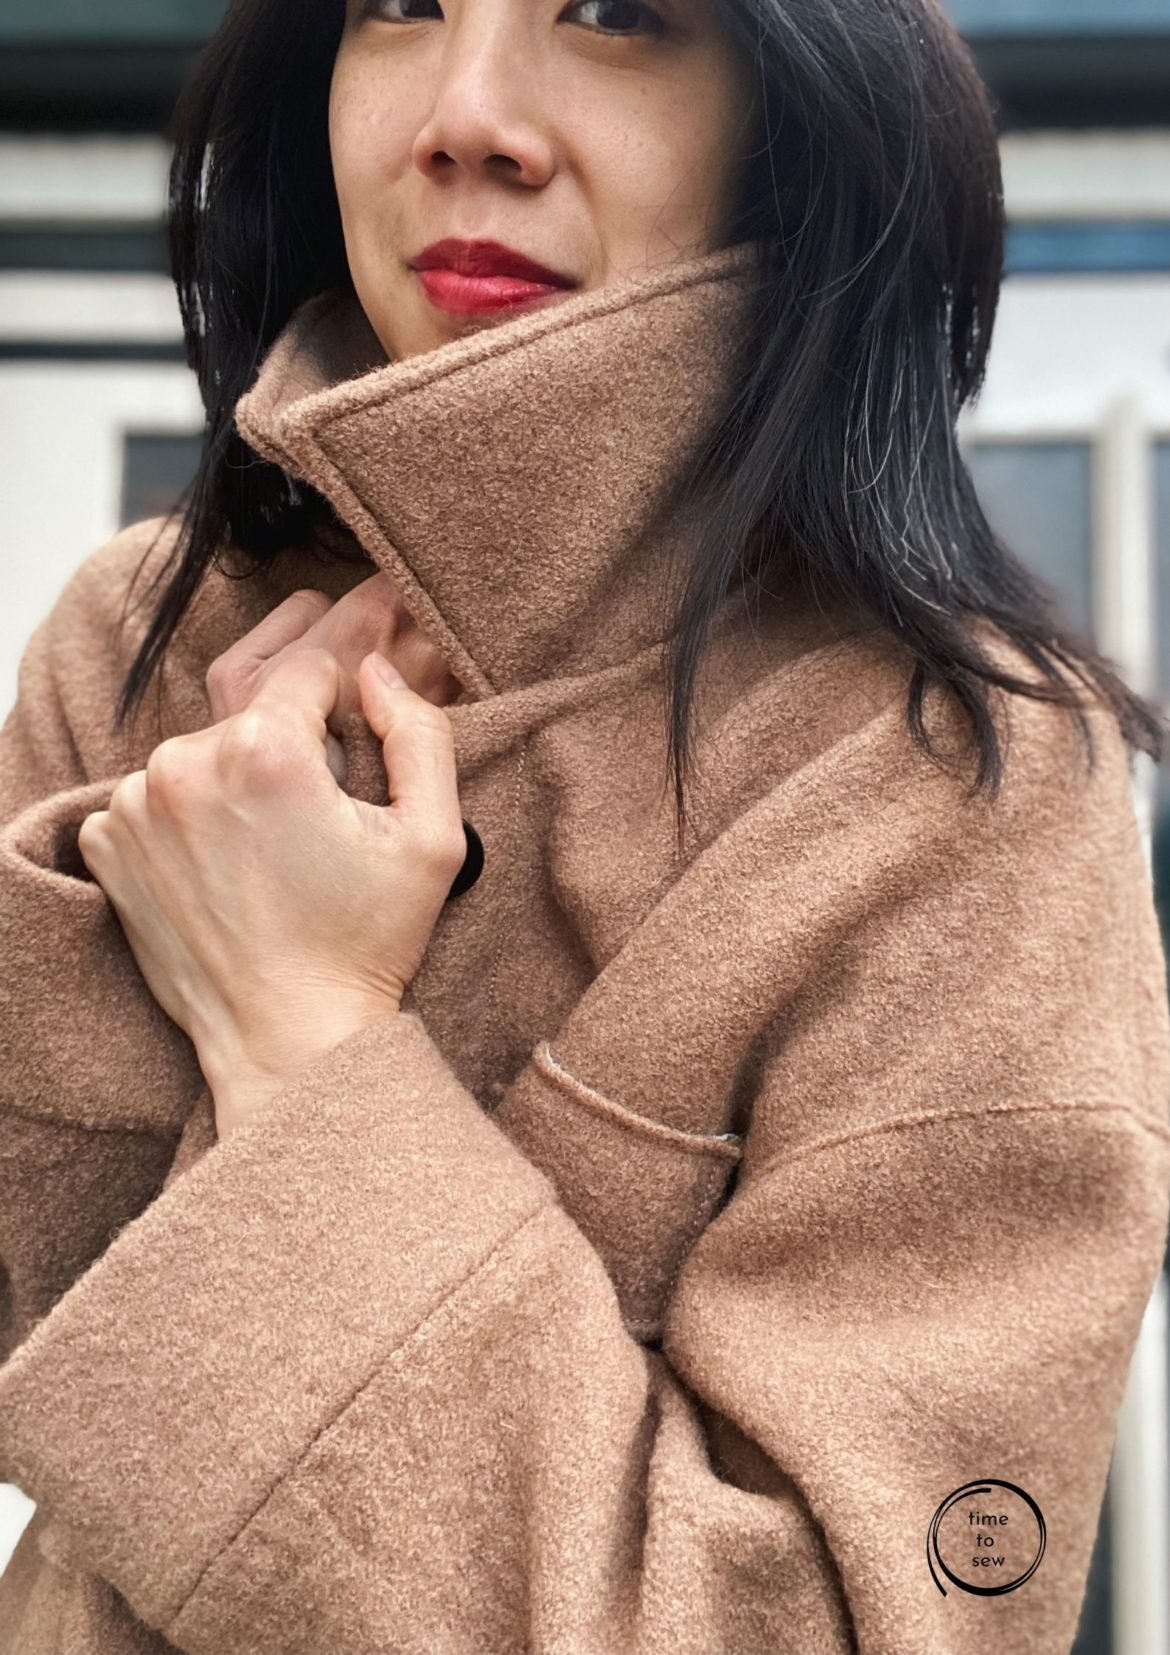
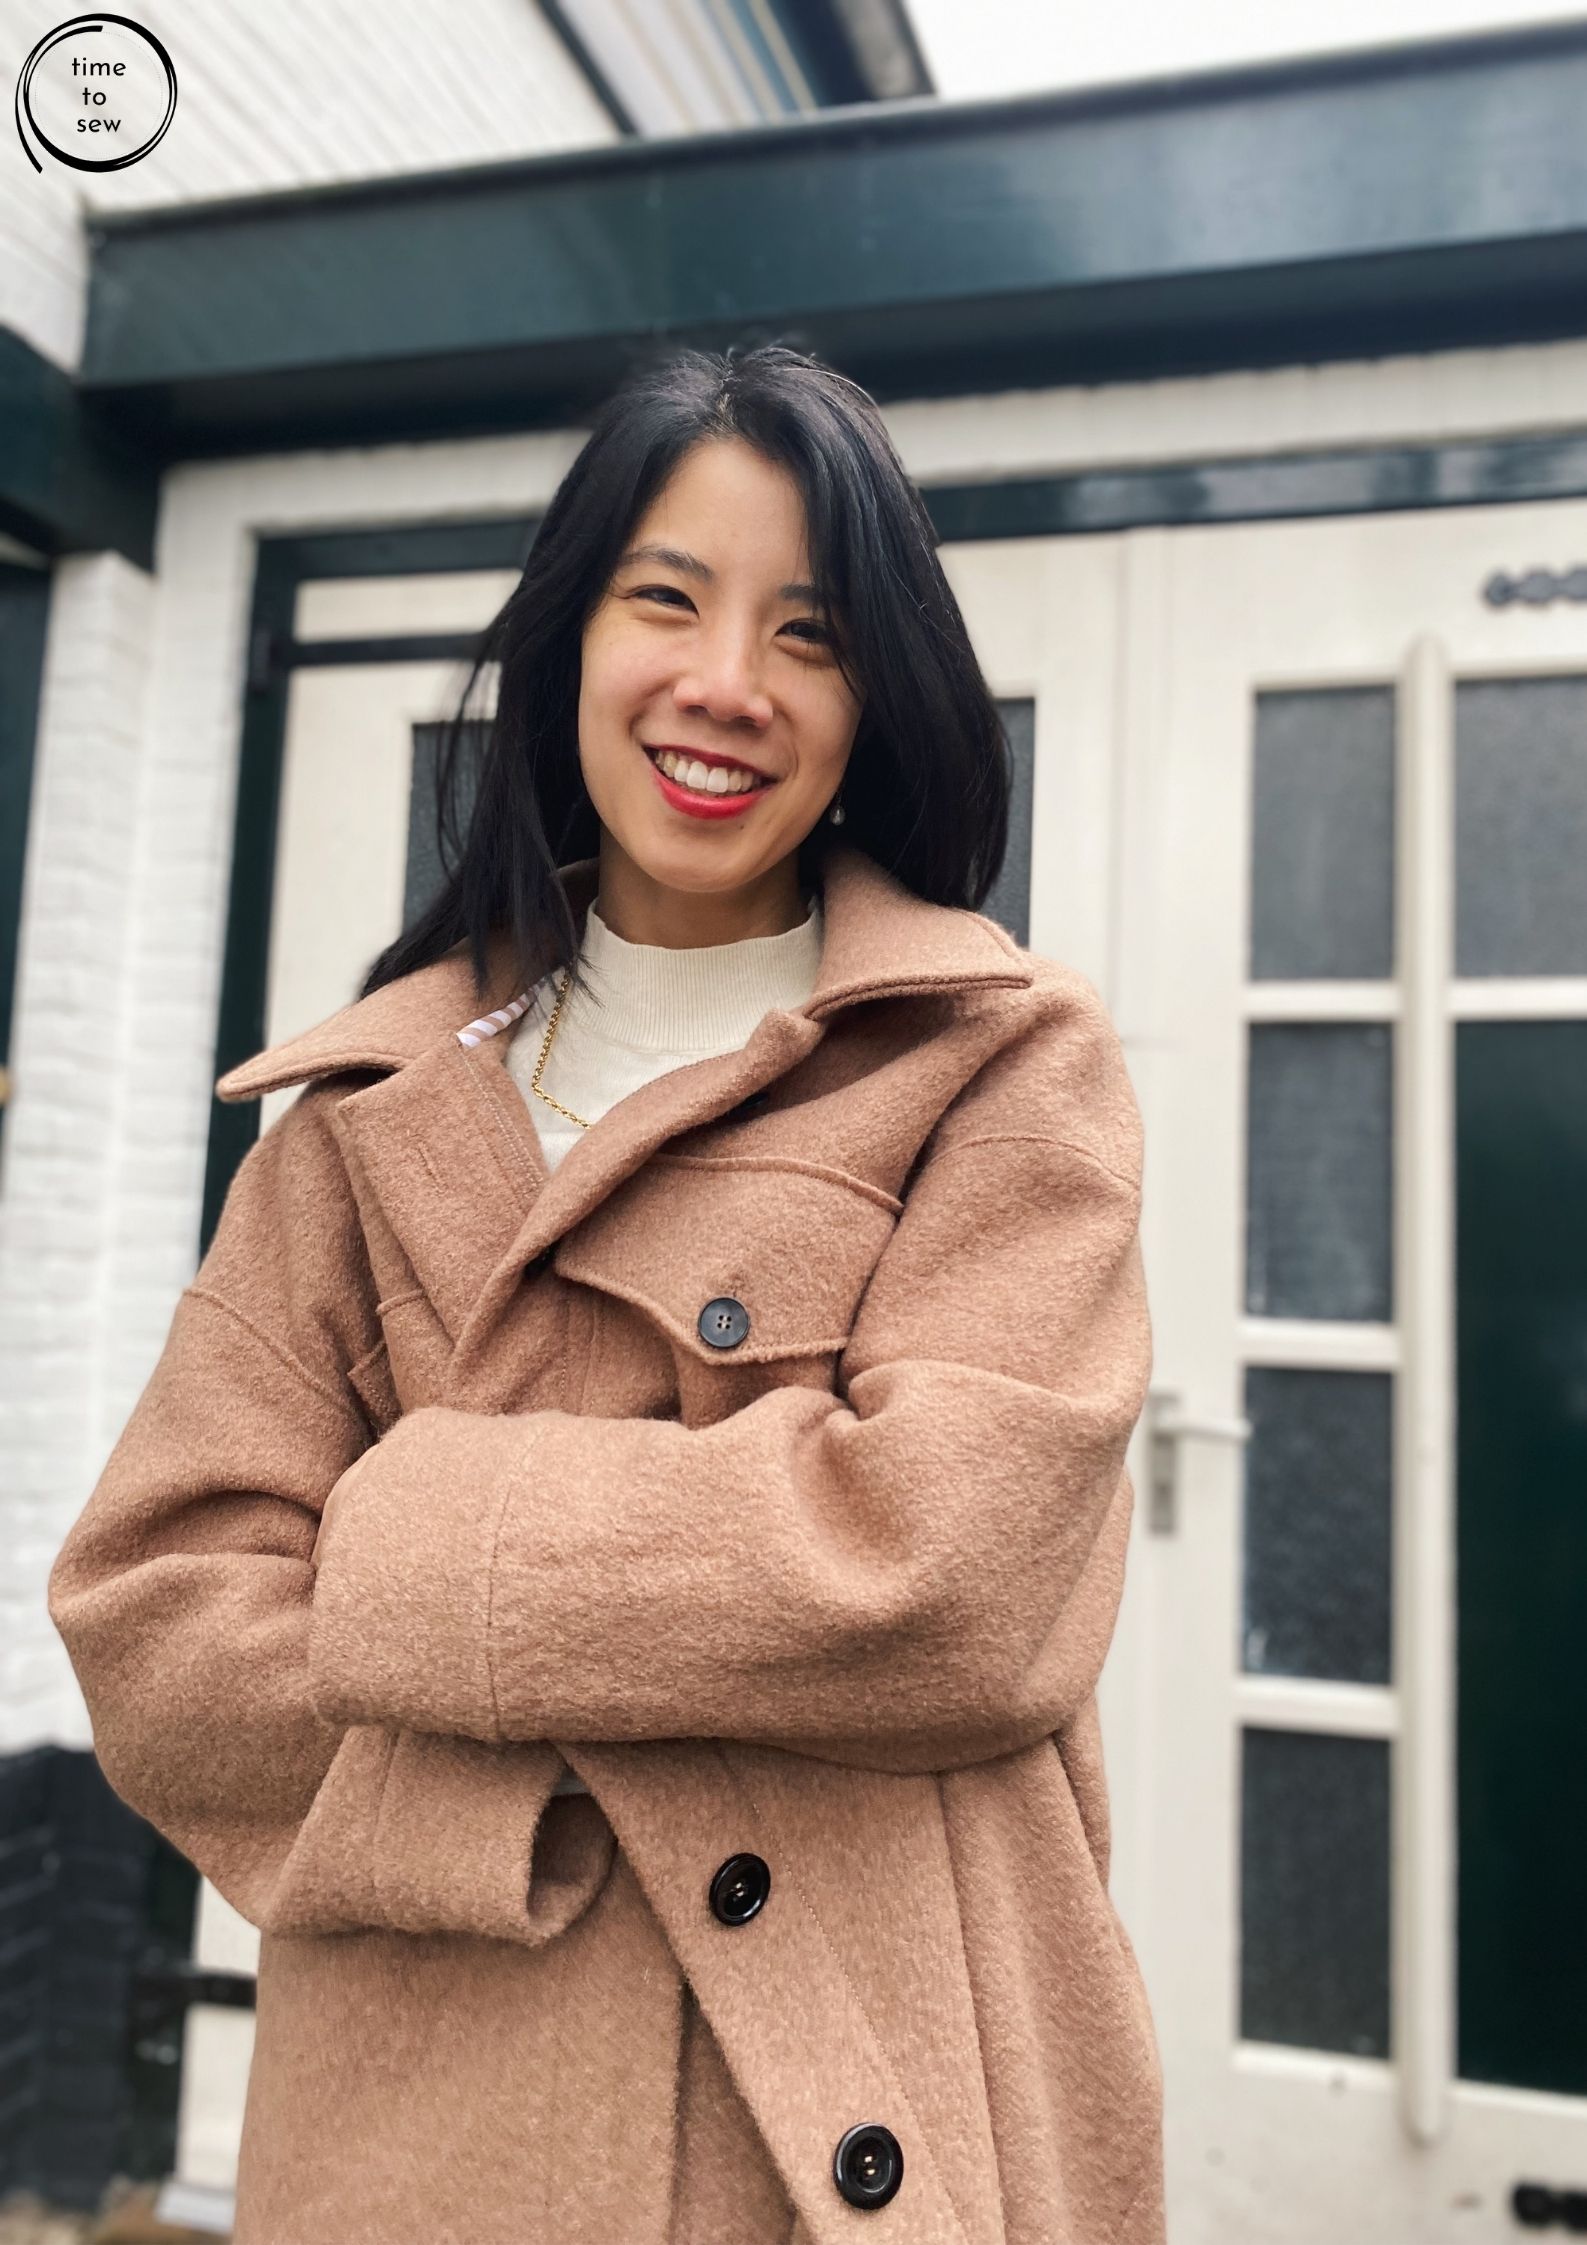
The Fibre Mood Rya pattern (affiliate link) was one of the top Fibre Mood patterns of 2021 and it is a total winner in this boiled wool! I always wanted a camel coat but haven’t been lucky enough to find the coveted second hand Max Mara one. So, best to change plans right? Self made it is.
Disclaimer: I work as a freelancer and Fibre Mood is one of my clients, therefore I did not buy the pattern myself. Links to Fibre Mood are affiliate. I am not obliged to blog about this make or even make it at all. Of course, opinions are my own and I try to give helpful information, but as you can imagine there is always going to be subconscious bias.
Fibre Mood Rya pattern details
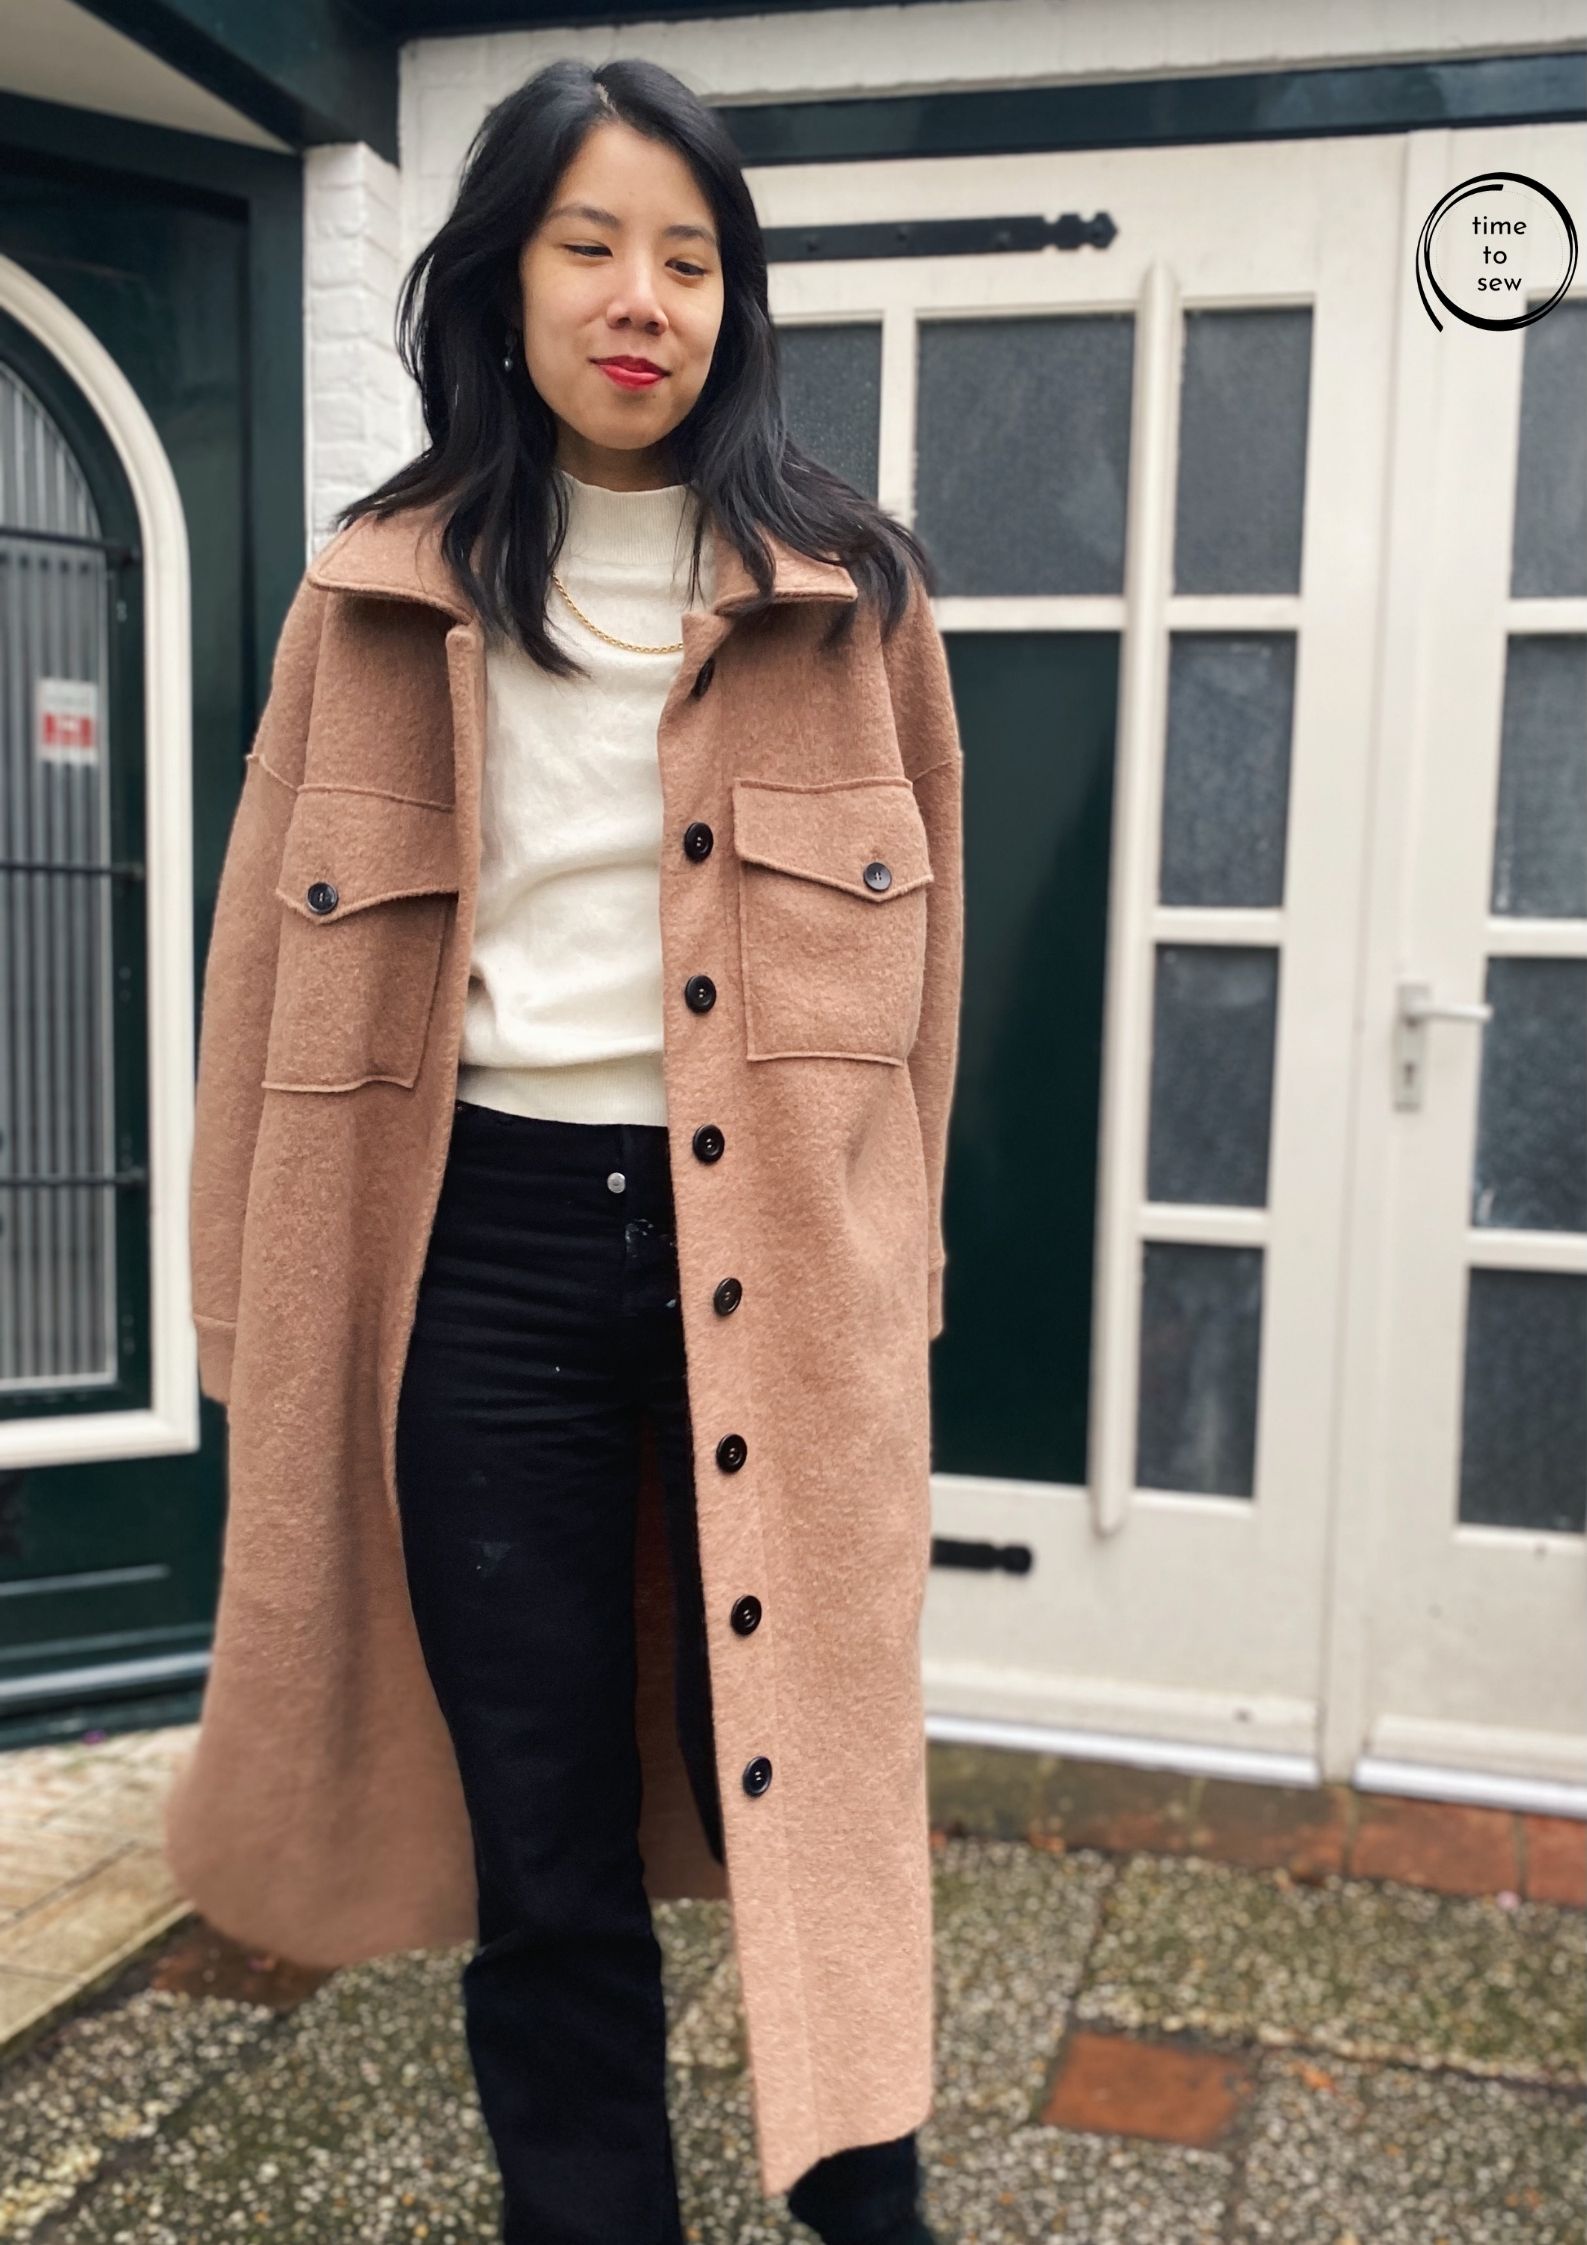
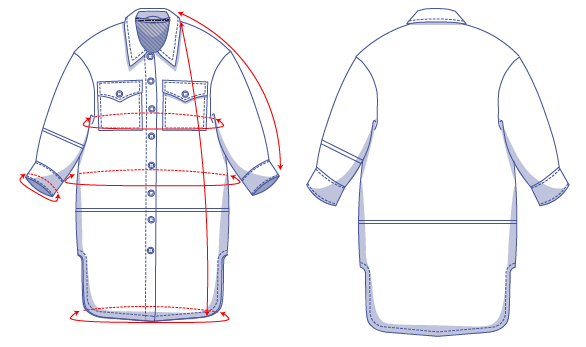
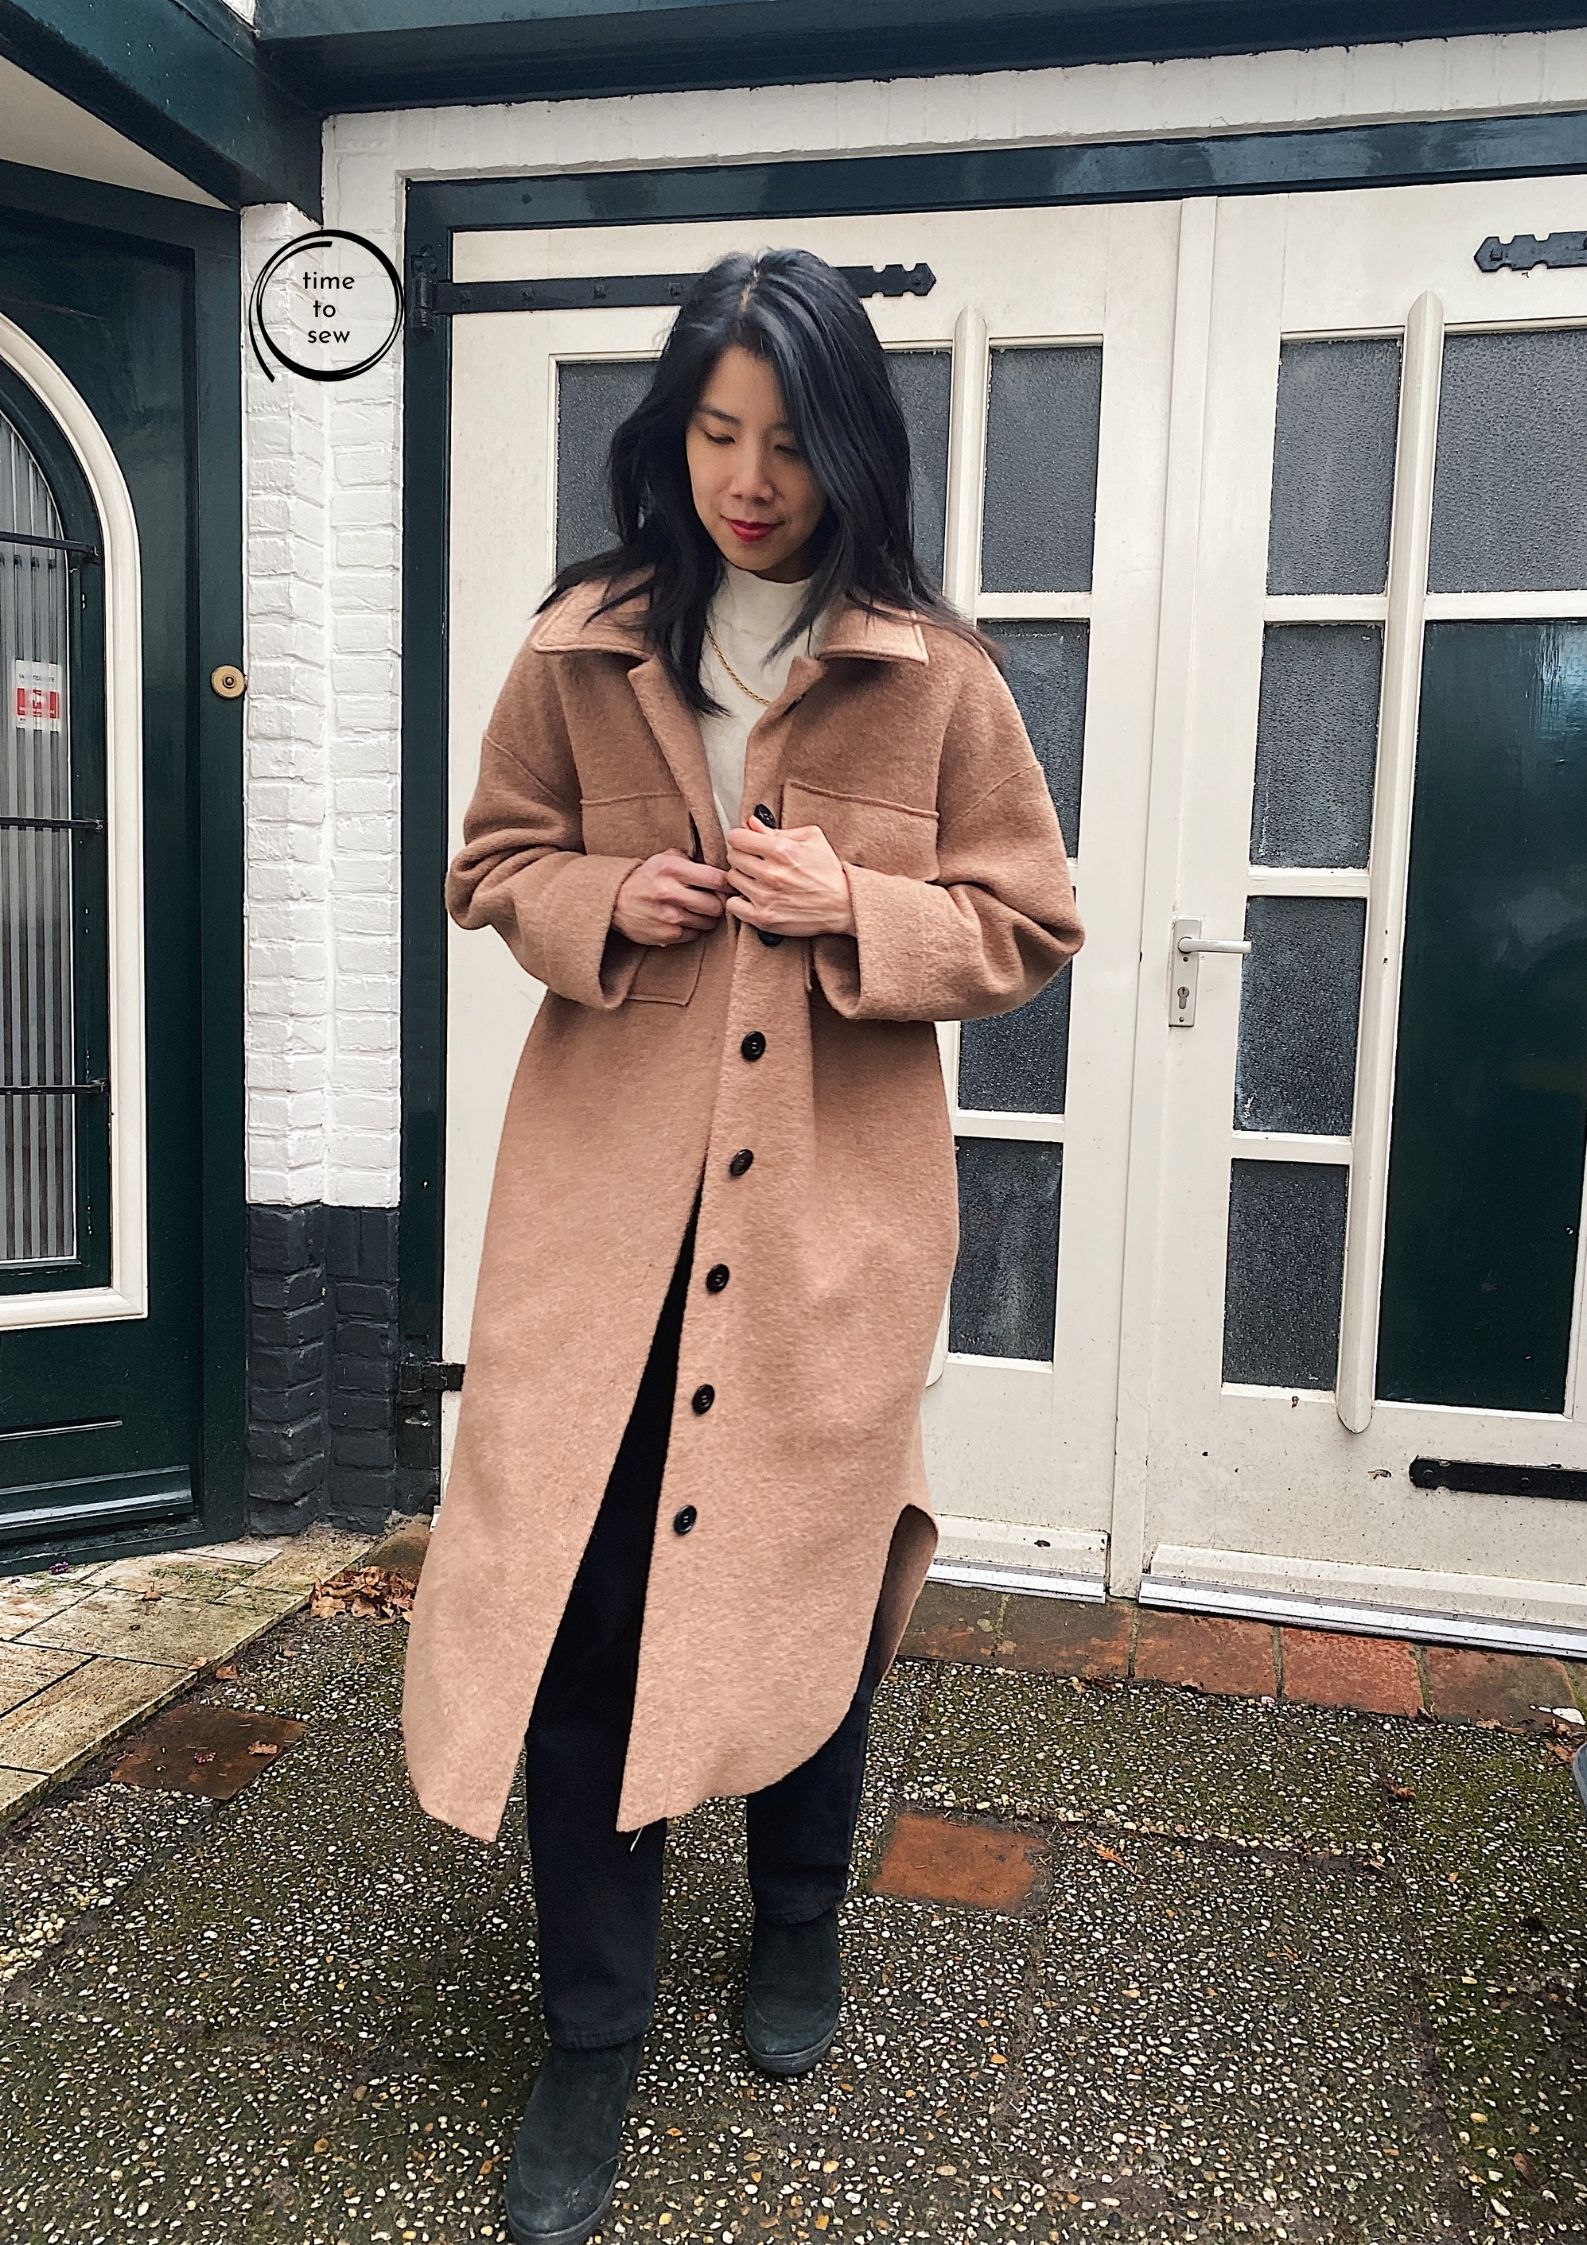
OK so I didn’t choose a traditional long coat. Might still do that one day, but not today. The shacket (=shirt+jacket) felt much more casual but chic and is from magazine issue 11 (also available as individual PDF) and has been trending for at least 2 years now. It is easy to see why … enough details to keep you interested in a medium-ish length project but not so many that it becomes tedious. And of course the shape means you can make it in so many different fabrics! I made the size small and find it very roomy – it fits a sweater underneath no problem.
Fabric choice and notions
Fibre Mood Rya was not designed as a full-on winter coat pattern so it is unlined. I didn’t even think of making it as a coat – until I saw Anya’s version on Instagram. And when I saw it, I totally ditched the idea of checkered flannel (clearly I never found any I liked enough) and when I went to the shop searching for fabric, the only available camel colour in the shop was boiled wool. So I guess it was meant to be!
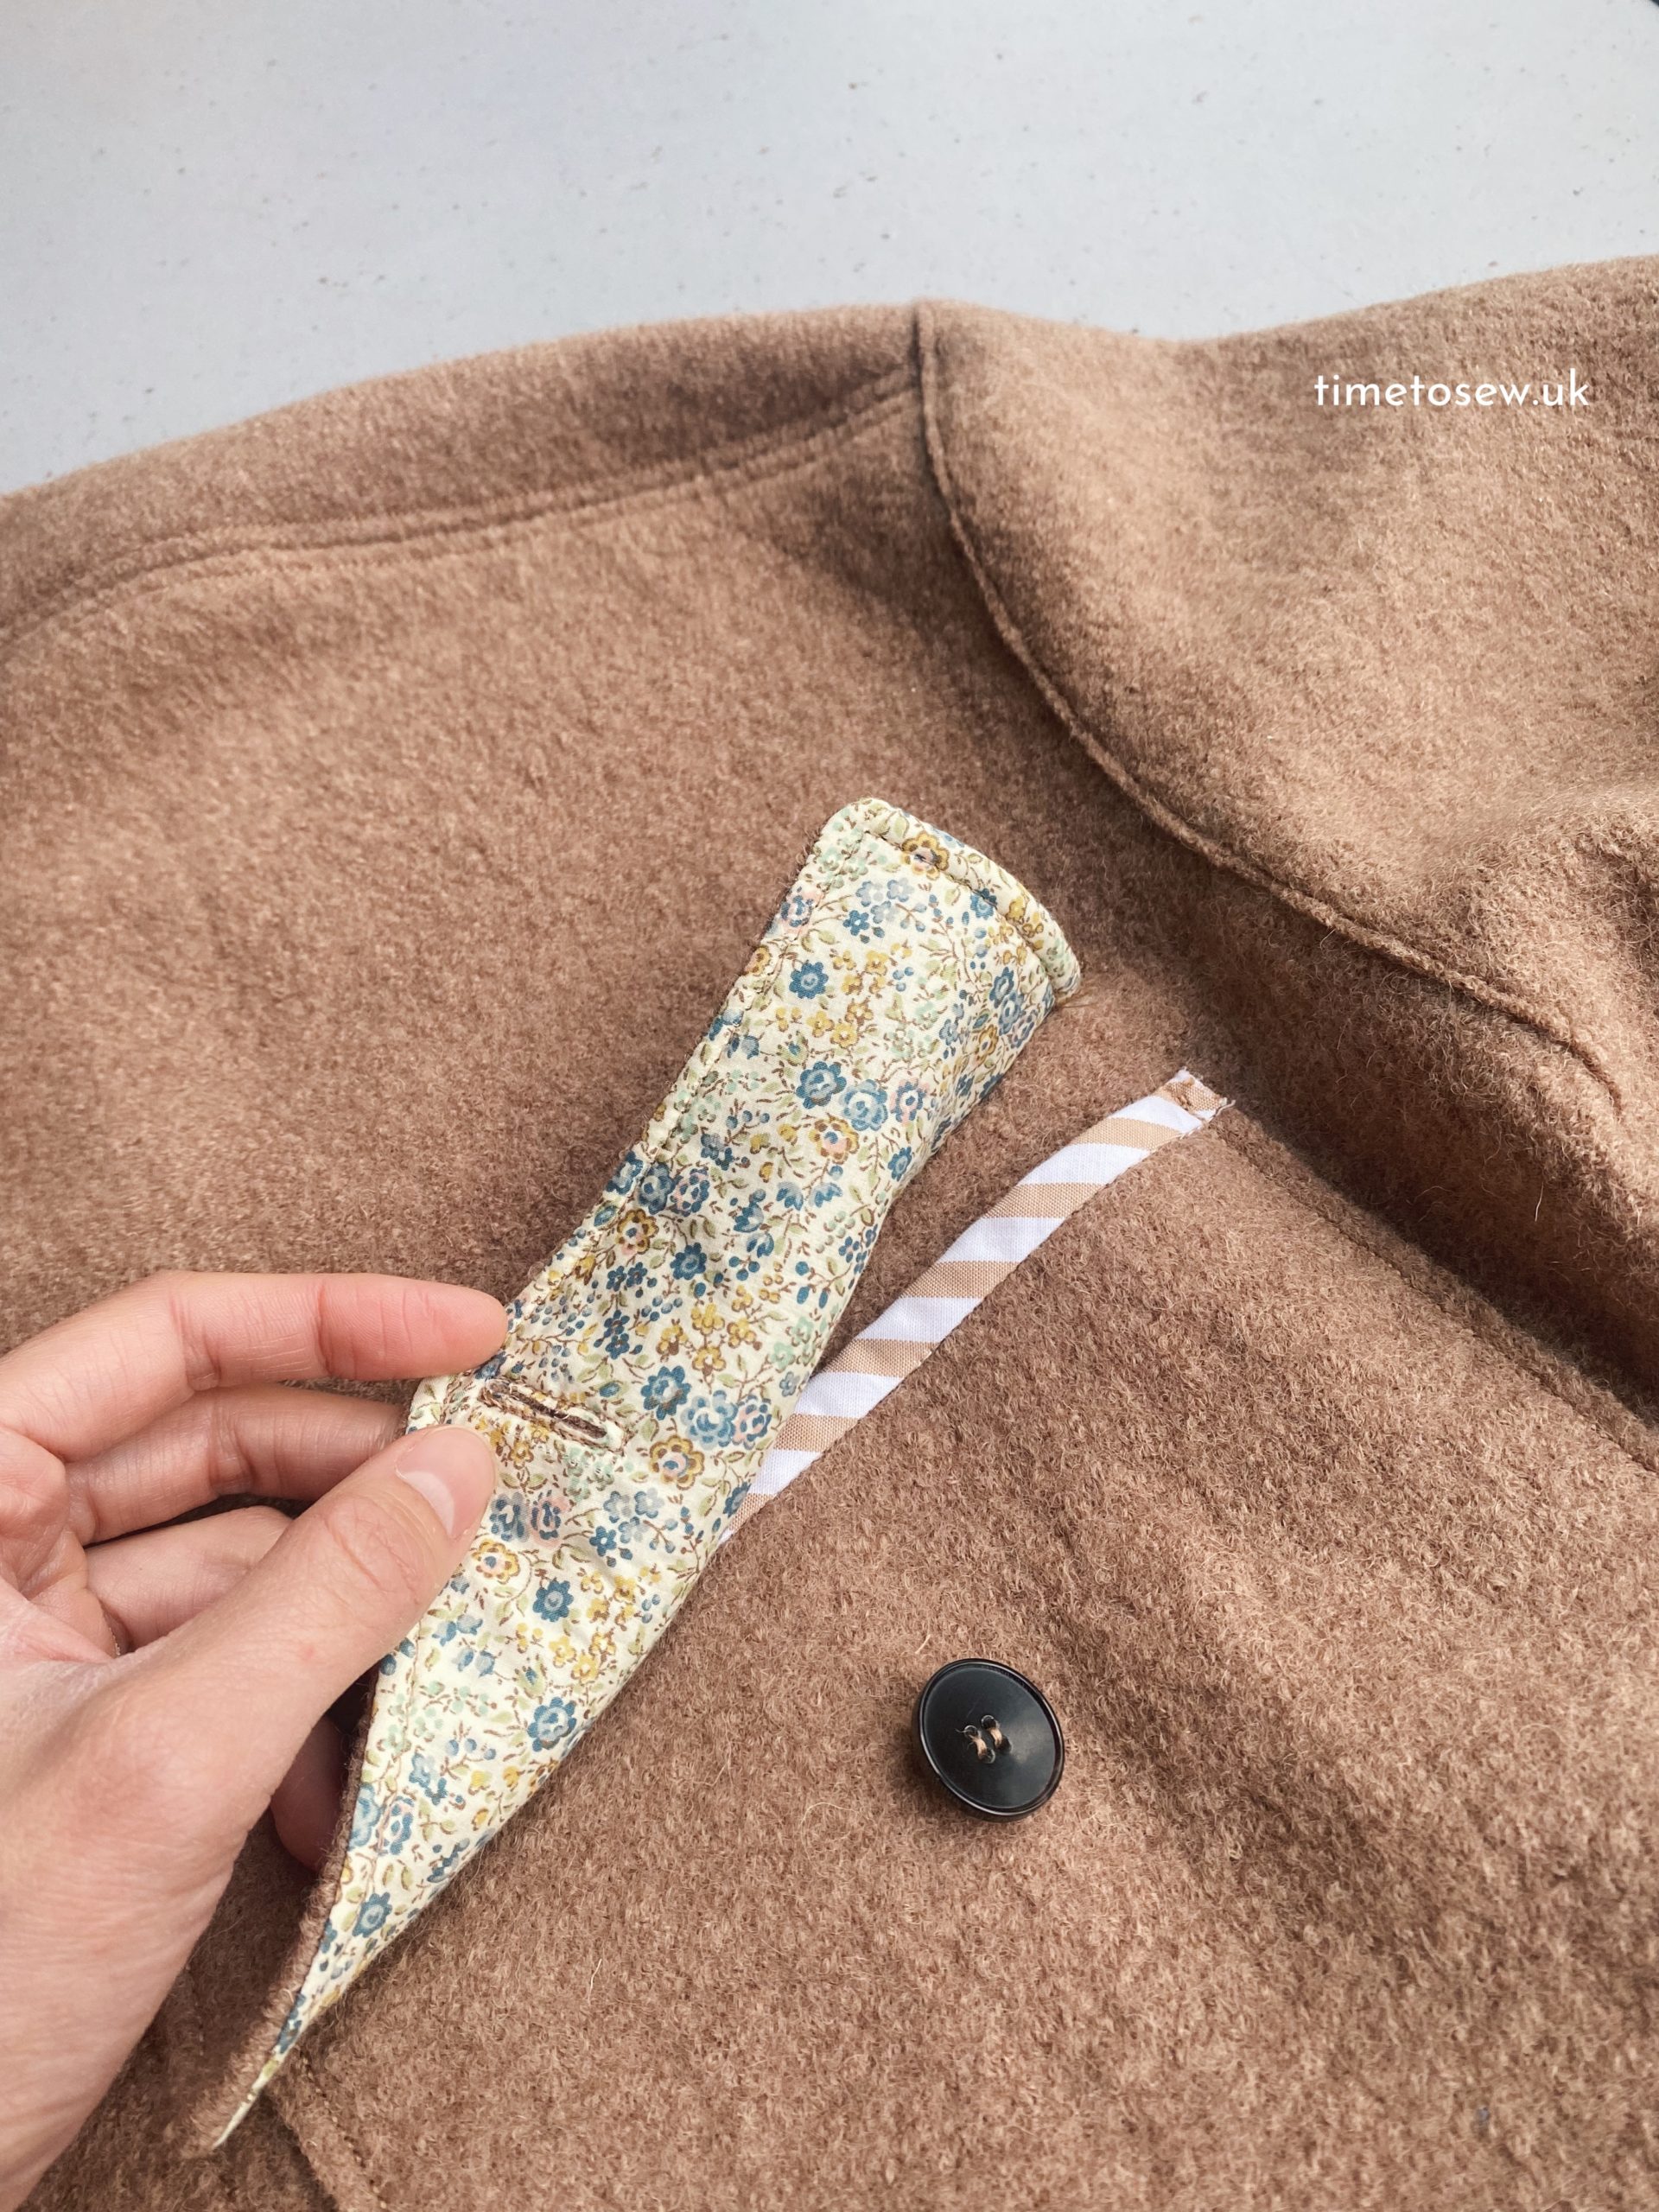
I used a bit of vintage Liberty cotton lawn on the pocket flap. I got this from an old tablecloth my mother in law made once upon a time and didn’t want more. Recycling win!
Buttons are a random assortment, I managed to match the sizes but the colours and shape are all a bit different. I have a bit of a collection of buttons from ready to wear shopping. eg if I buy trousers they often come with a spare button. And other kind people have donated me their stash of buttons, or I’ve harvested them from second-hand clothes. I must say, the button reuse is very satisfying!
Construction notes and working with boiled wool on Fibre Mood Rya
No fraying
In some ways this makes things very easy. You just cut, sew, and it is done. BUT, you don’t have eg an overlocker to slice off an edge so tidily for you, so there is a bit of care required for the edges to make sure they are straight. I must admit on some edges (like the facing) I did use an overlocker purely for the tidy look (see pic under tne next section on topstitching)
Topstitching galore
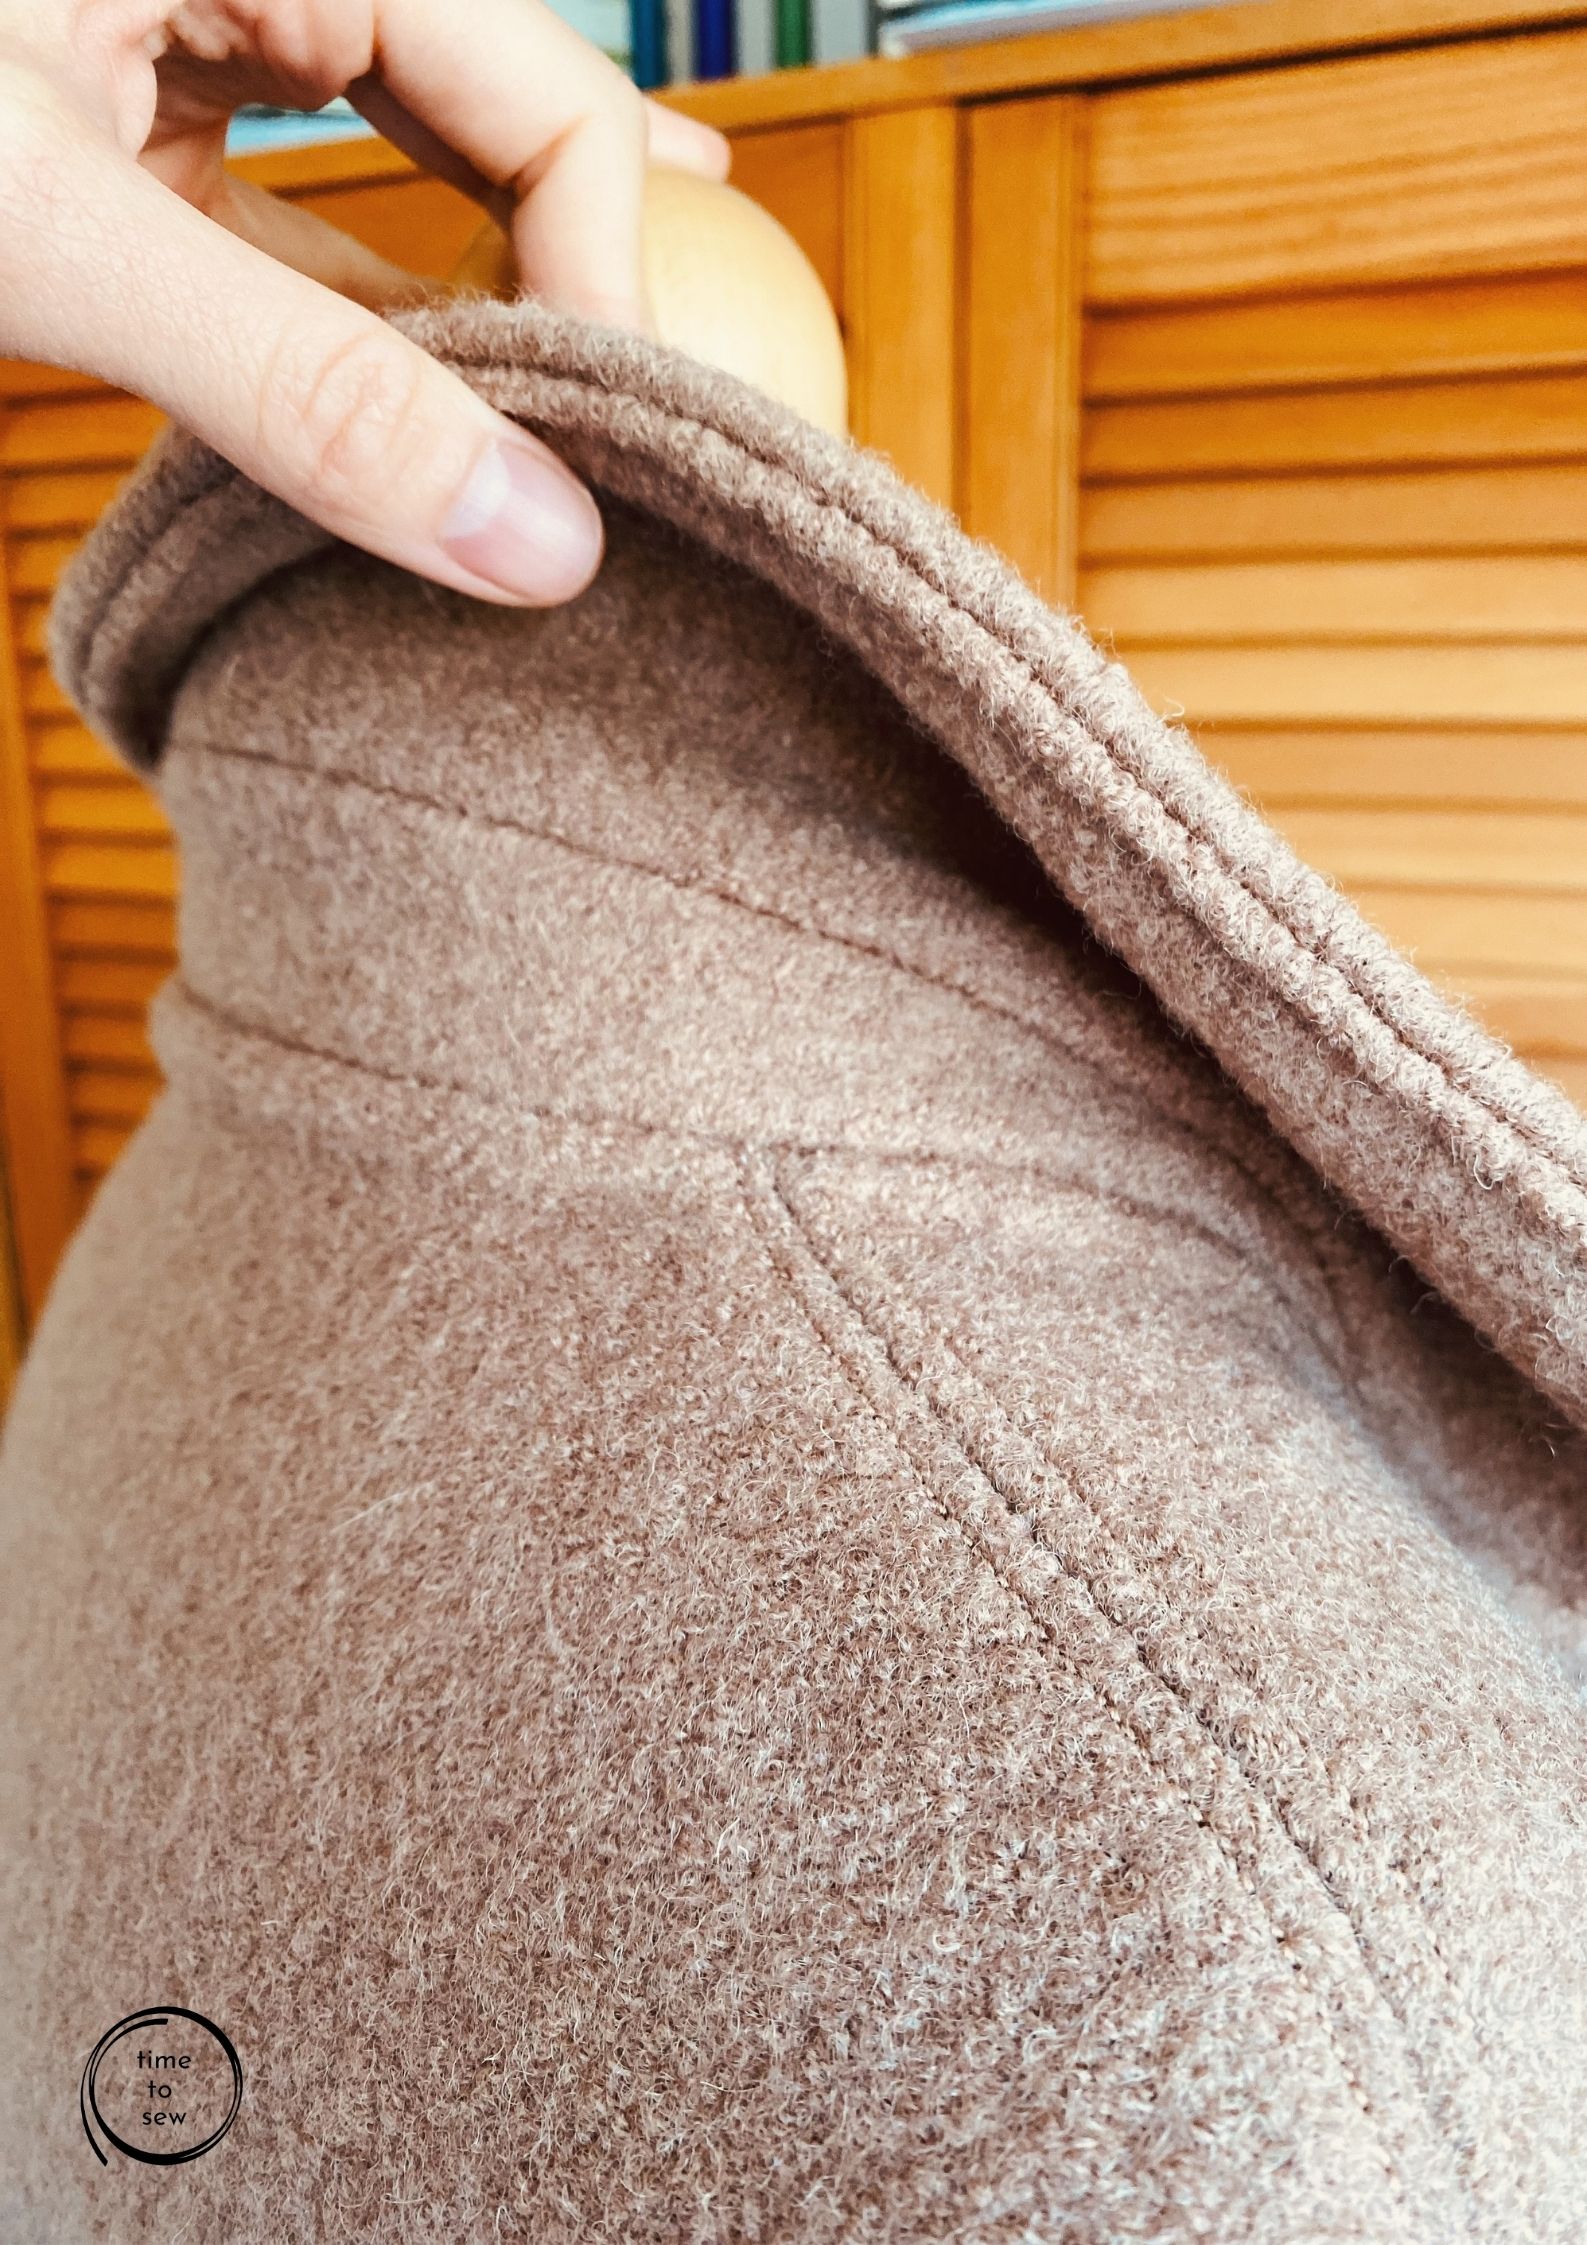
There’s no technical need to topstitch of course, but I find that boiled wool tends to be quite bouncy and thick. So if you want things to lie reasonably flat, topstitching is a good idea. I like to use topstitching thread on the spool so you can see the stitches (regular all-purpose thread in the bobbin), and I lengthen the stitch length to 3.5mm.

The neckline bias
This was probably the trickiest part, given the thickness of the fabric. If you are going to make this in something like boiled wool or thick flannel with no lining, then I’d recommend increasing the width of the bias tape so you don’t have to pull at it so hard to get it to cover the raw seams. Goes without saying that you must trim down the seam allowances first. See pic here and also under “making a seam” – you can see there is definitely bulk and almost looks like there could be piping under the bias. Perhaps a facing would have been better rather than trying to cover the mess with bias. I ended up hand stitching down the edge of the bias as well rather than trying to force my machine into it (and I also didn’t want to see visible stitching from the outside).
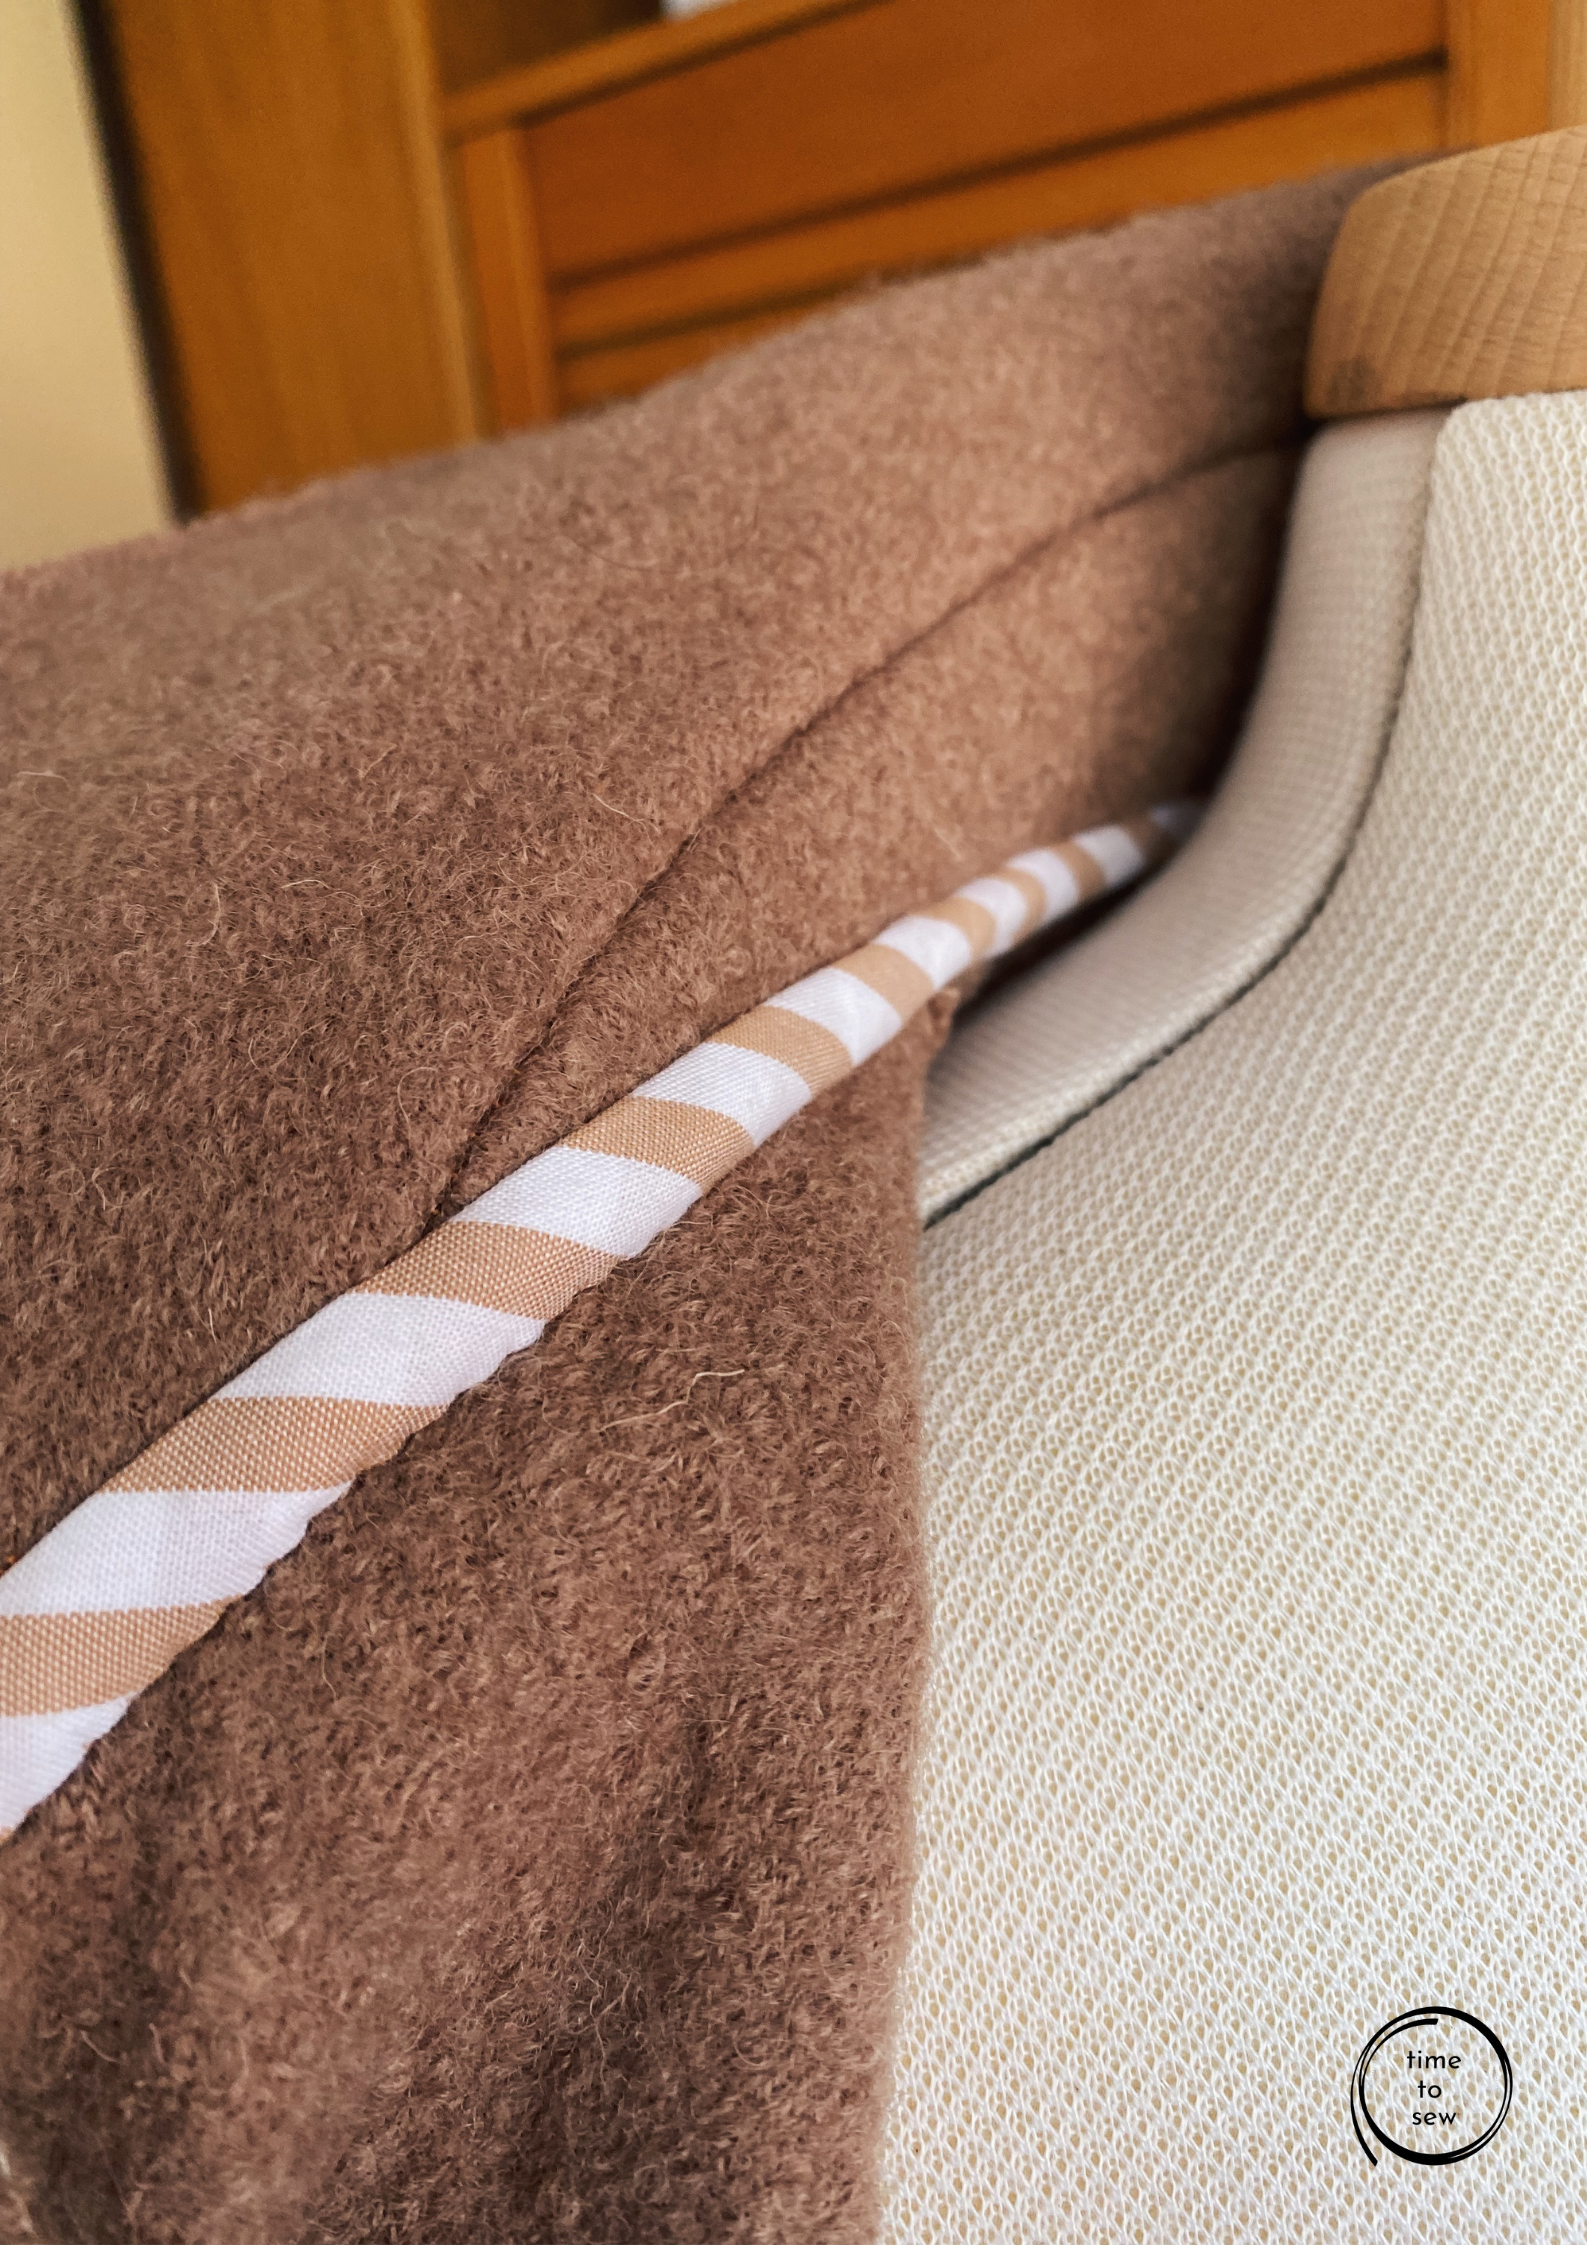
Making a seam
Quite a few different ways to do it. I didn’t really care about consistency in the way I did the seams as long as it was tidy, I was far more interested in seeing how it behaved depending on the method!
- Overlapped and stitched it down, as suggested by Kathryn Brenne on the Emma One Sock blog.
- Stitched like a traditional seam, press open and topstitch the seam allowances (see picture below of the shoulder seam)
- Lined the pocket flap as per the pattern, so stitch right sides together and then turn out. It was bulky even if the floral cotton lawn was lightweight, so topstitch down.
The hem
The only thing that bothers me a bit about the no fray thing is that I didn’t put a hem finish on the garment, and it feels flimsy compared to the rest of the coat. Of course I could go back and put bias tape (that’s the recommended hem finish on the pattern). Or cut a hem facing. But then that wouldn’t look good if the coat is open and you see the hem. Leaving it for now to see if it will actually bother me.
Side seam pockets
Very roomy, my favourite kind of pocket. But it tends to flap about inside the coat and doesn’t look great when walking around with the coat unbuttoned. So I’m going to have to handstitch some invisible stitches to secure the pocket to the front.
Fibre Mood Rya verdict
A total winner and I feel extremely chic when I wear this with other neutrals and tall boots. The coat is a bit too cold (fabric choice + roomy) to be wearing in mid winter in the Netherlands BUT I might have found a solution: the lightweight puffer liner. I’ve just ordered one from Uniqlo so will report back. This is not my own solution, of course, it is from Lee Vosburgh from Style Bee. If she says it works and I can suddenly get a lot more use out of all of my wool coats I’ll be a very happy camper!
Till next time
Kate xx

