This is a 2 part series on construction of a couture jacket – click here for part 2.
Would you spend 60 hours on making a jacket? When I think about couture sewing, it is the antithesis of fast sewing and fast fashion – clothing designed especially for and made for an individual client. In many cases though, couture also involves a high degree of handwork, luxurious fabric, and that is what I love (and hate) about it. What I will say it truly felt like slow sewing at its best!
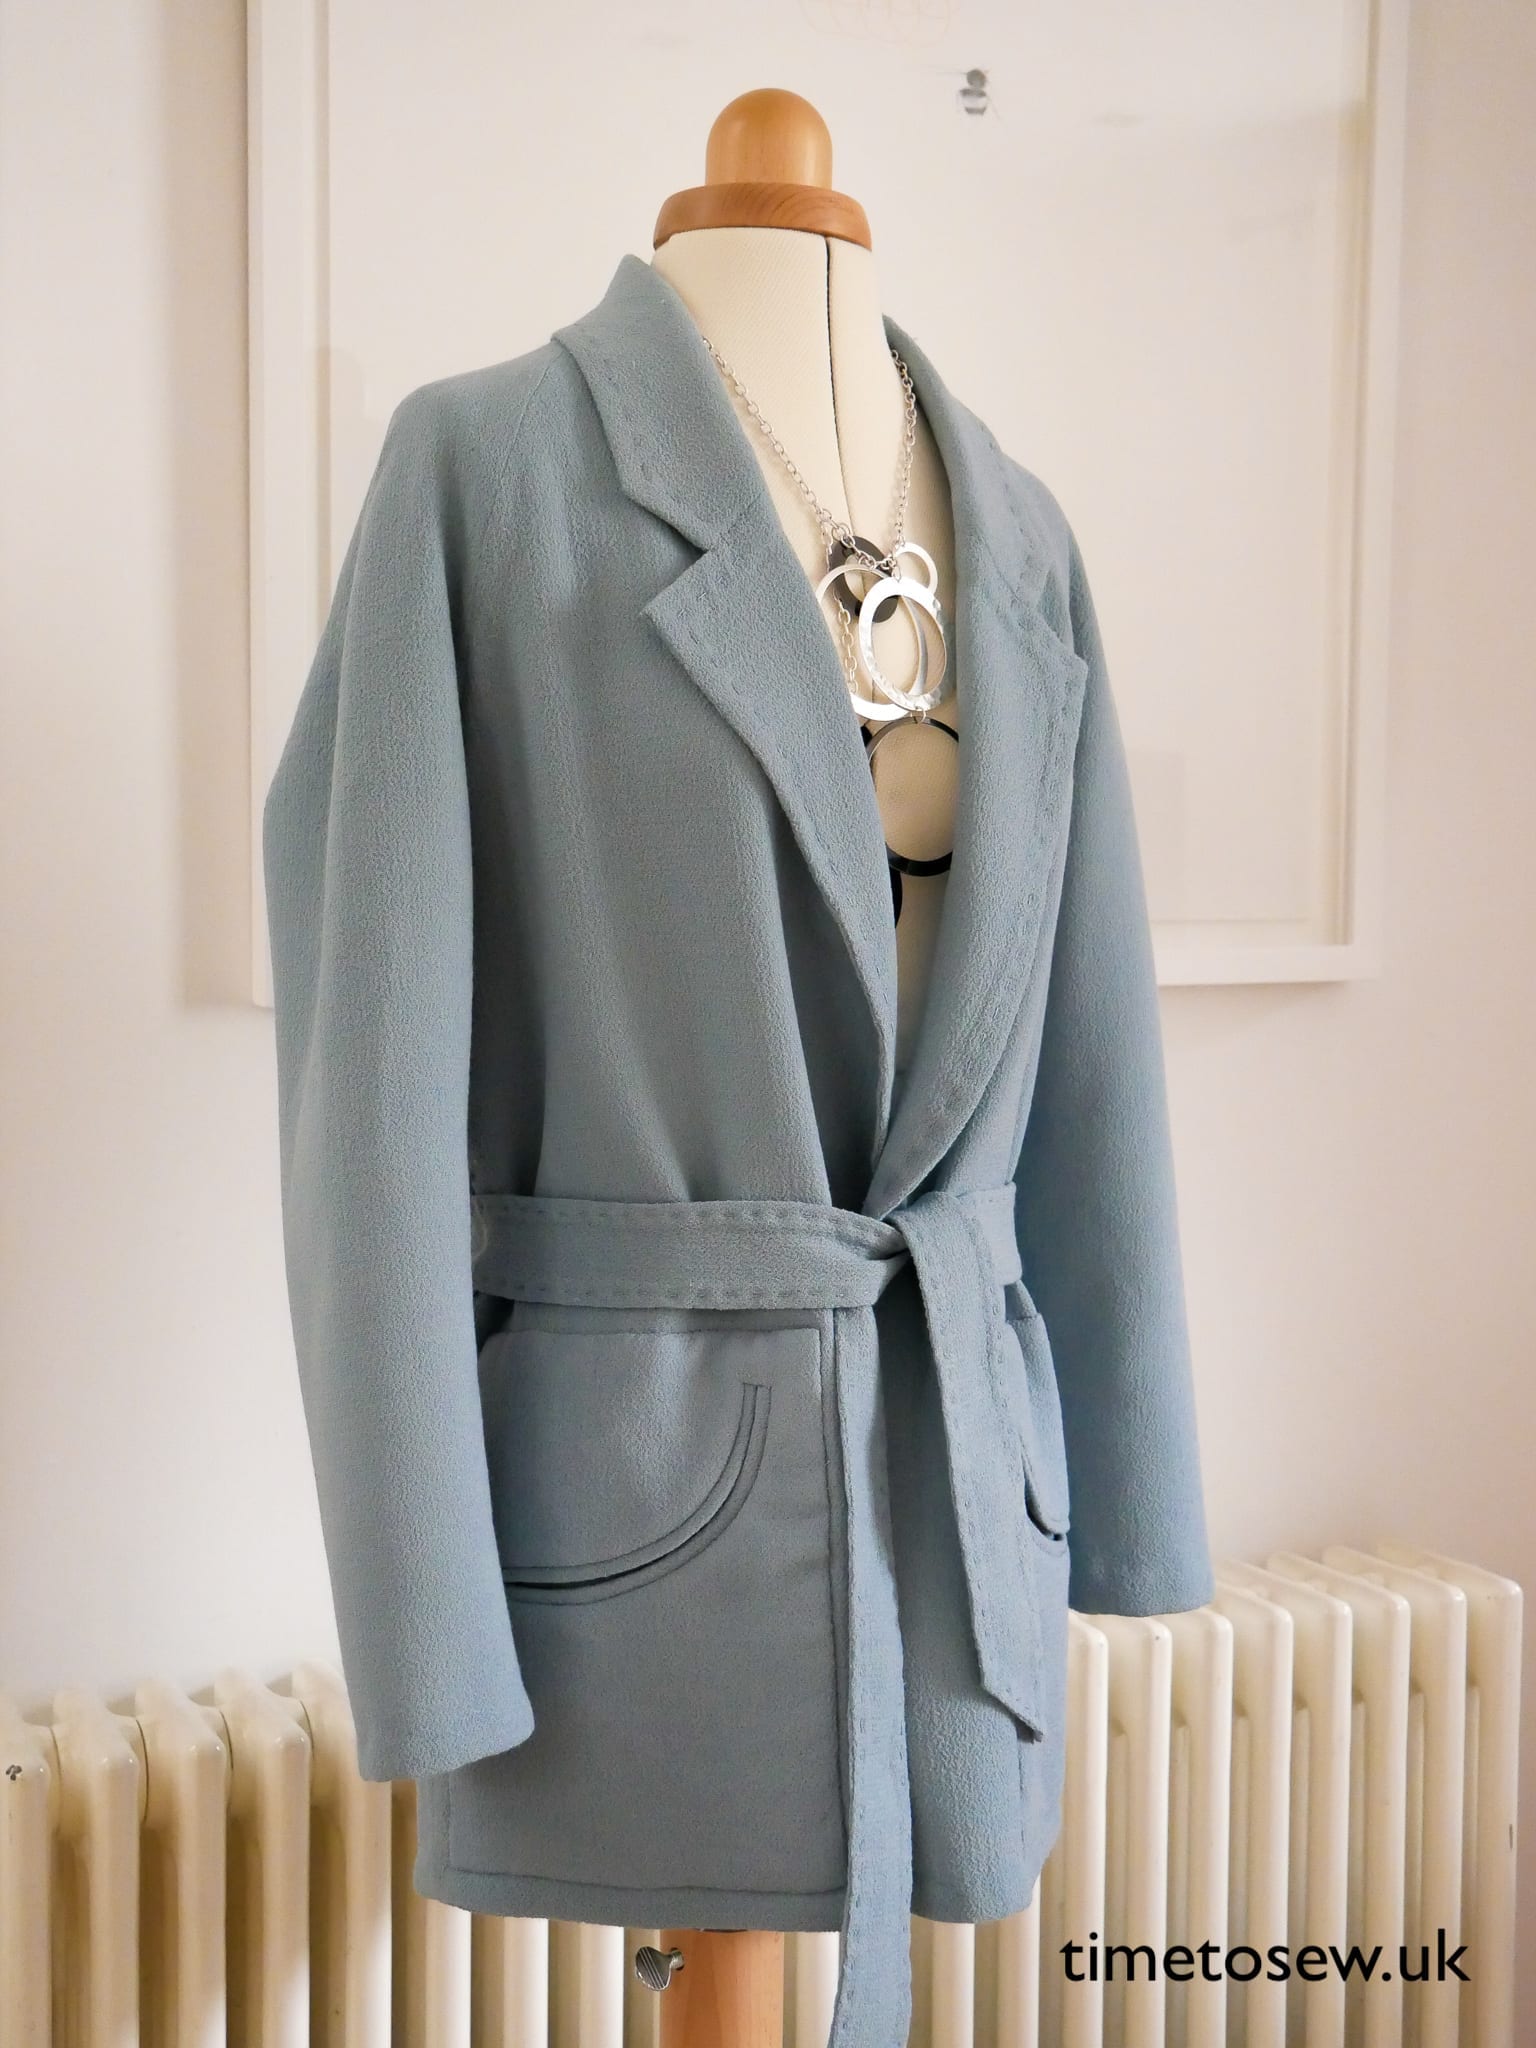
My finished jacket. Probably around 60 hours work
The love part of it meant I signed up to do a whole week of couture sewing to make this jacket. It looks a simple enough to make right? Yeah, right. Besides the full-time Monday to Friday teaching, I also worked on it for at least a couple of hours every night after dinner, and it took up several evenings after I got home. I’m estimating I clocked about 60 hours on this jacket. Even for a professional, this kind of jacket would take the best part of the week.
Couture is personal private luxury
– Jon Moore (couturier, former design director at Hardy Amies)
Happily, my sewing week turned out to be an epic luxury holiday as well as a sewing course – I ate like a queen in a gorgeous house in the countryside, woke up to the smell of roses outside my window and the sound of birds, met lovely sewing classmates who came from the US and Canada as well as locally, and even met an Instagram contact. It was an unbelievable privilege to be away for a week with just me. Especially since I just had to show up and sew, enjoy the outdoors and not worry about anything else. I’m incredibly grateful that I got to go to something like that once in my life and do a bunch of learning at the same time. Not to mention our tutor Jon Moore (read the interview I did with him last year here) is hands down one of the most generous and kind teachers I’ve ever met.
A little afternoon walk
But you’re here about the sewing and not my holiday right?! So, the week-long course was a couture technique course disguised around a jacket that Jon had designed. Here’s some of the main construction details to give you a flavour of some of the stuff we covered (there will be a part 2) – enjoy!
Essential jacket details
- Fabric: Double-faced wool crepe, i.e. two layers of single wool crepe that is woven together. You can separate it but it takes time (don’t ask me how I know). There is only one store where I have ever seen this for sale and that was after extensive internet searching so I’m happy it was provided for us!
- Lining: unlined due to being double-faced.
- Design: Raglan sleeve with canvassed collar, patch pocket with curved double welt opening. Belt loops made from thread. The jacket is reversible as every seam on the inside looks the same as the outside.
Construction notes
Markings
Couture patterns are printed on fabric. The lines are stitch lines with no seam allowances. When cutting out each pattern piece they are cut mostly in rectangle shapes – this is to help you ensure each piece sits perfectly on the grain. You pin along the stitch lines, then flip over the piece of fabric and thread trace along the pins.
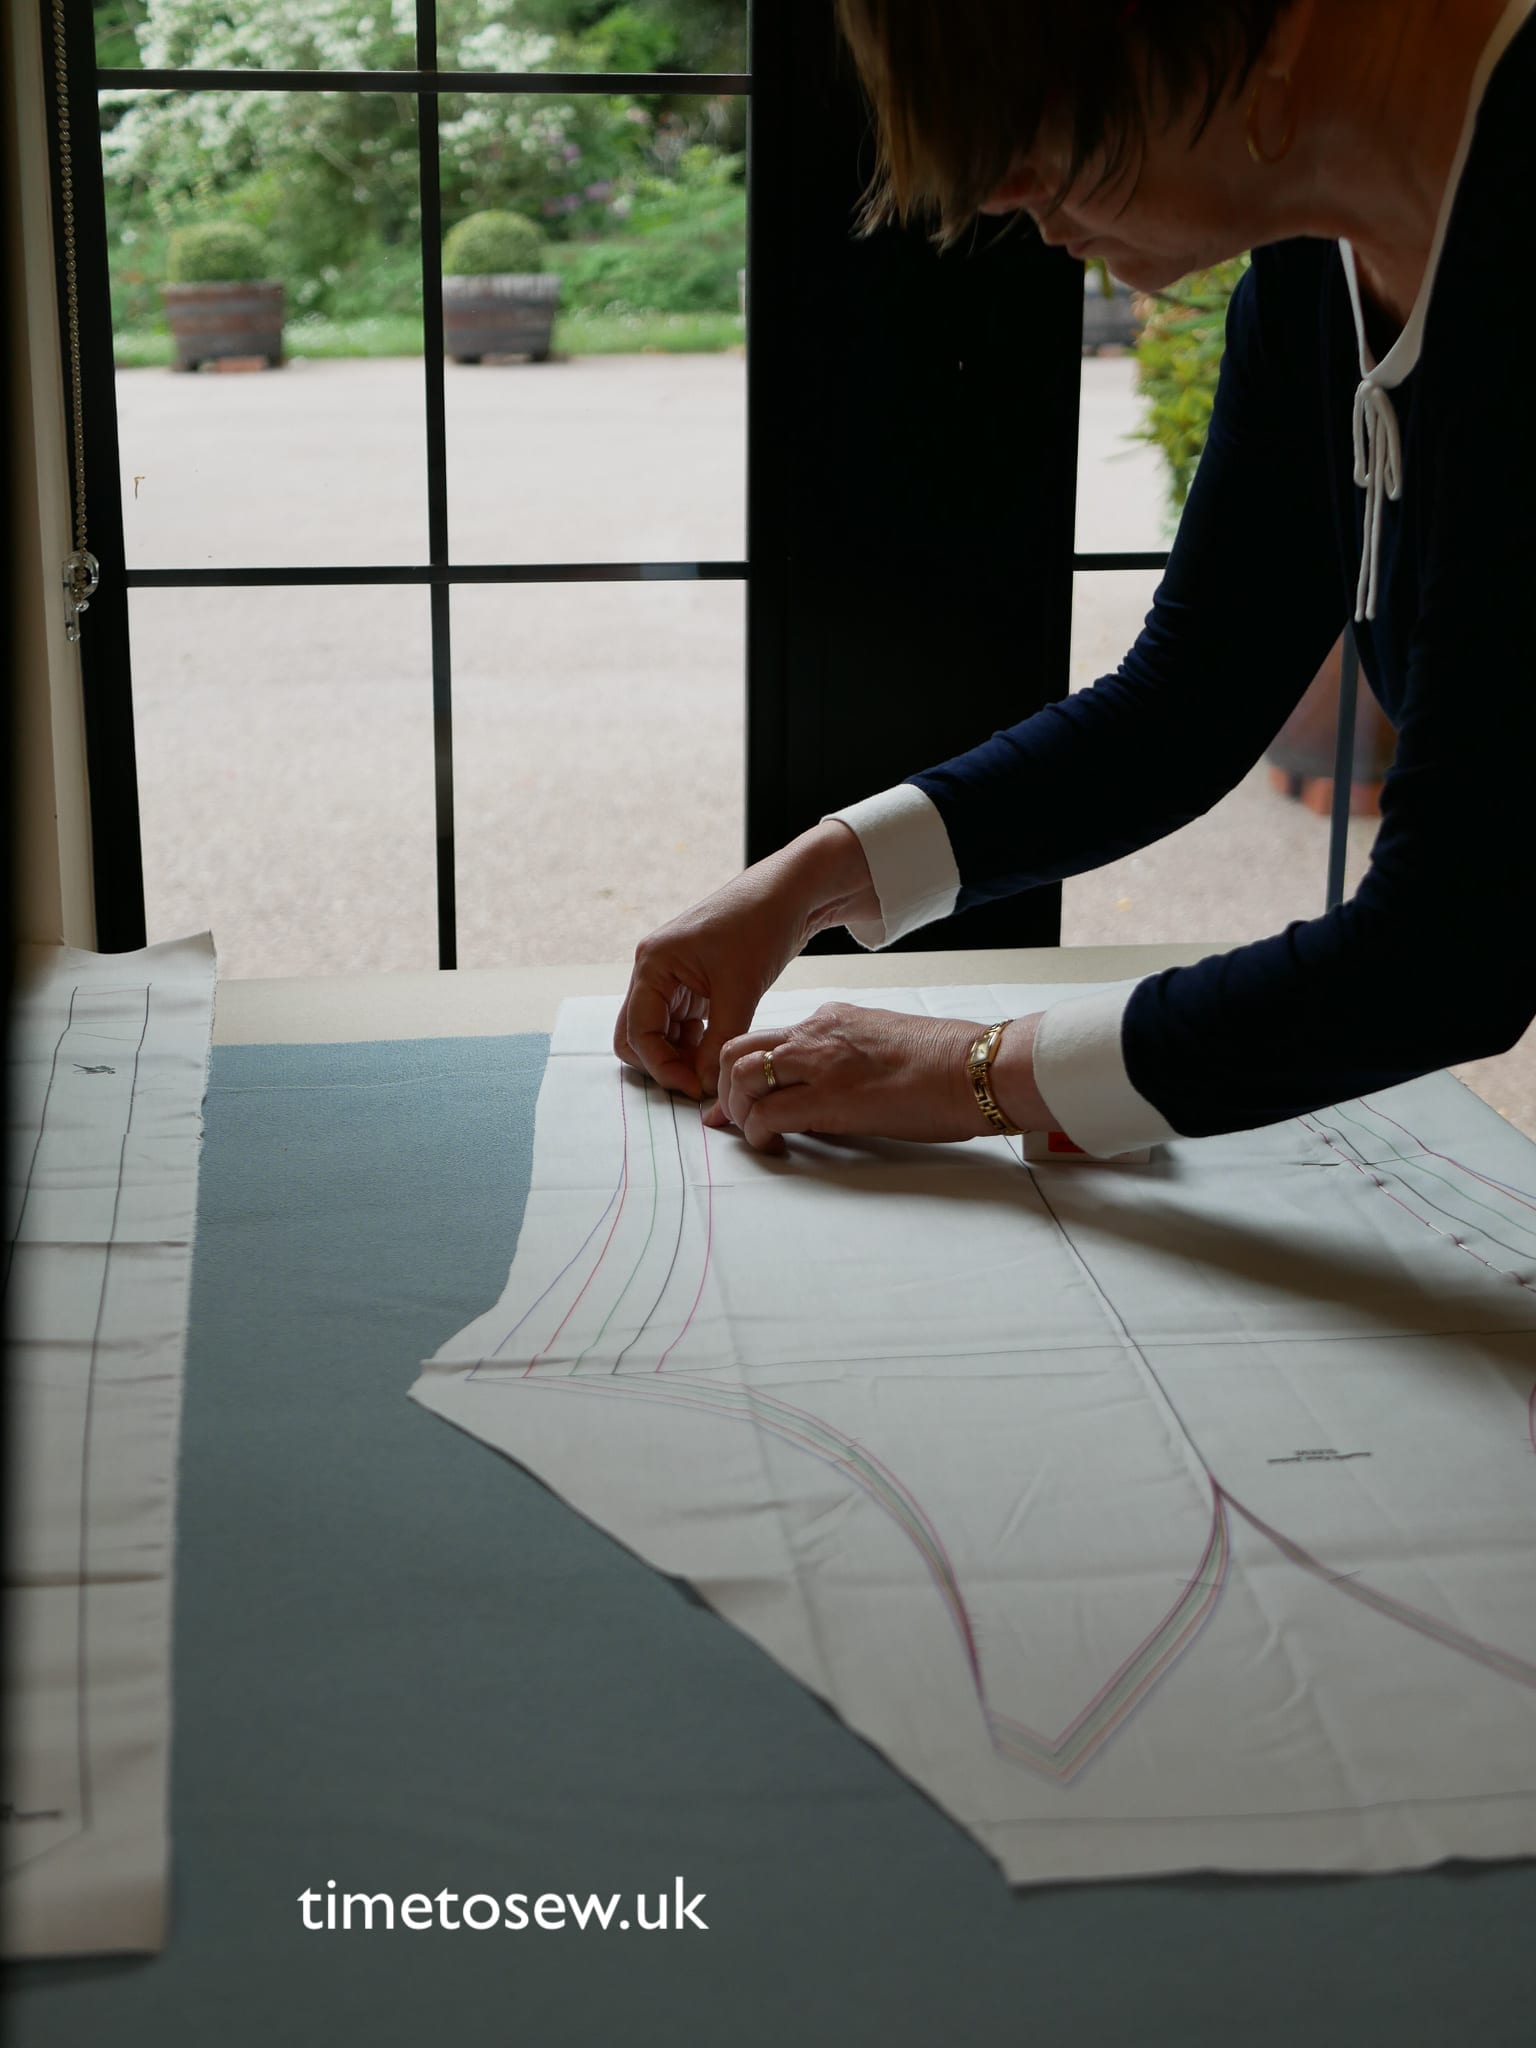
We worked in pairs for the first bit – this is my friend Fhiona. You can see her pinning the sleeve piece; the funny shape towards the bottom of the photo is the top of the sleeve, which is closed with a dart.
Then trim down each rectangle to the shape of the piece, with at least 1” seam allowances. Couture isn’t about the tightest layout you can come up with, it’s about longevity and ensuring you have enough seam allowances in case you need to alter something later. Apparently, it isn’t uncommon for a client to ring up 3 years after something has been made requesting something be let out!
Fitting
This is a loose jacket with plenty of ease, so there weren’t many fitting issues to be had for any of the students. It was more a matter of personal preference (e.g. jacket and sleeve length longer or shorter). Regardless, Jon makes patterns with 3” grade (i.e. 3” between sizes, so you could have a 34″ bust for example and the next size up has a 37″ bust). This is more than most commercial patterns (2” grade) so I think becomes even easier to fit.
In couture, every stitch has preparation. Stitch lines are all marked during the cutting stage, every seam is basted together before being properly stitched down (whether by hand or machine) to ensure accuracy.
To minimise any machine unpicking which comes with the potential for leaving marks and stretching out the fabric, it is preferable to use loose stitches for fitting which can be pulled out easily. Pin the pieces together along the stitch line, and tack the pieces together with basting thread using a running stitch before machining.
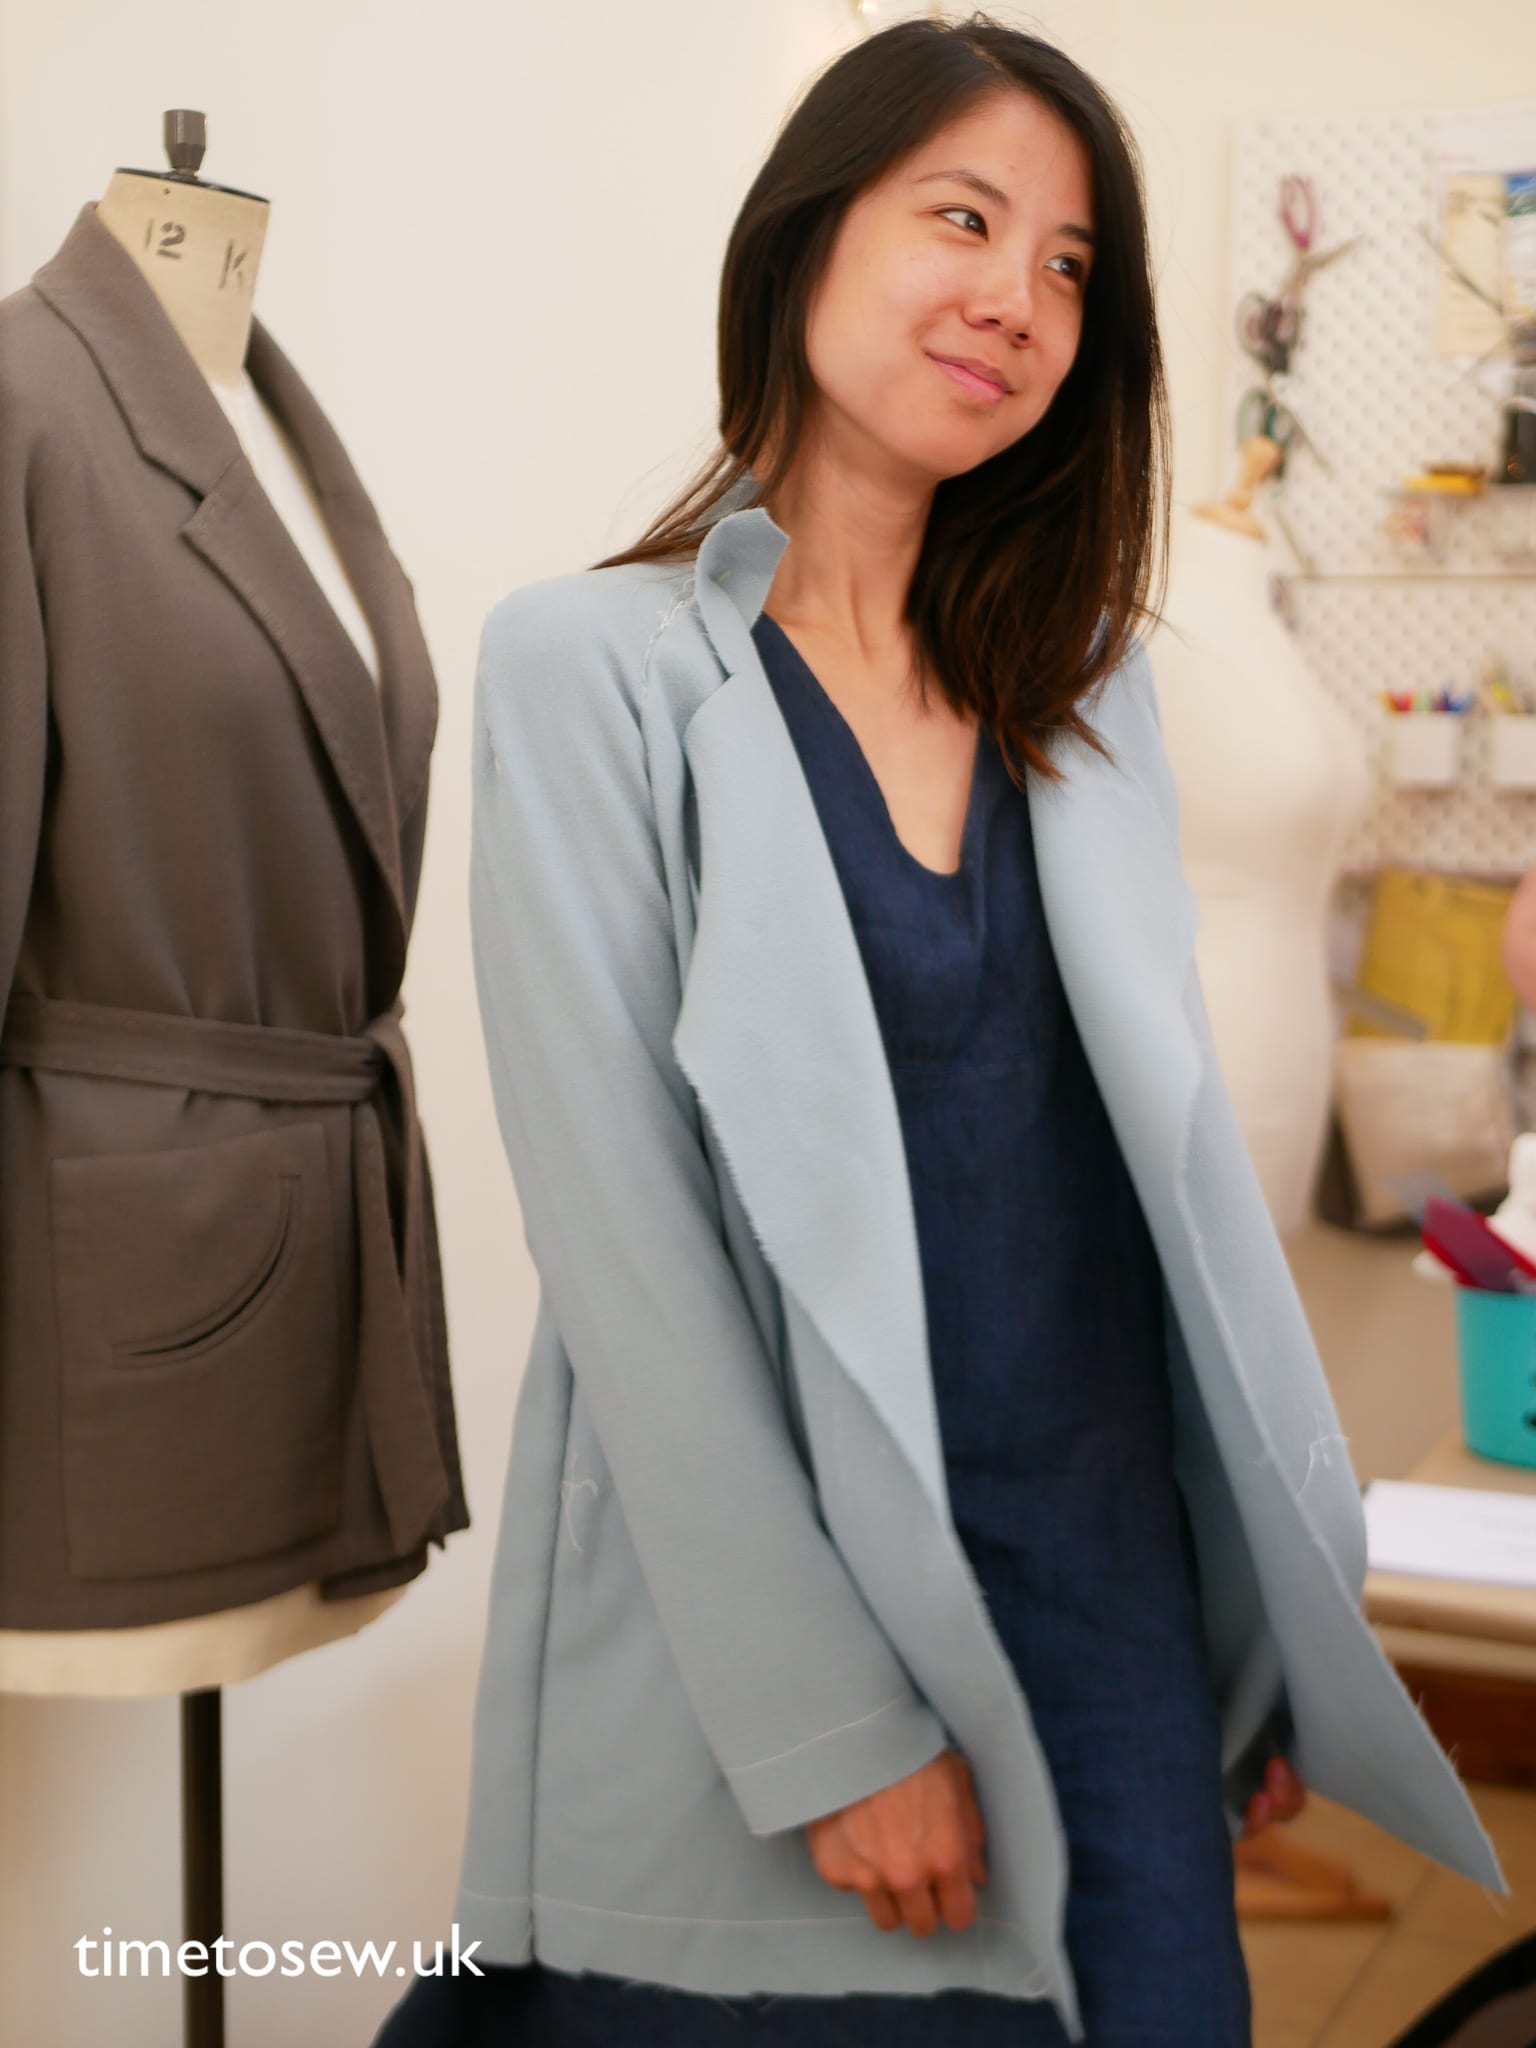
My jacket shell basted together. You can see the finished sample in the background.
PS – a note on basting thread – this is usually 100% cotton which snaps easily. You don’t want it to be difficult to pull out later on; removing tufts of hairy threads with tweezers from your machining line ain’t fun.
Working with double-faced fabric
The underarm seams, side seams and the raglan arms were the most time-consuming and frustrating part of the whole course. This was because of the double-faced wool crepe – it’s kind of like double gauze but held together a lot more securely with a LOT of thread. Which needs to be cut apart without putting a hole in the fabric to achieve a clean finish on the inside that looks the same on the outside (the point of using double face in the first place).
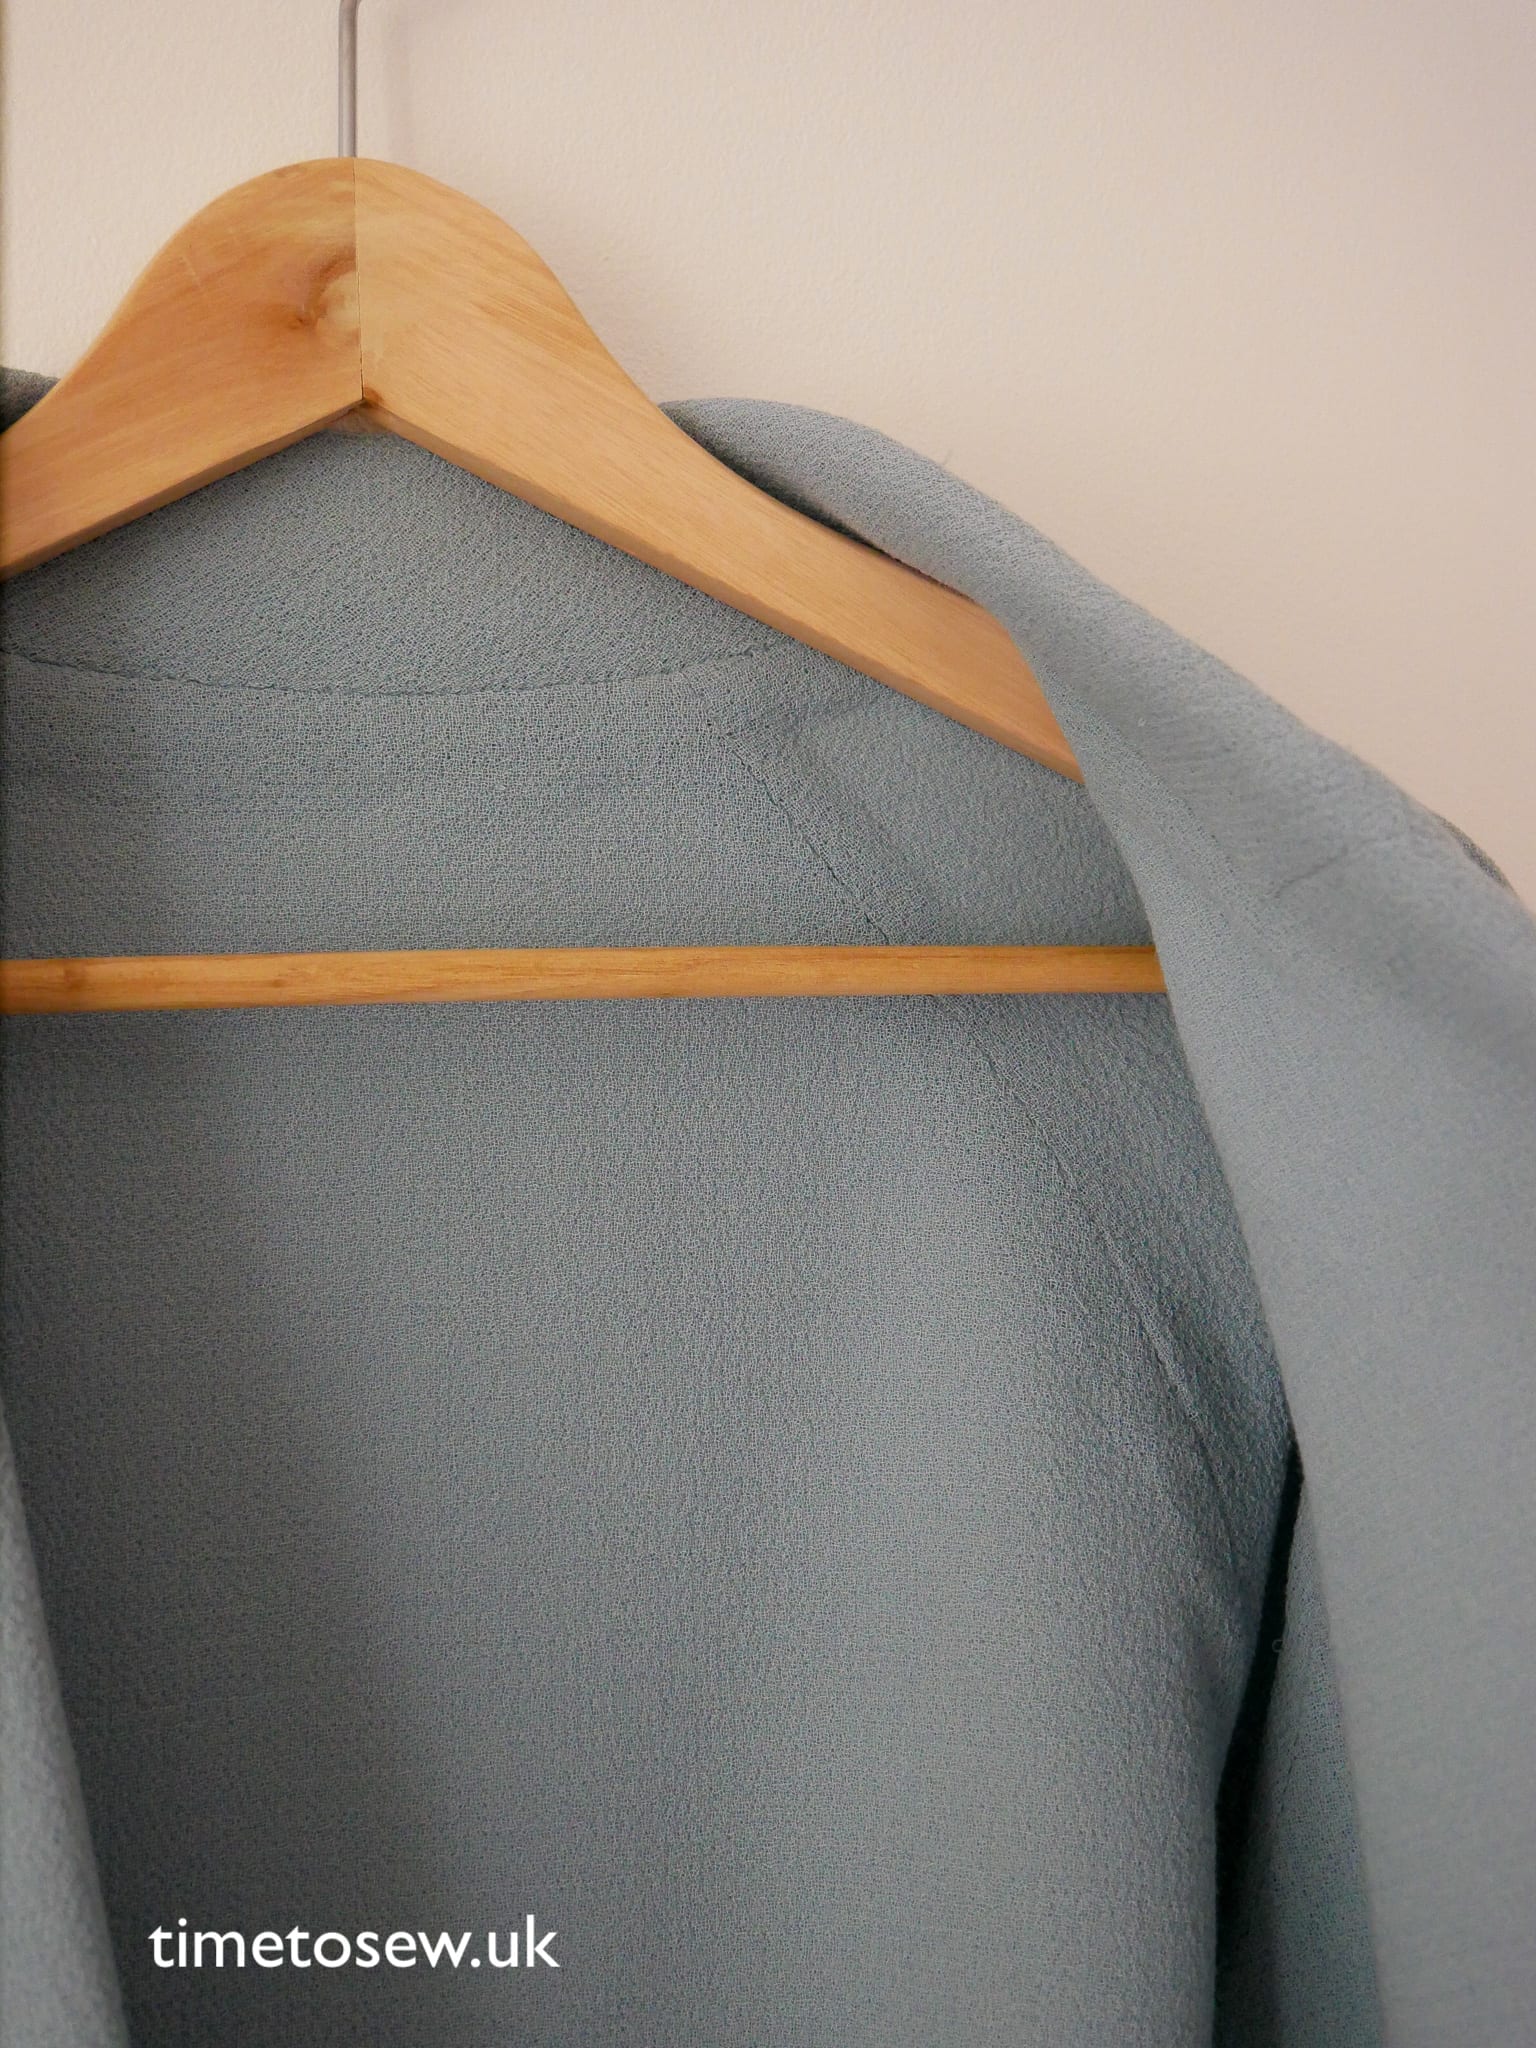
A view of the finished seams on the inside.
To do this, you first separate the fabric at each seam edge to end up with two layers. Then when you join pieces together you machine only one layer of fabric on each side. Press open and grade the seams you just sewed. Then fold over the unsewn layers, and hand stitch together.
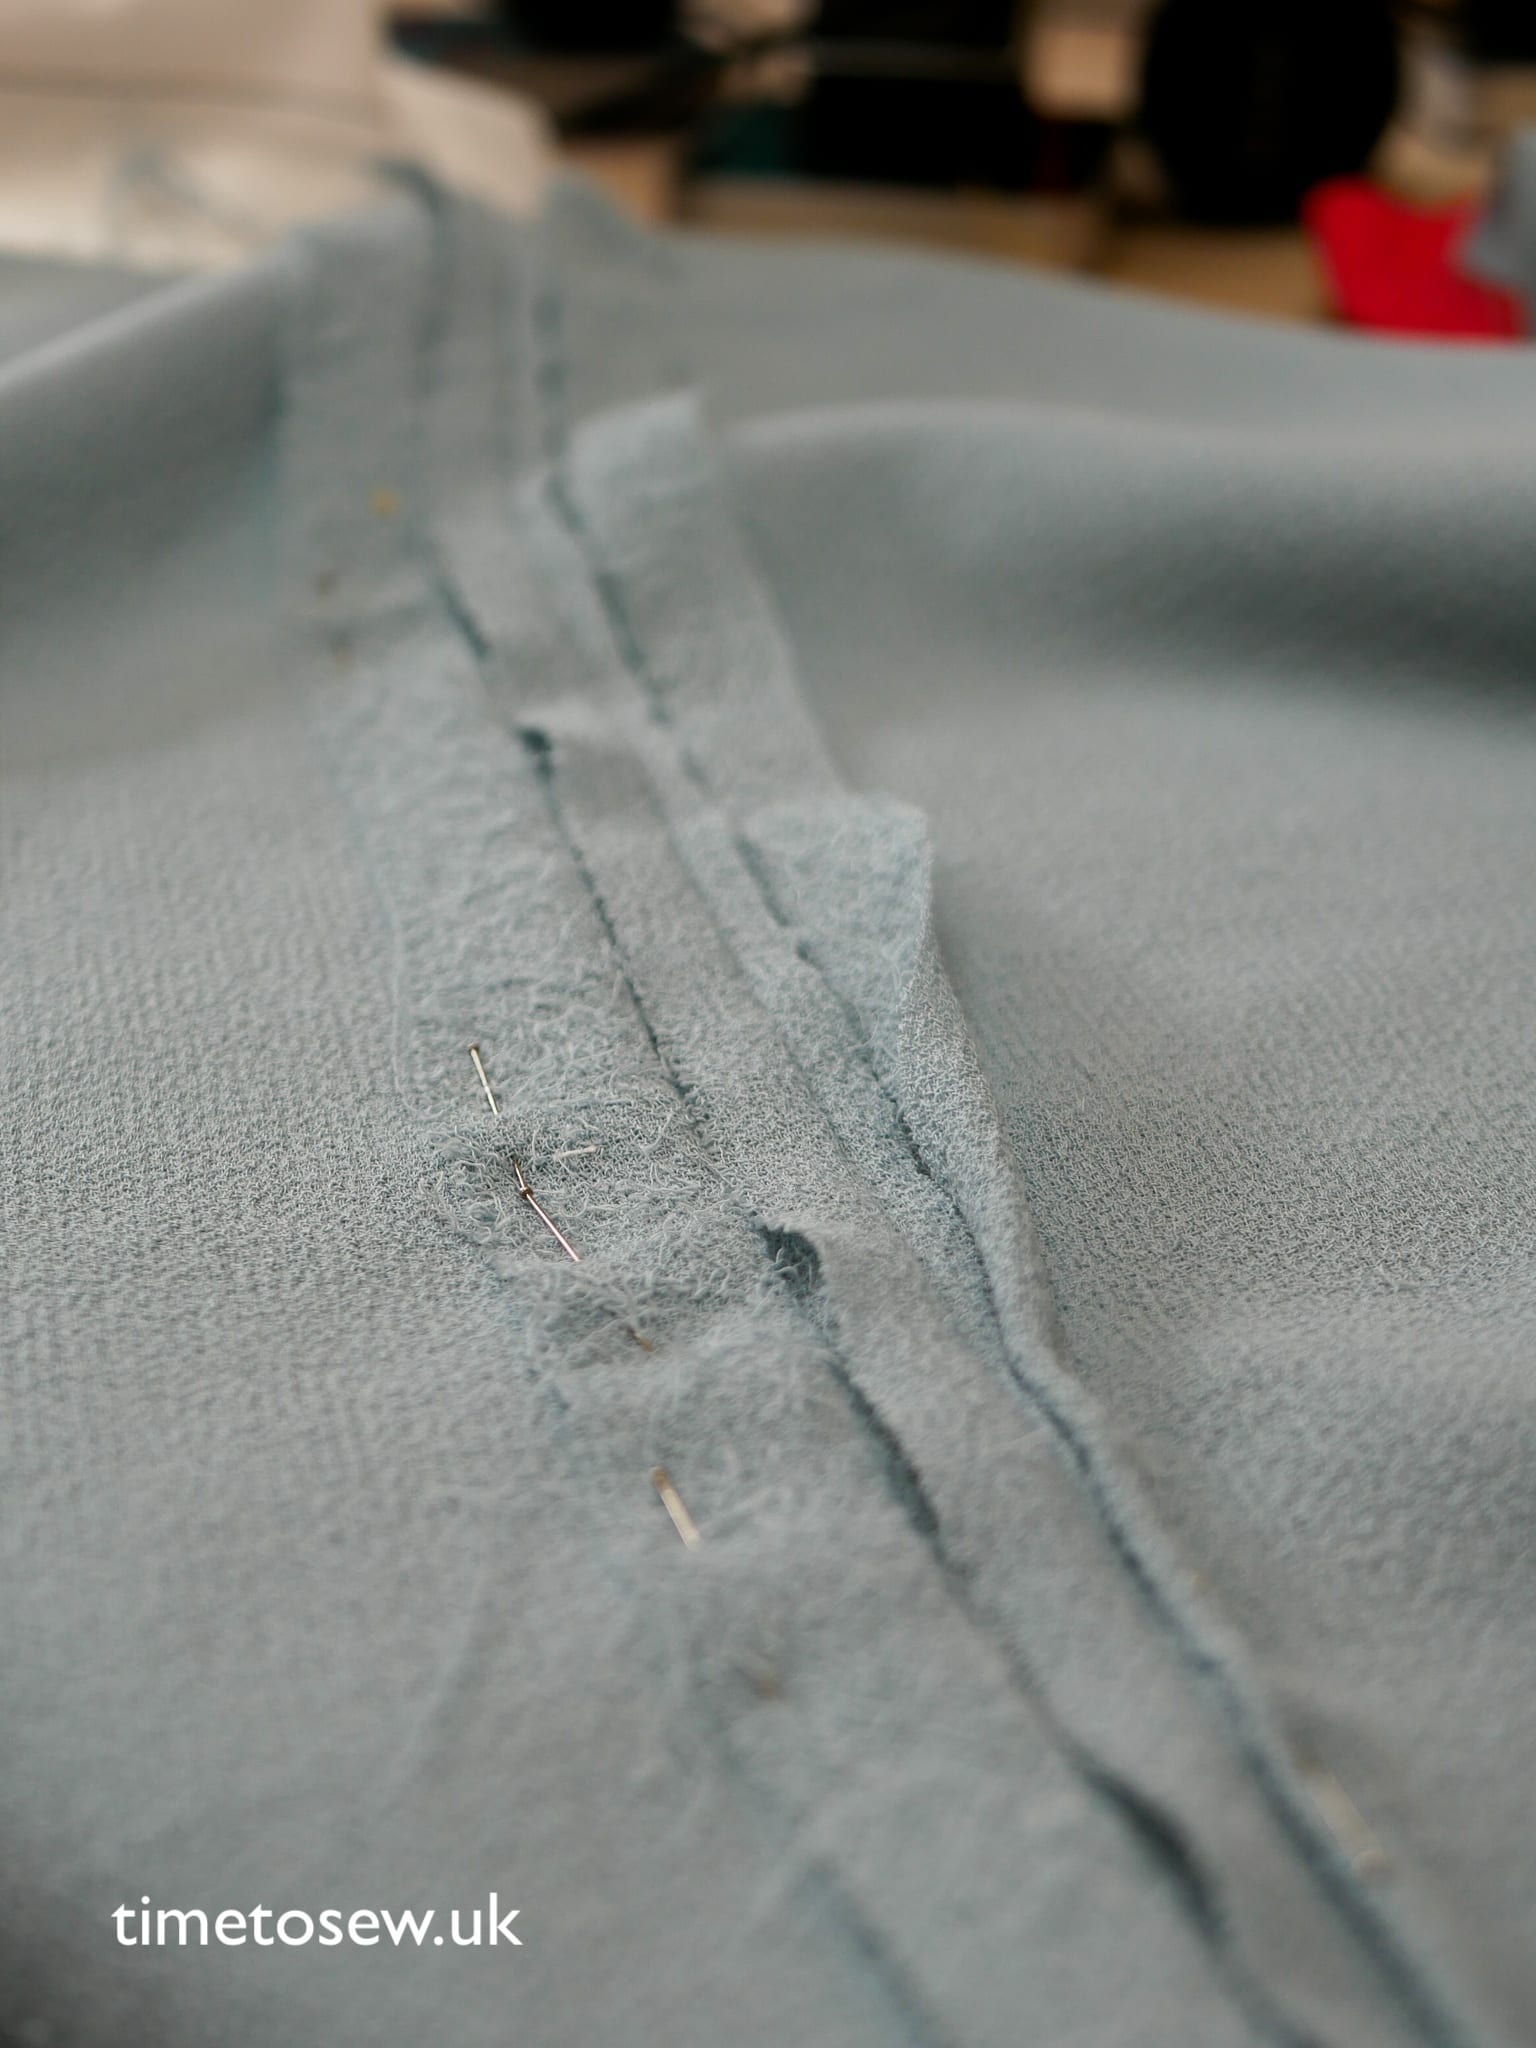
The middle bit is machined and the seams trimmed down. On the right side (without the pins) you can see where I’ve folded it over. It needs to be repeated on the other side then you can stitch both together.
—
That’s it for today, are you feeling tired yet just thinking about this kind of sewing? Next time – collar, pockets, and finishings – and lots more pictures to come! Read it here

6 comments
Beautiful work Kate!! I always loved double faced wool…
I think there is something to be said about the time that goes into making a single garment, I just completed the french national exam (CAP Vetement Flou), and it took me 14.5 hours to cut, fuse, stitch and press an entire garment, and there were no couture techniques involved at all. Because our home sewing sessions are cut in chunks and we tend to lose ourselves in the sewing, we may be systematically underestimating the time it takes us to complete garments!
Hi Delphine, the hardest part was the intensive sewing for a whole week – I could not imagine doing this as a job (couture or not), even with nice breaks. I do a lot of imaginary sewing, as you say the actual sewing sometimes just takes too much time! Like many of us I have lots of ideas. But whether they make it into being is a totally different matter.
What an epic feat! Congratulations on creating such a beautiful jacket – it’s truly lovely 🙂
Thank you! It was epic, not sure I can handle another project like this anytime soon. It was the intensive sewing that made it hard I think. Huge admiration for anyone who sews for a living
I’ve never heard of double faced wool before (probably had seen or even touched it without knowing), I’m so amazed by the seaming that can be done with this fabric. And the coat is such a labour of love and sweat! Each step is a huge understatement. Threading tracing…two words that translate to 5 hours maybe? Separating the wool layers for each and every seam…another 5 I imagine! And it’s actual intense work, like non-stop holding scissors for hours. I’d be seeing stars after an hour! Thanks for sharing the journey, looking forward to the next part!
Wow! That jacket is incredible, the colour is beautiful and spending such a long time on a project makes it so special.