
Welcome back to part 2 of my download on making a jacket using couture techniques! I made most of this jacket in a week-long residential sewing course – you can read about the details of the course, thread trace marking, fitting, and seam finishings in part 1 here.
The style of this jacket was ideal for learning and practising couture techniques. Because the fit is simple and there’s not a lot of pieces to manage, you could really pay attention to the details.
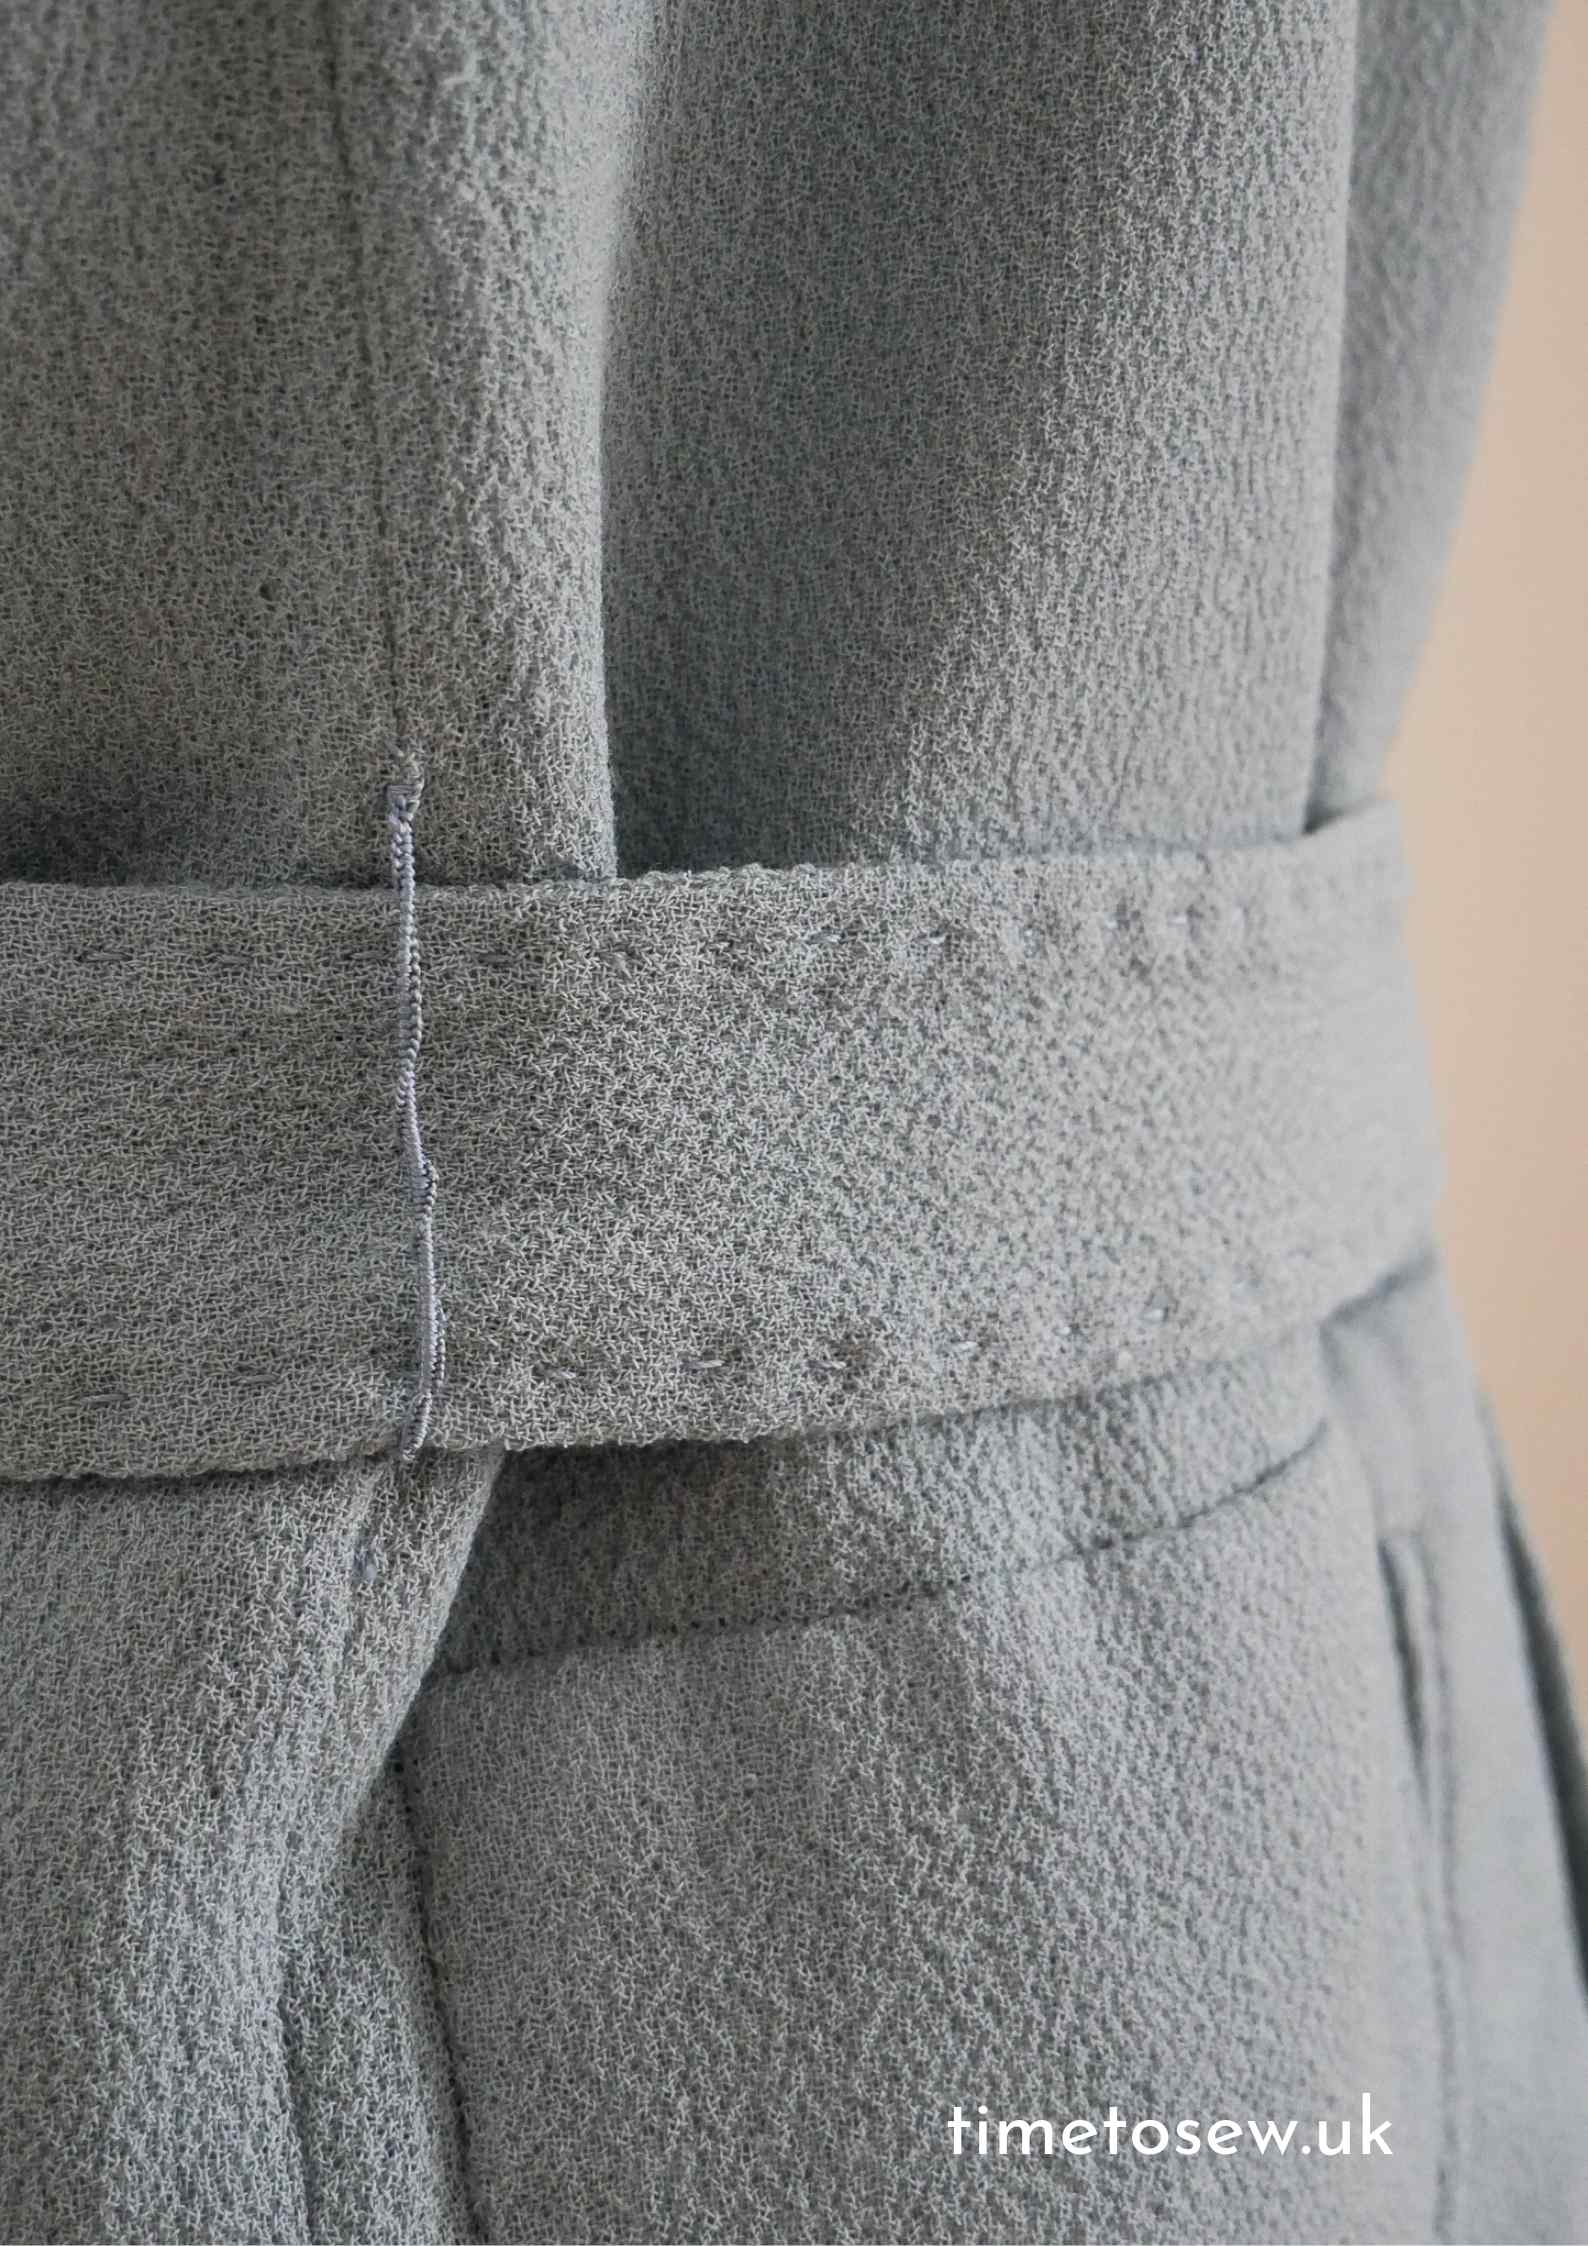
Pockets
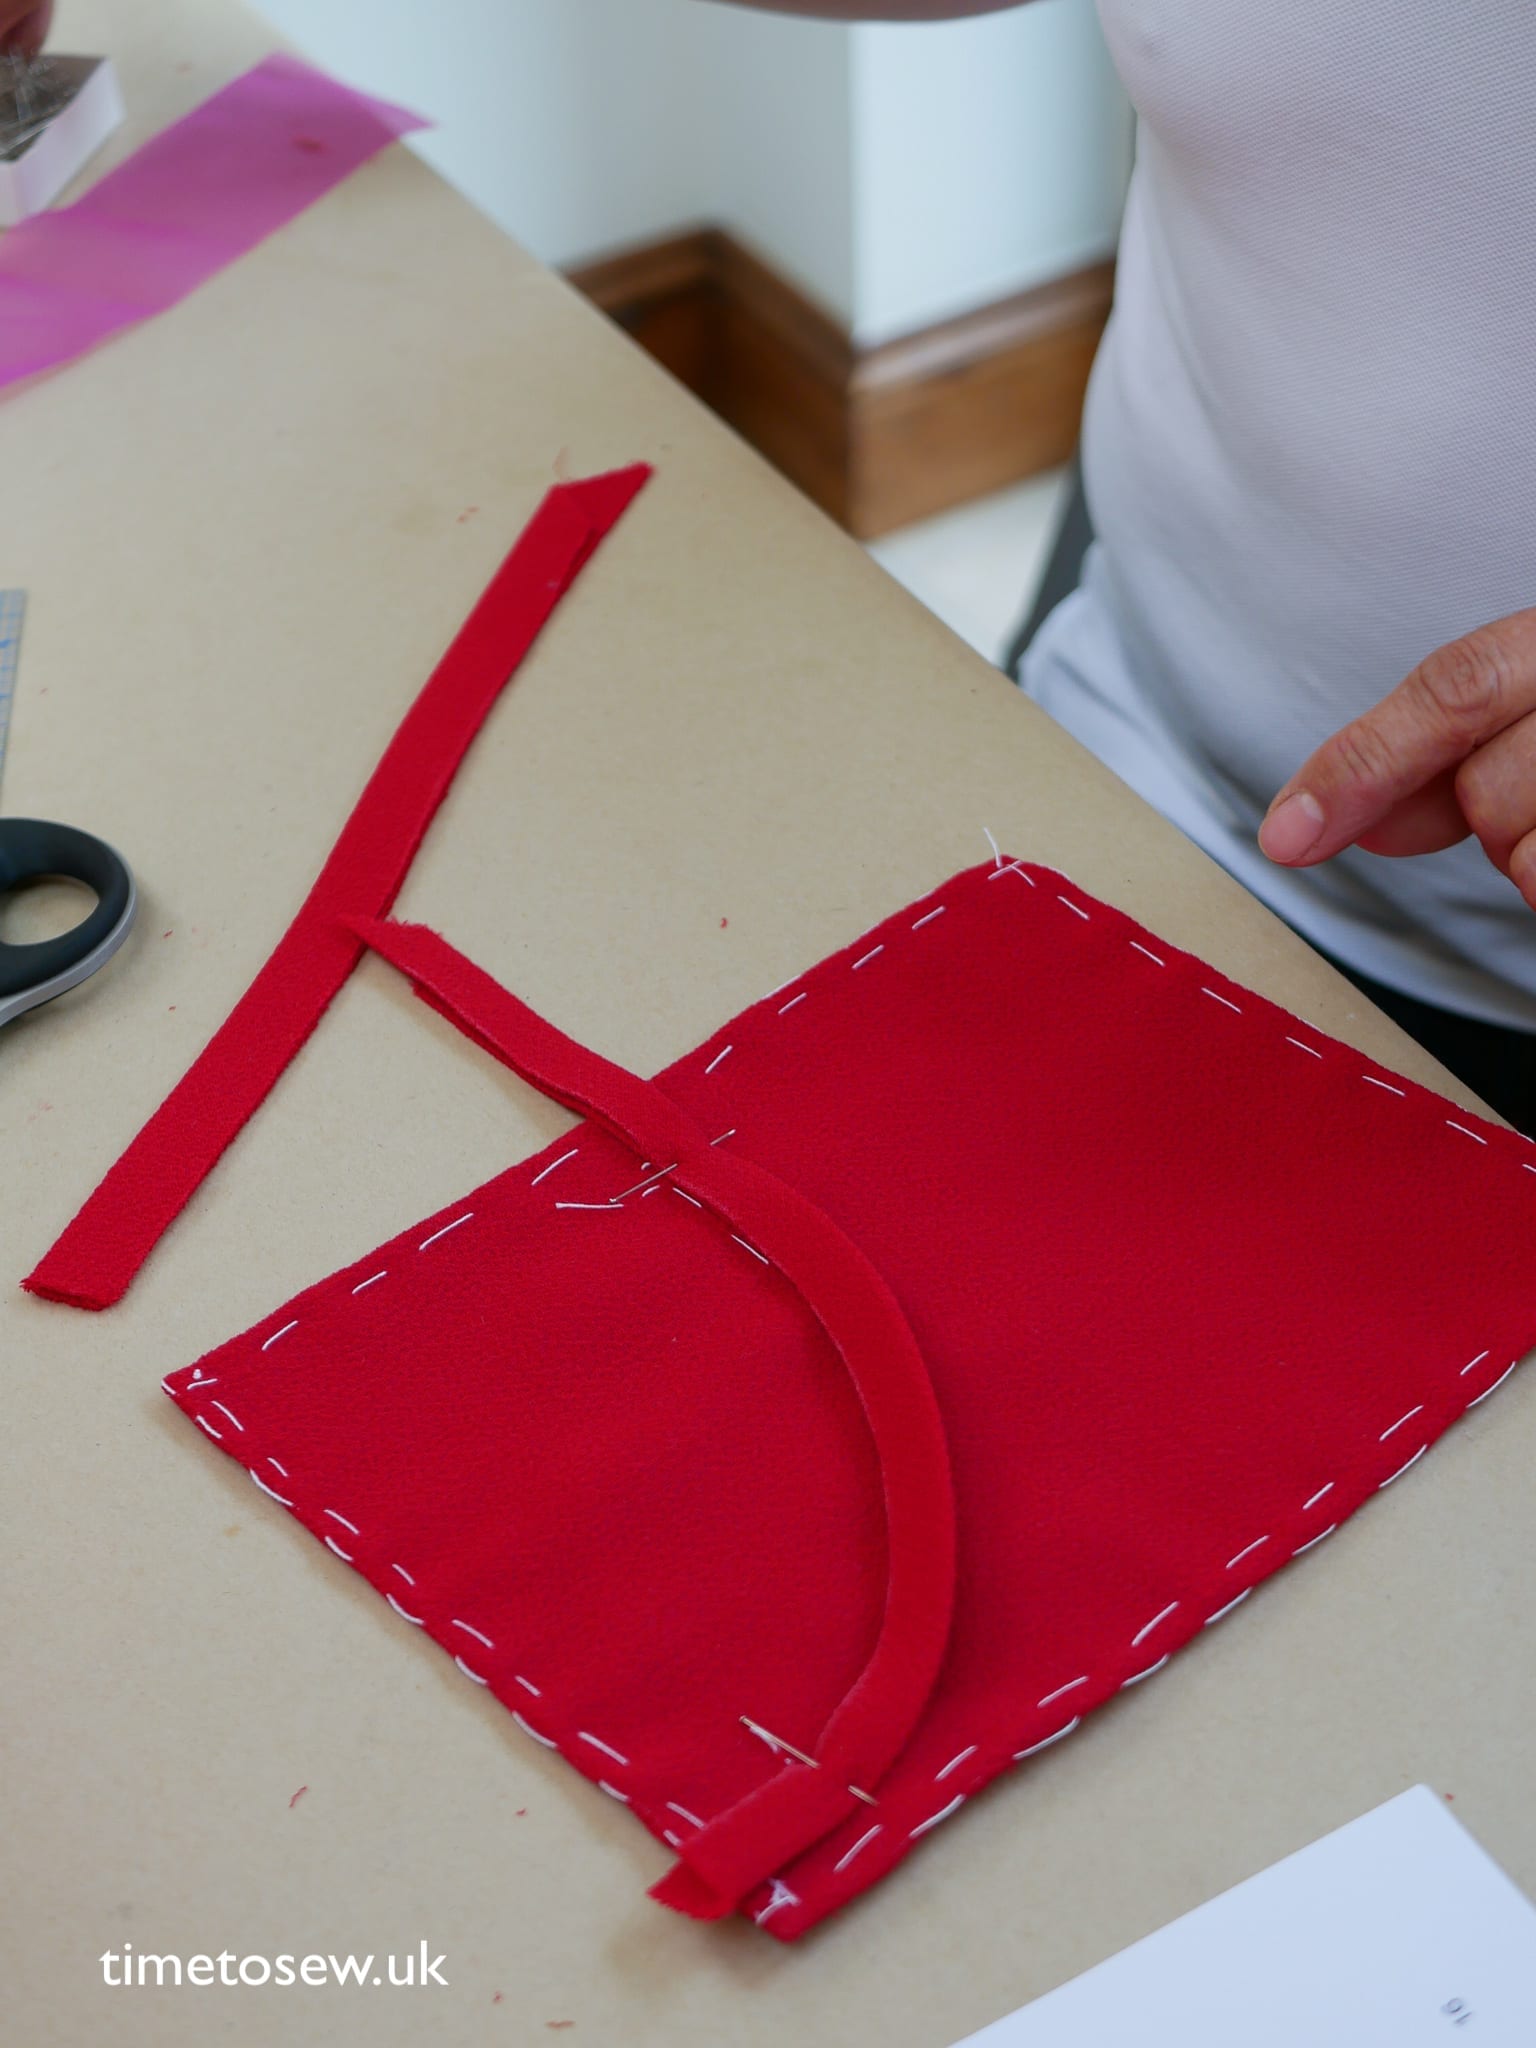
I never knew that pockets could be quite so involved. First, the fabric is split into a single layer as the double is too thick (see the previous post for what I mean on working with double-faced fabric), then it was interfaced with habotai silk (sewn in by hand using stab stitches). Then add a piece of organza to support the welts.
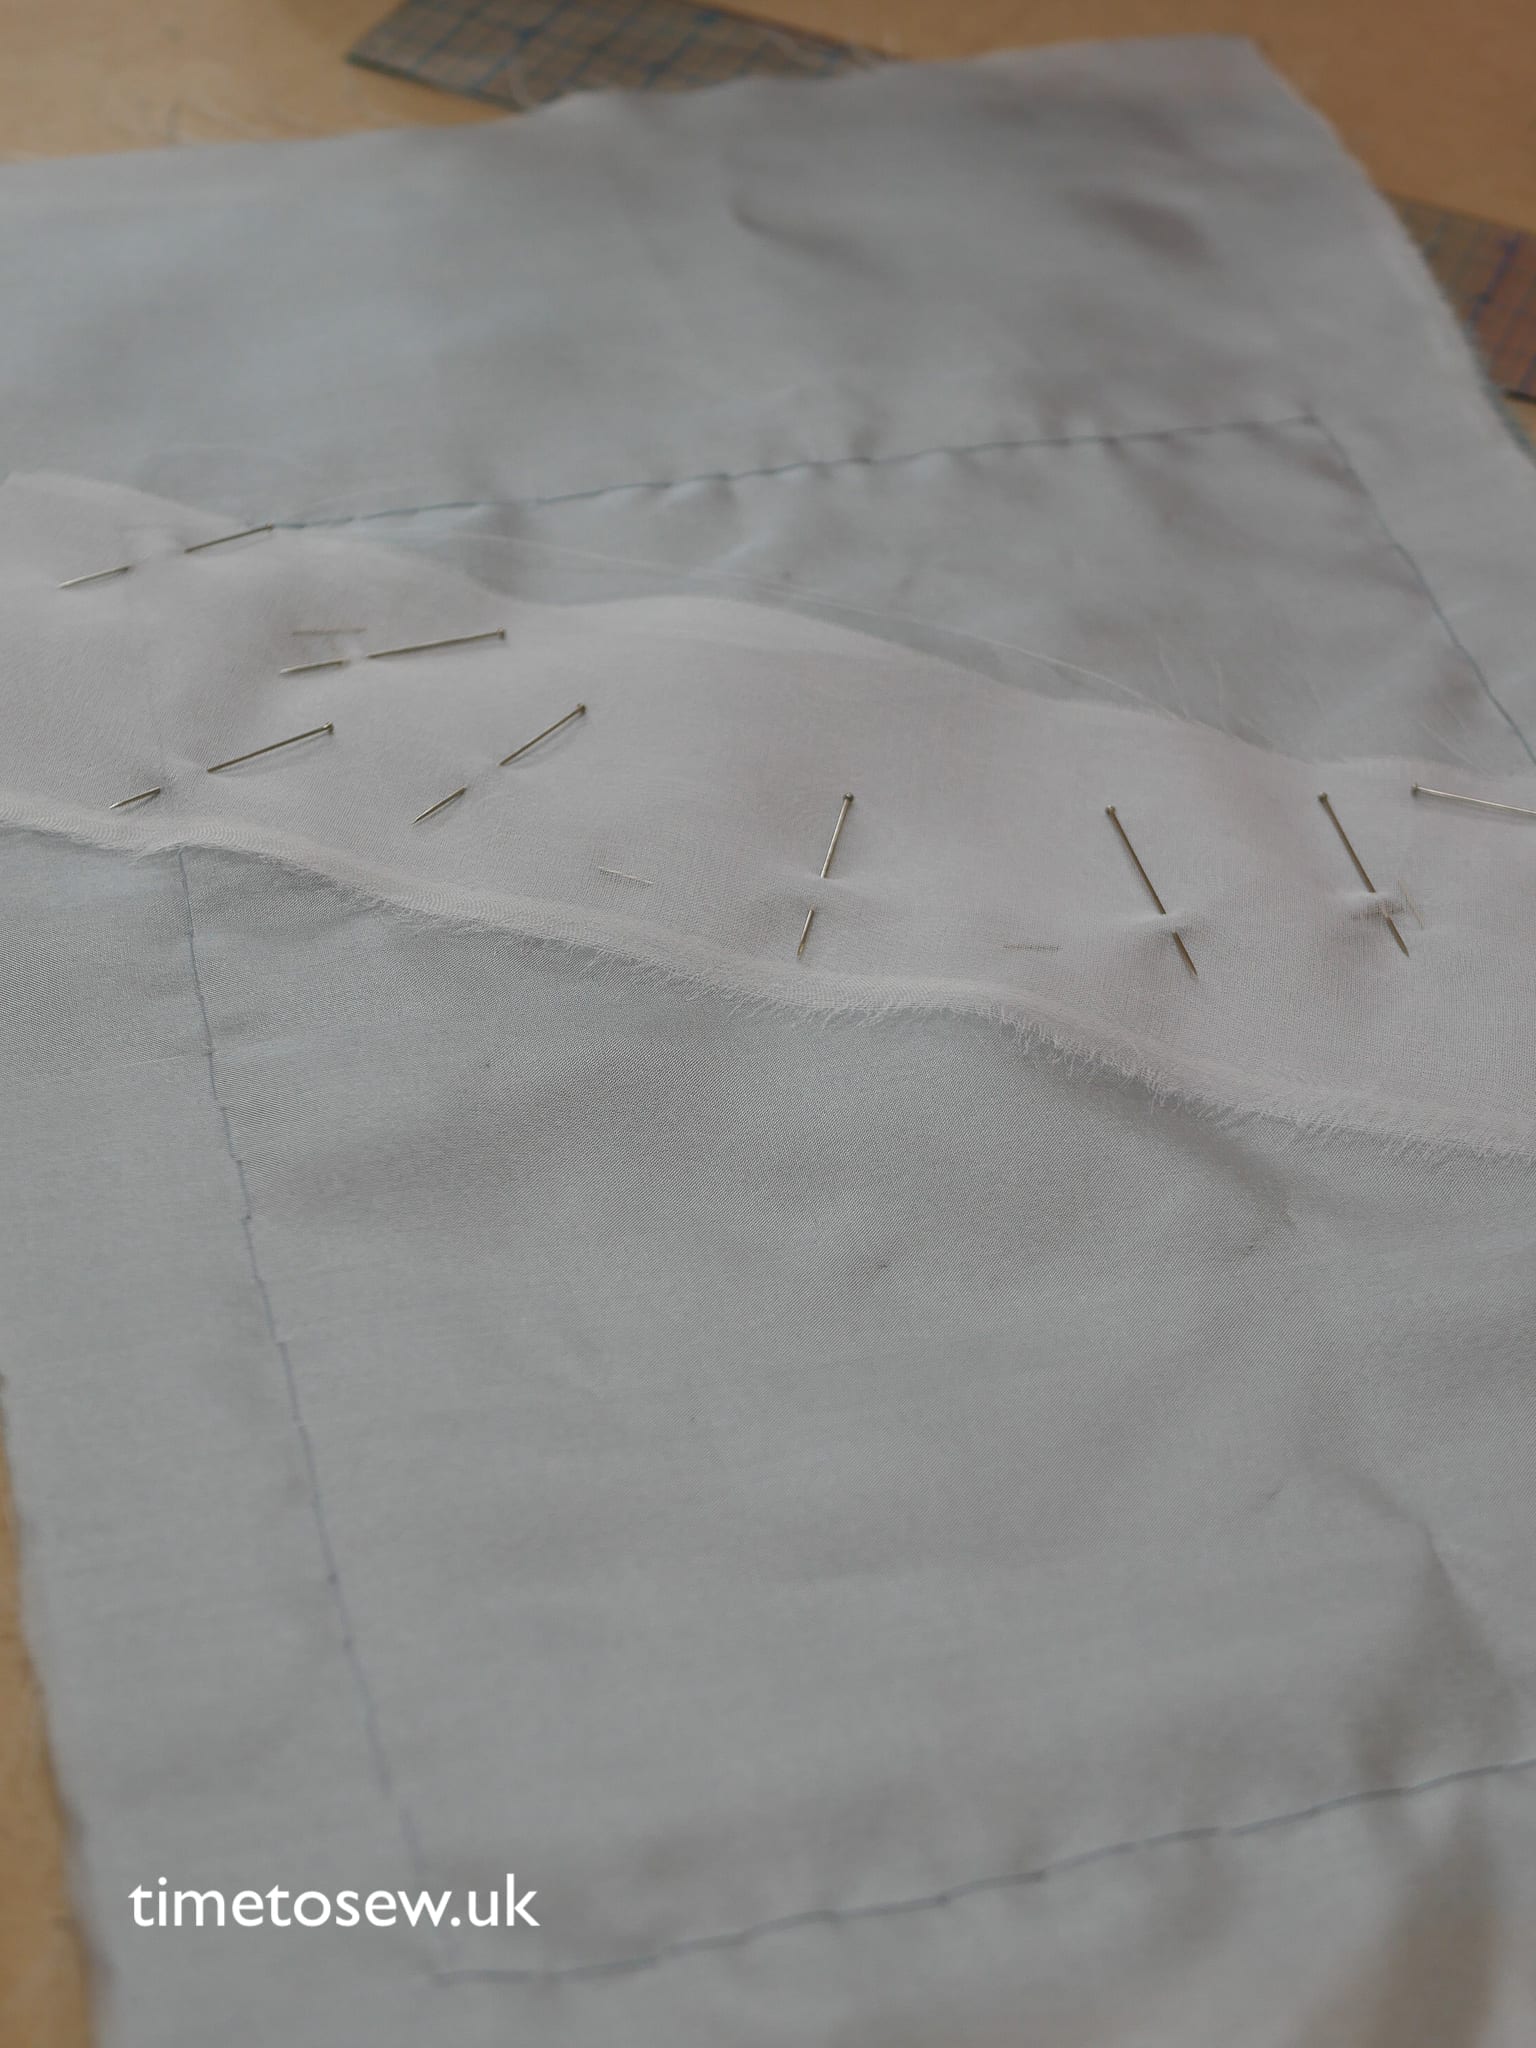
After the pocket has been strengthened, turn it over and attach the welts. Finally, turn the edges in and tack down, then stitch the silk satin lining. Hurrah, it is finally ready to be stitched onto the jacket!
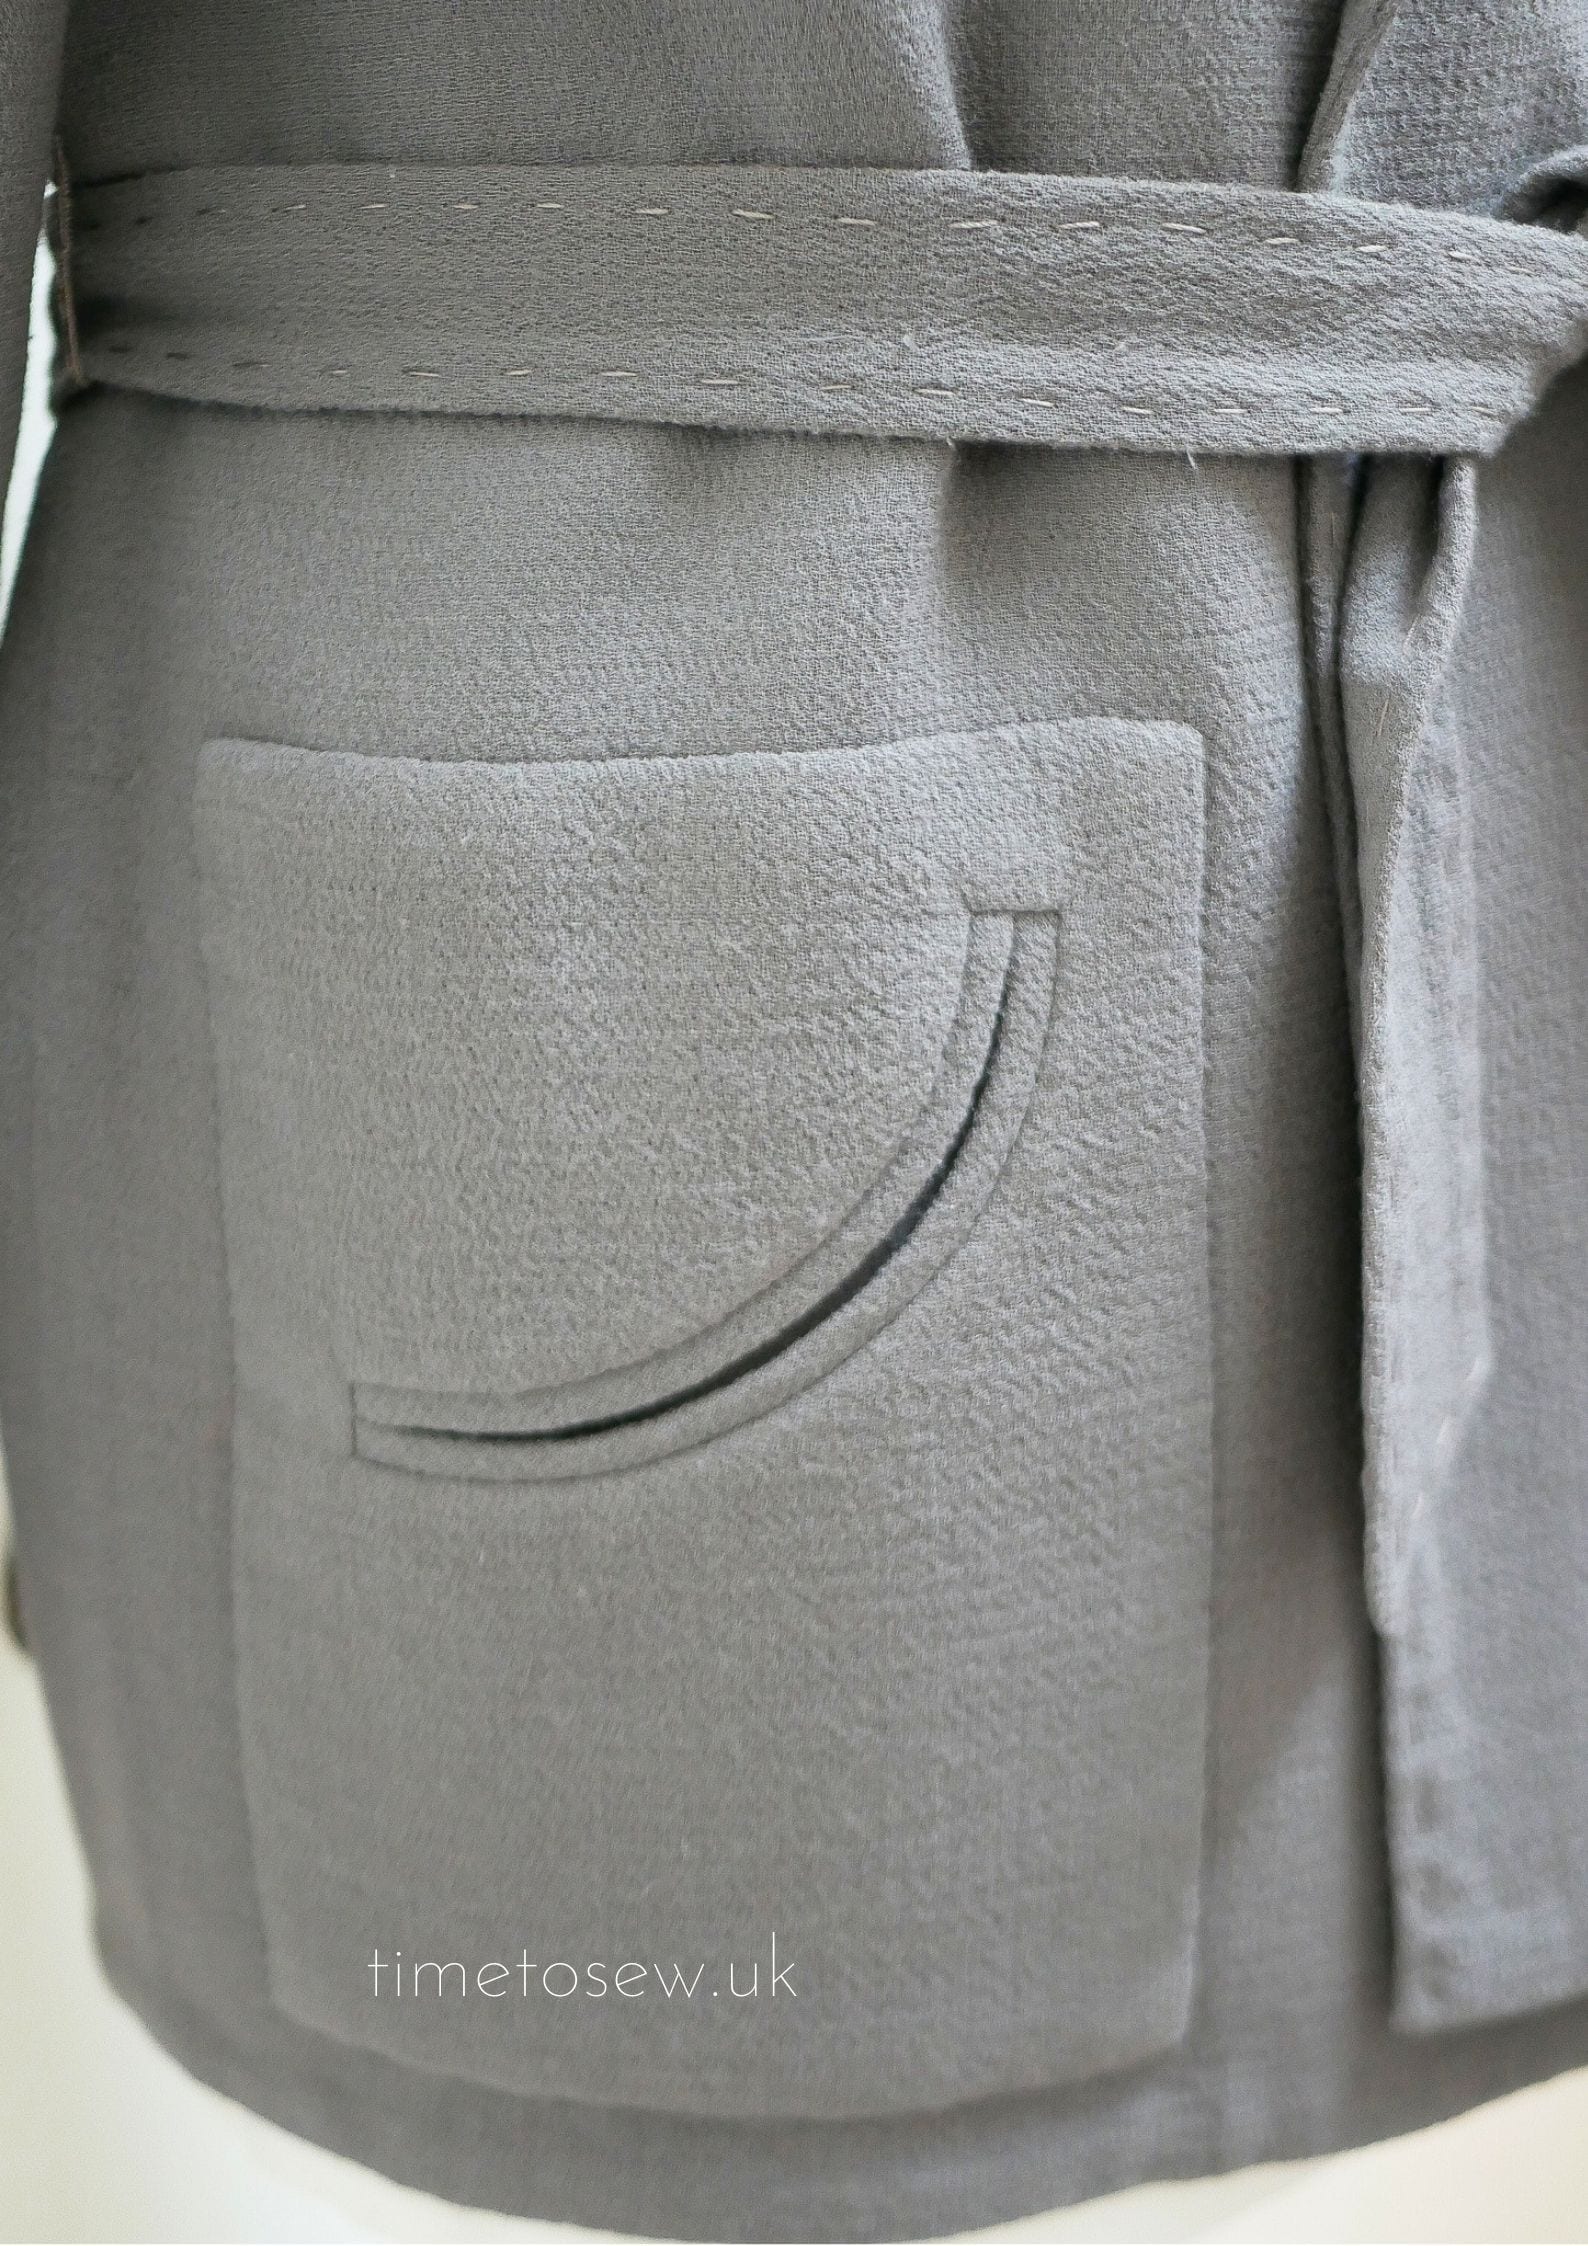
Making these pockets was an exercise in repeating the typical couture process that is temporary stitching (tacking or basting), permanently stitching, pressing, then removing the tacks. The pictures speak for themselves and my pockets were terribly wonky from handling by the time I finished – so no picture! But they were straightened up when I sewed them on the jacket and then got a good press so they turned out ok in the end.
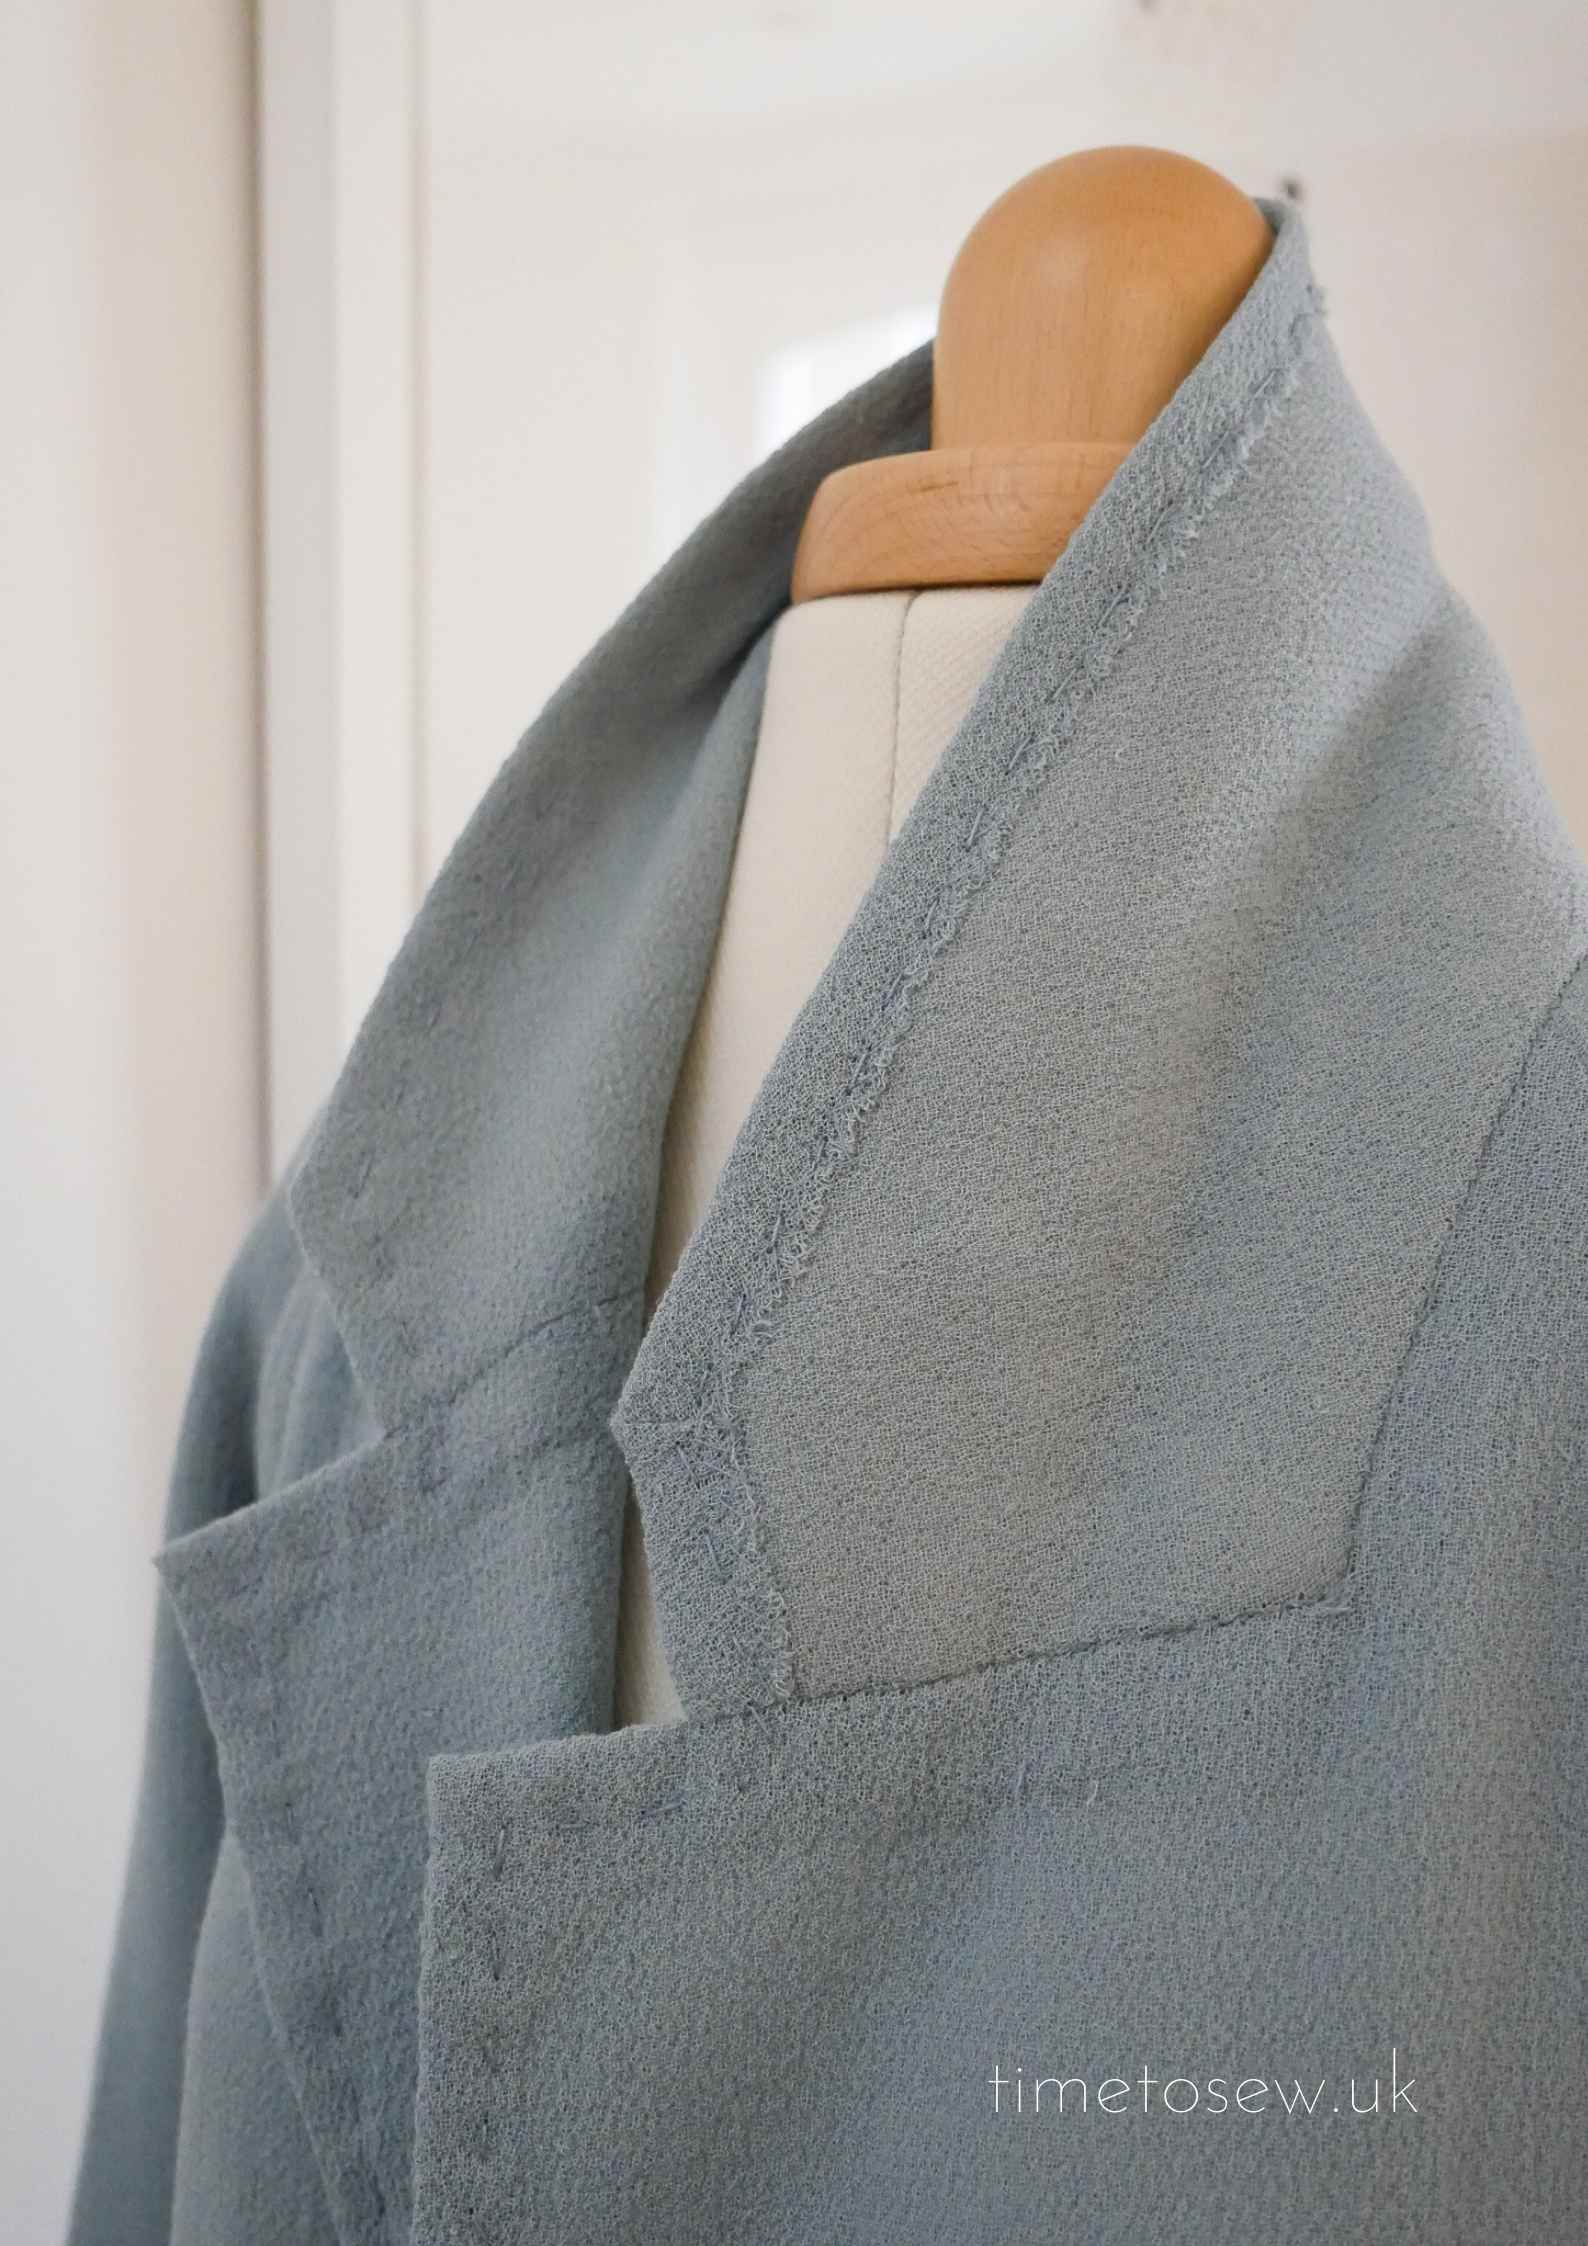
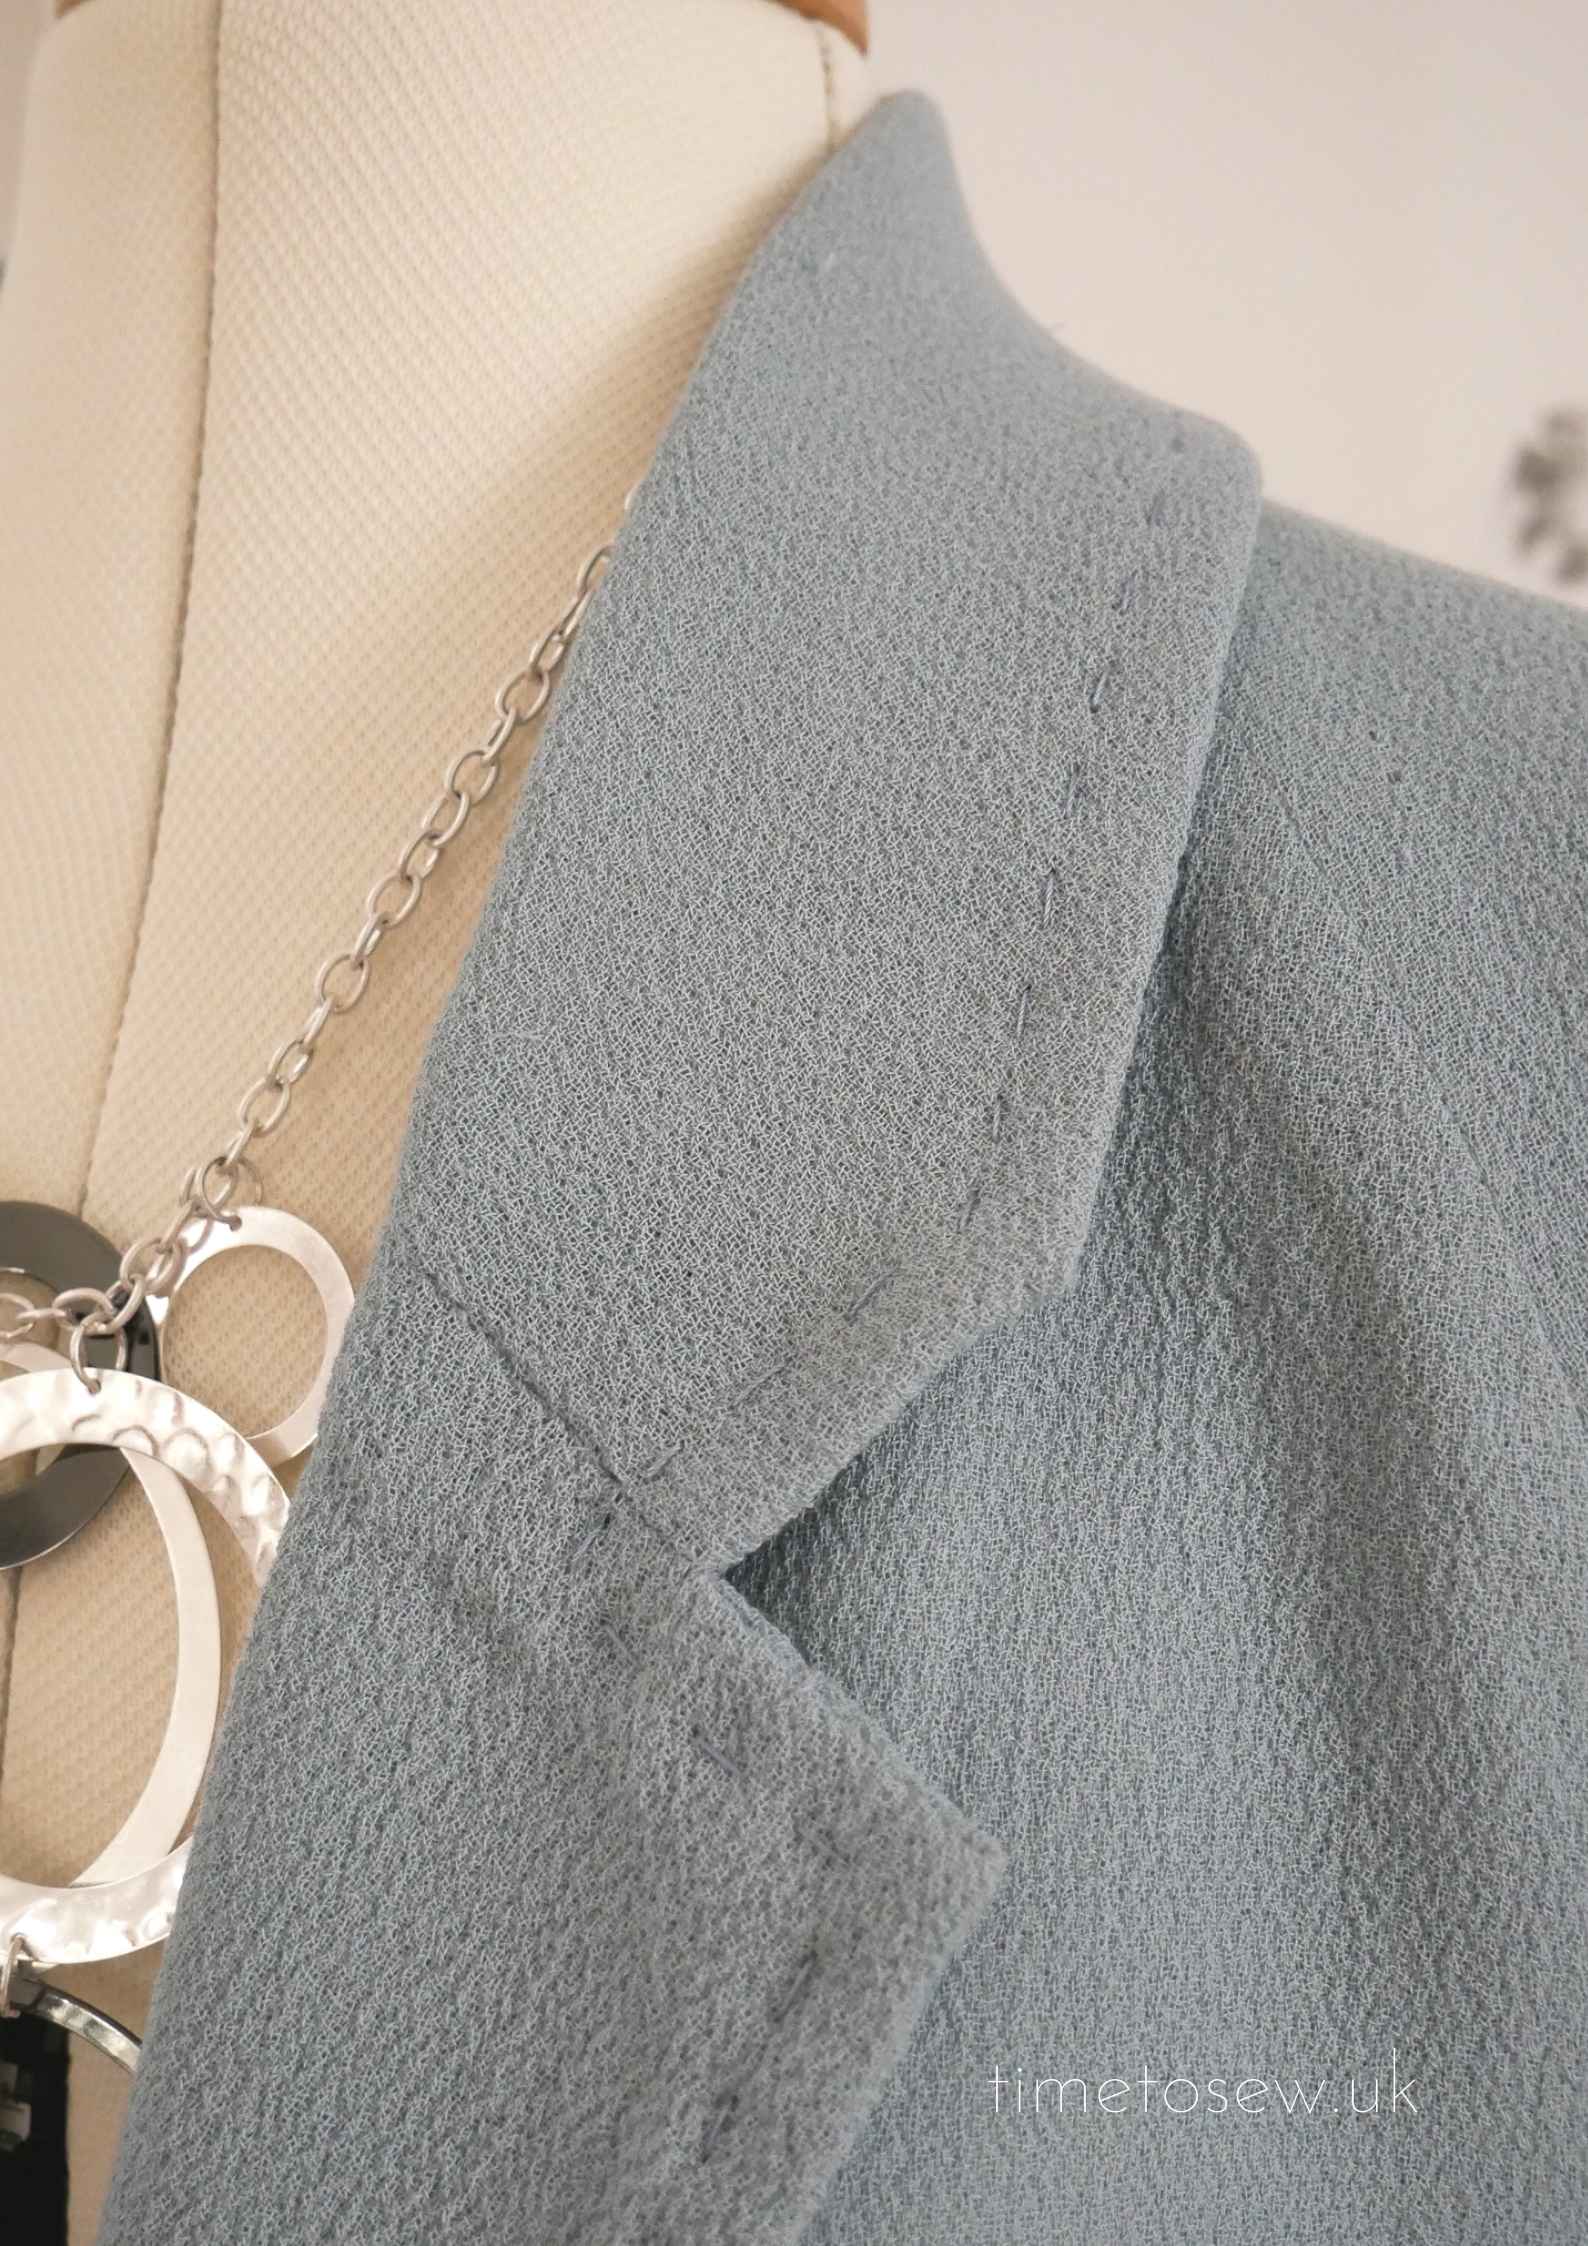
Collar
The interfacing of choice here (and also in tailored jackets) is canvas instead of fusible interfacing. One of the primary reasons not to use fusible is because of the glue which fuses the interfacing to the fabric. If you’ve ever seen a cheap jacket that has been dry cleaned a few times, you’ll probably have seen bubbling or wrinkling in the front due to the fusible losing its stick and coming away from the fashion fabric. This isn’t to say that fusible doesn’t have its uses! But for this exercise it was canvas, and it is held together to the undercollar with pad stitching.
Also, check out the undercollar! Having an exposed seam in this manner is a common couture thing to ensure you get the sharpest point possible on the collar; apparently way-back-when, men sometimes used to walk around with their jacket collars up to show off that their jackets were hand made! The foldover bit is held down with a small cross stitch. You might ask about fraying – ok you’re not meant to need fray check on the seam, but I might just do it anyway since I’m paranoid and my cross stitches that hold it down aren’t exactly minuscule.

Belt loops
The belt loop with thread technique is one of the best things I learned from this course. I don’t know about you but I hate the bulkiness of sewing belt loops under a machine like you see on jeans and chinos. But I’m also constantly losing my self-fabric belts! I plan to put these sorts of loops on my dressing gowns and other jackets. Mine is a little twisted as you can see, but it is functional so good enough.
The thread loops use buttonhole twist or topstitch thread, threaded double. Starting at the top point where you want the loop, take a stitch and secure the thread. Then take the thread down to the bottom of the belt loop, take a stitch and go back up. You now have four strings that make up the loop. You then use a series of blanket stitches to cover the four strings. It takes a while to do but it is totally worth it! If you’re less keen on hand sewing them I’ve also seen a tutorial over at Colette which is the speed version using a machine.
Topstitching the fronts, collar and belt
Again using buttonhole twist, this time it was a simple running stitch which is surprisingly difficult to keep even on both sides of the fabric. But the topstitching for this jacket really is worthwhile and I found it turned the jacket from “that’s nice” to “awesome I love this”.
—
So that’s it, my little roundup of couture techniques that are different from bog standard home sewing. I rarely say “next time I’ll do …..” as I rarely make things twice, but I really love the look and feel of this jacket much more than I thought I would. It is nowhere near a perfect jacket but the sheer amount of work that went into it makes it nice to me. And I’d love a version in a dark grey tone. Will I make it? And when will there be the time to do another one with all the projects on the list? We’ll see! If you’ve had any experiences with couture I’d love to know what you think.
Till next time
Kate x
2 comments
Thanks for sharing these beautiful couture techniques with us. Such a labour of love and totally worth it!
I think a dark grey version would be fab too – when will you get the time?
Time is the magic word! If you find a machine that creates one do let me know. Yes it was a lot of labour and I’ve found it goes nicely with white / grey – unfortunately I don’t have a lot of either of those or cool toned clothes in my wardrobe! Hence the “need” for one in a different colour. Who knows whether or not it will happen ????