
As I write this, the Instagram hashtag #makeyourstash started by myself and Pilar 2 years ago has reached >8000 posts. Whilst it’s not all sewing challenge related – wow!
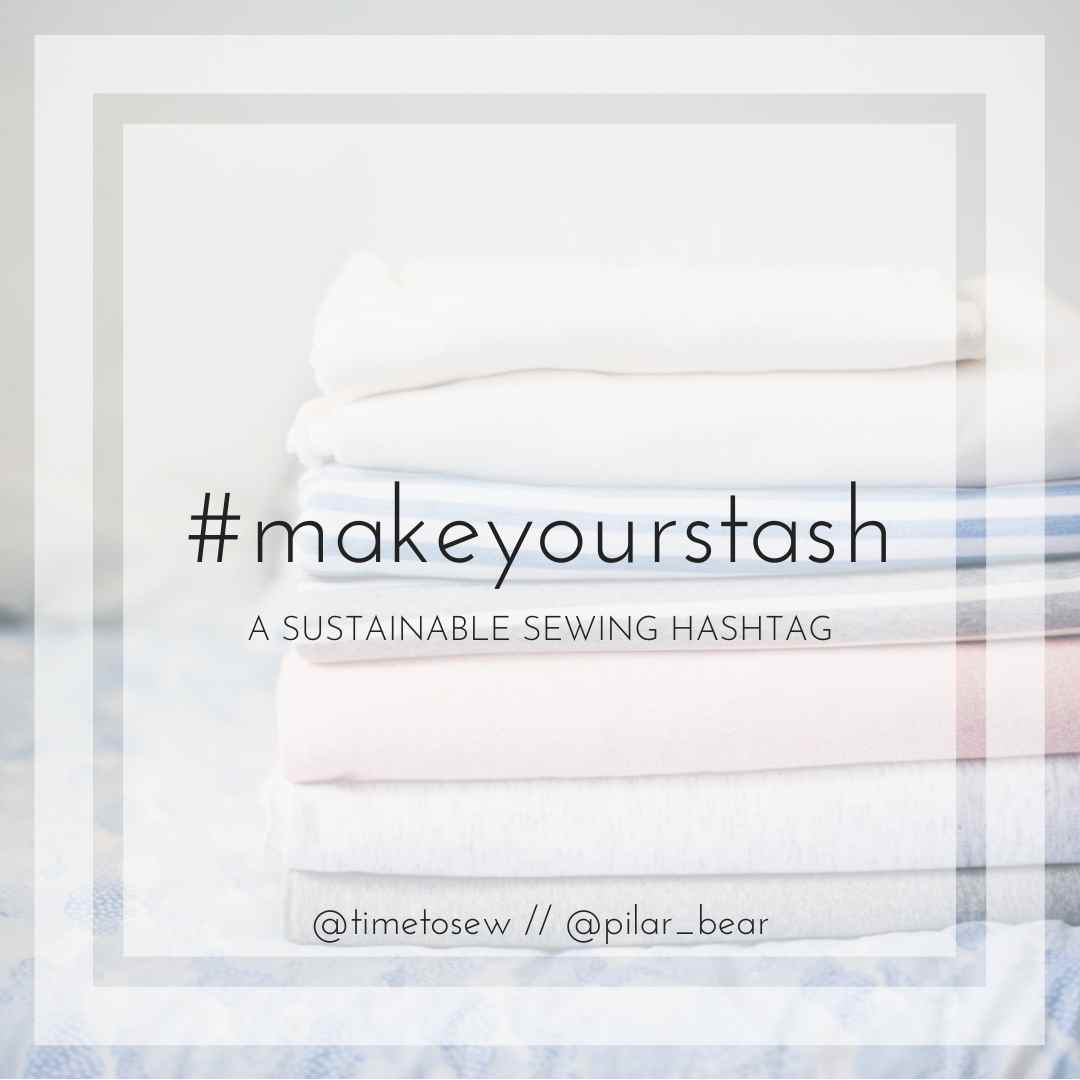
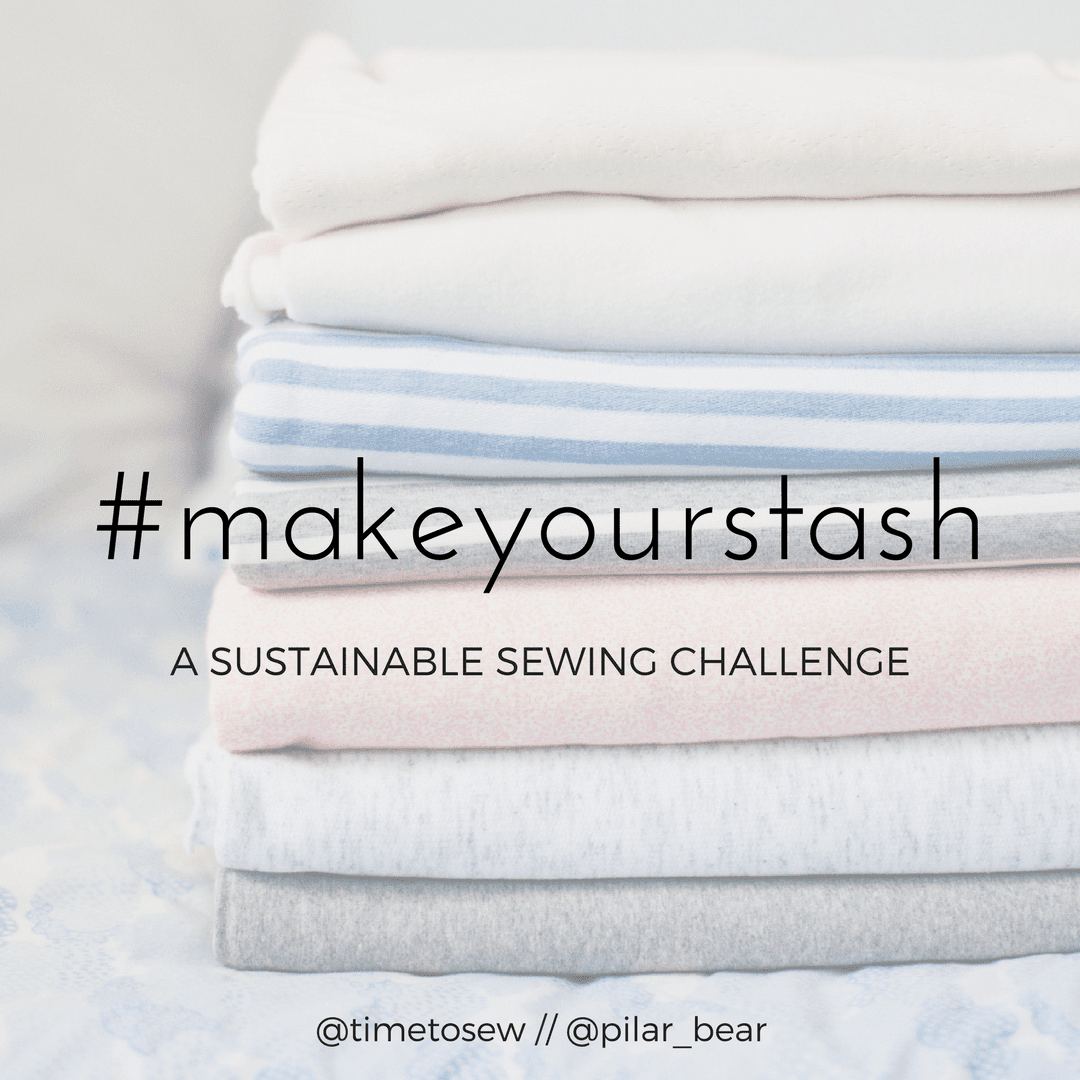
What is #makeyourstash?
A sustainable sewing hashtag to use on Instagram when you’ve sewn something from unloved fabric in your stash.
#makeyourstash in 2020
For the next couple of months we will be putting out some prompts and inspiration on our Instagram accounts (me @timetosew and Pilar @pilar_bear) under the #makeyourstash theme. Of course, you are invited to sew something from your stash. But unlike previous years there is no giveaway and therefore no deadlines. Why we think it’s still worthwhile:
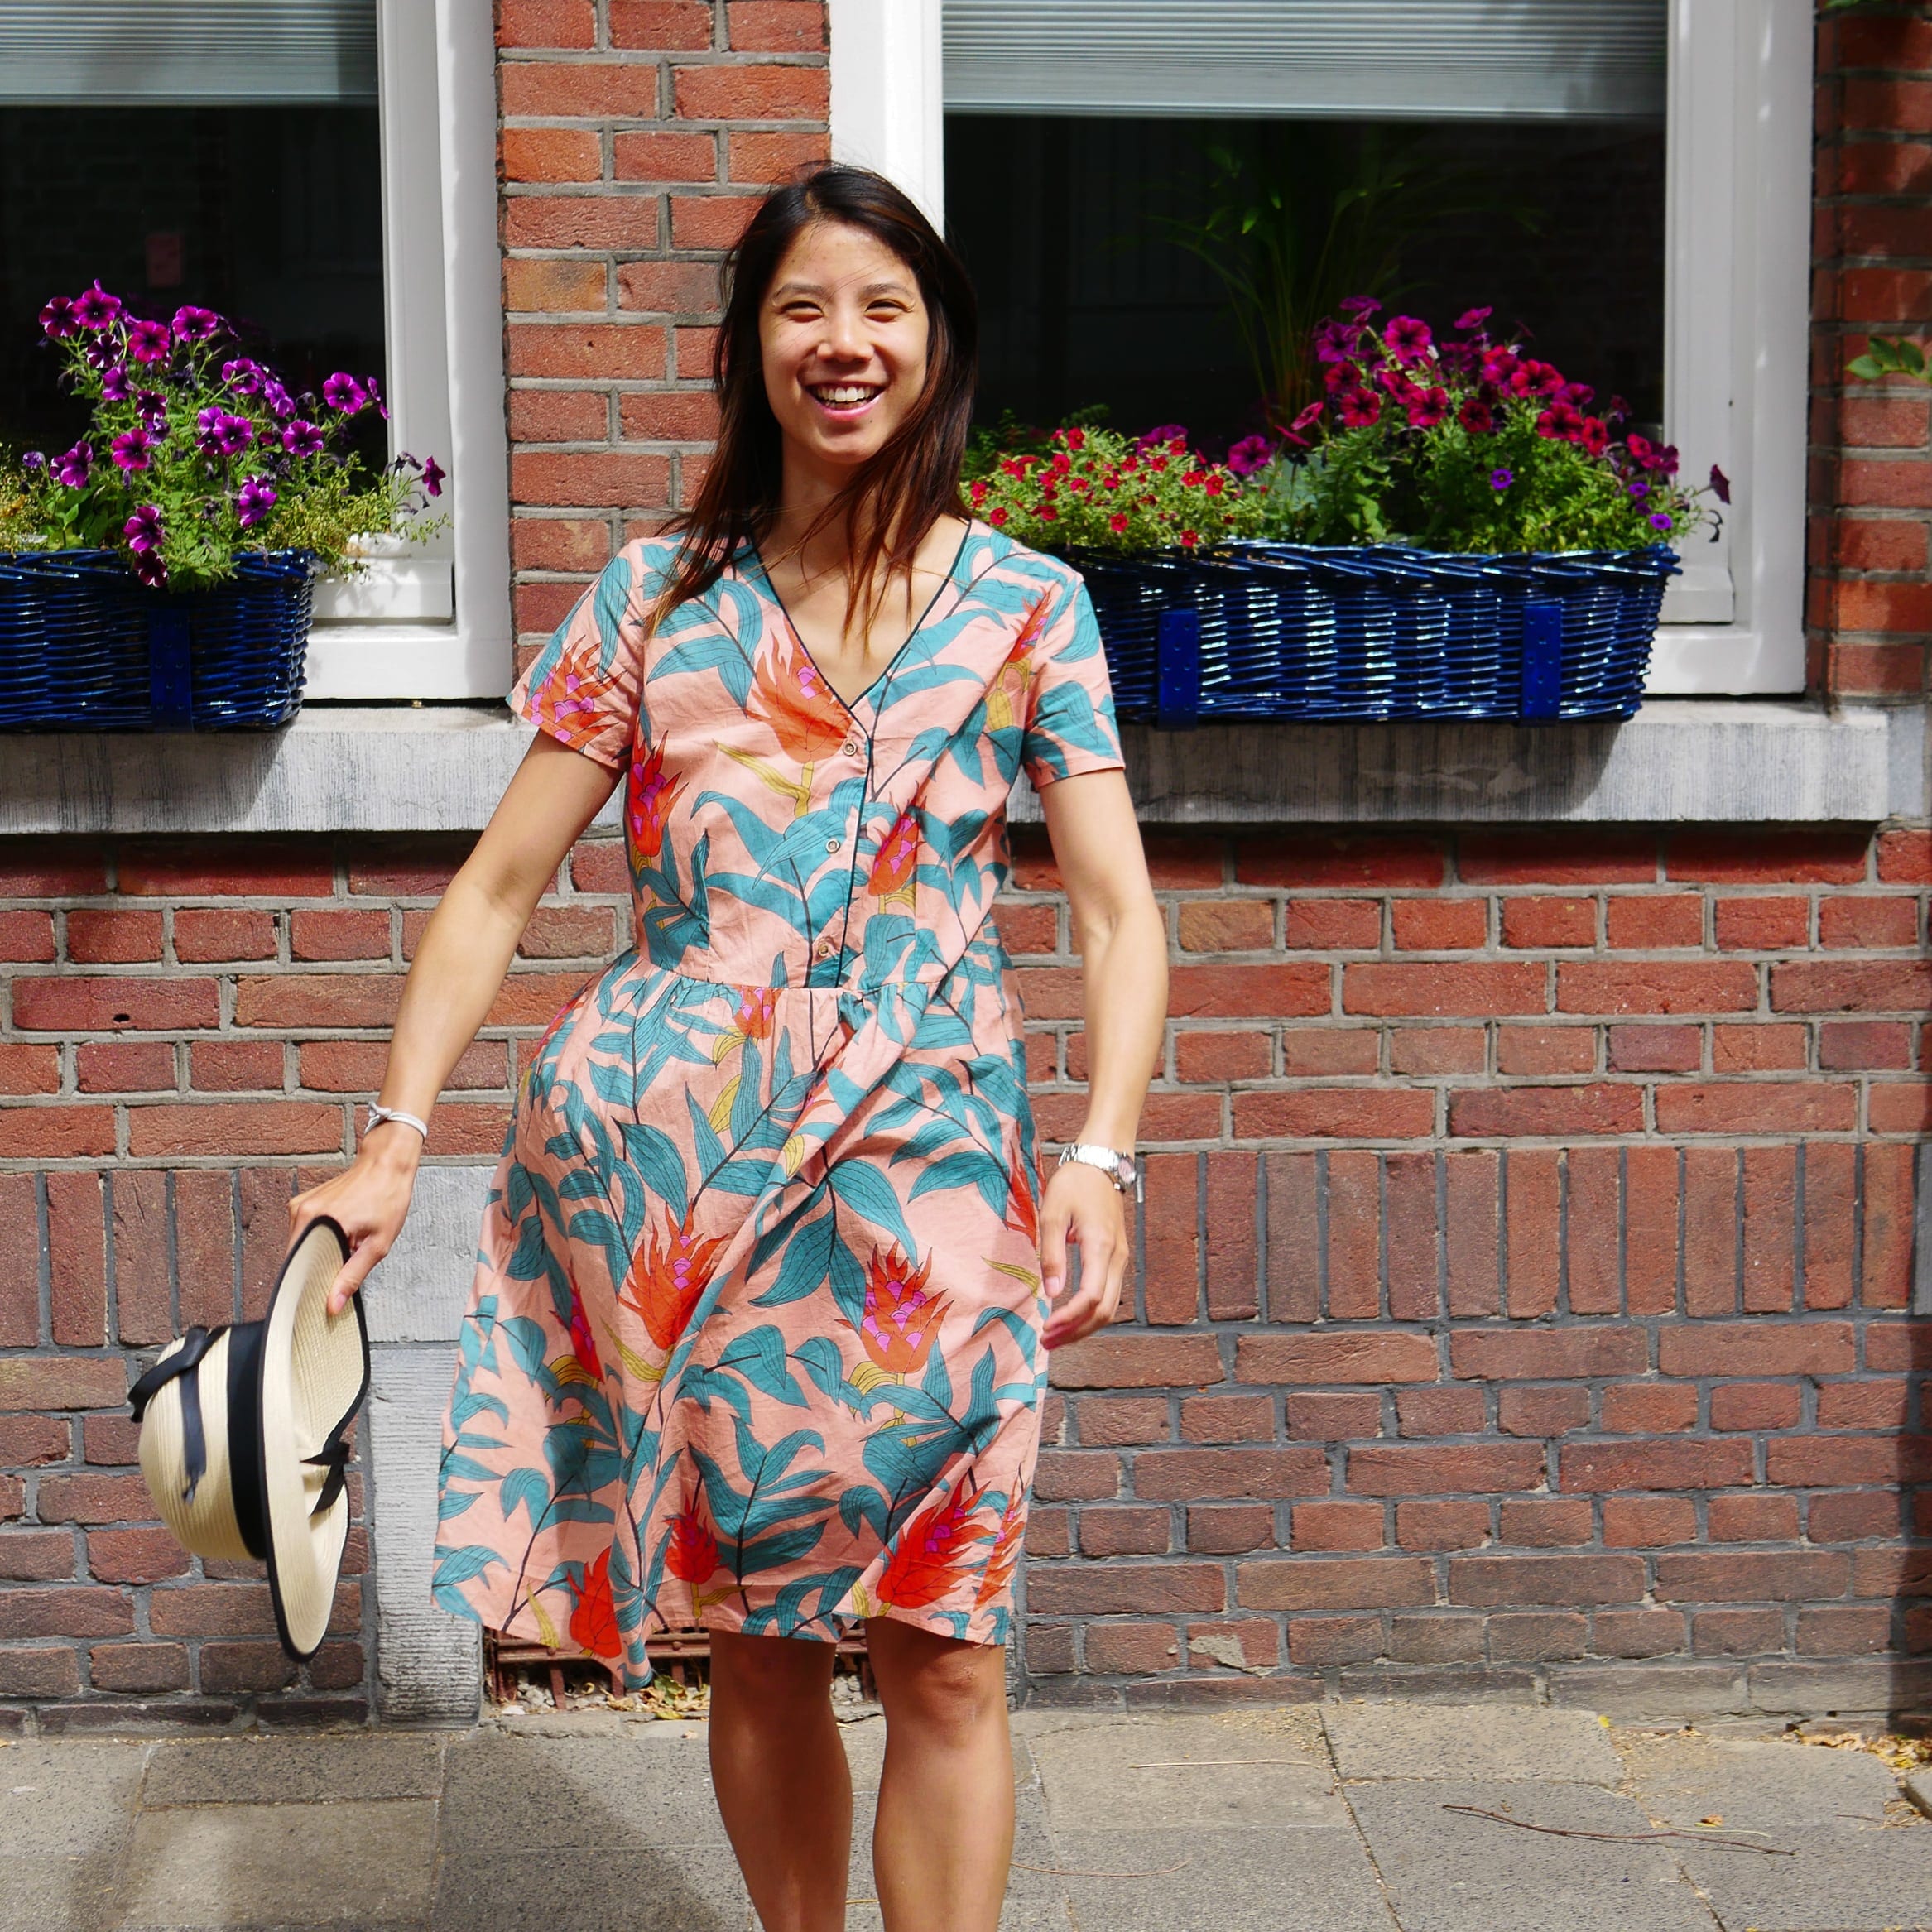
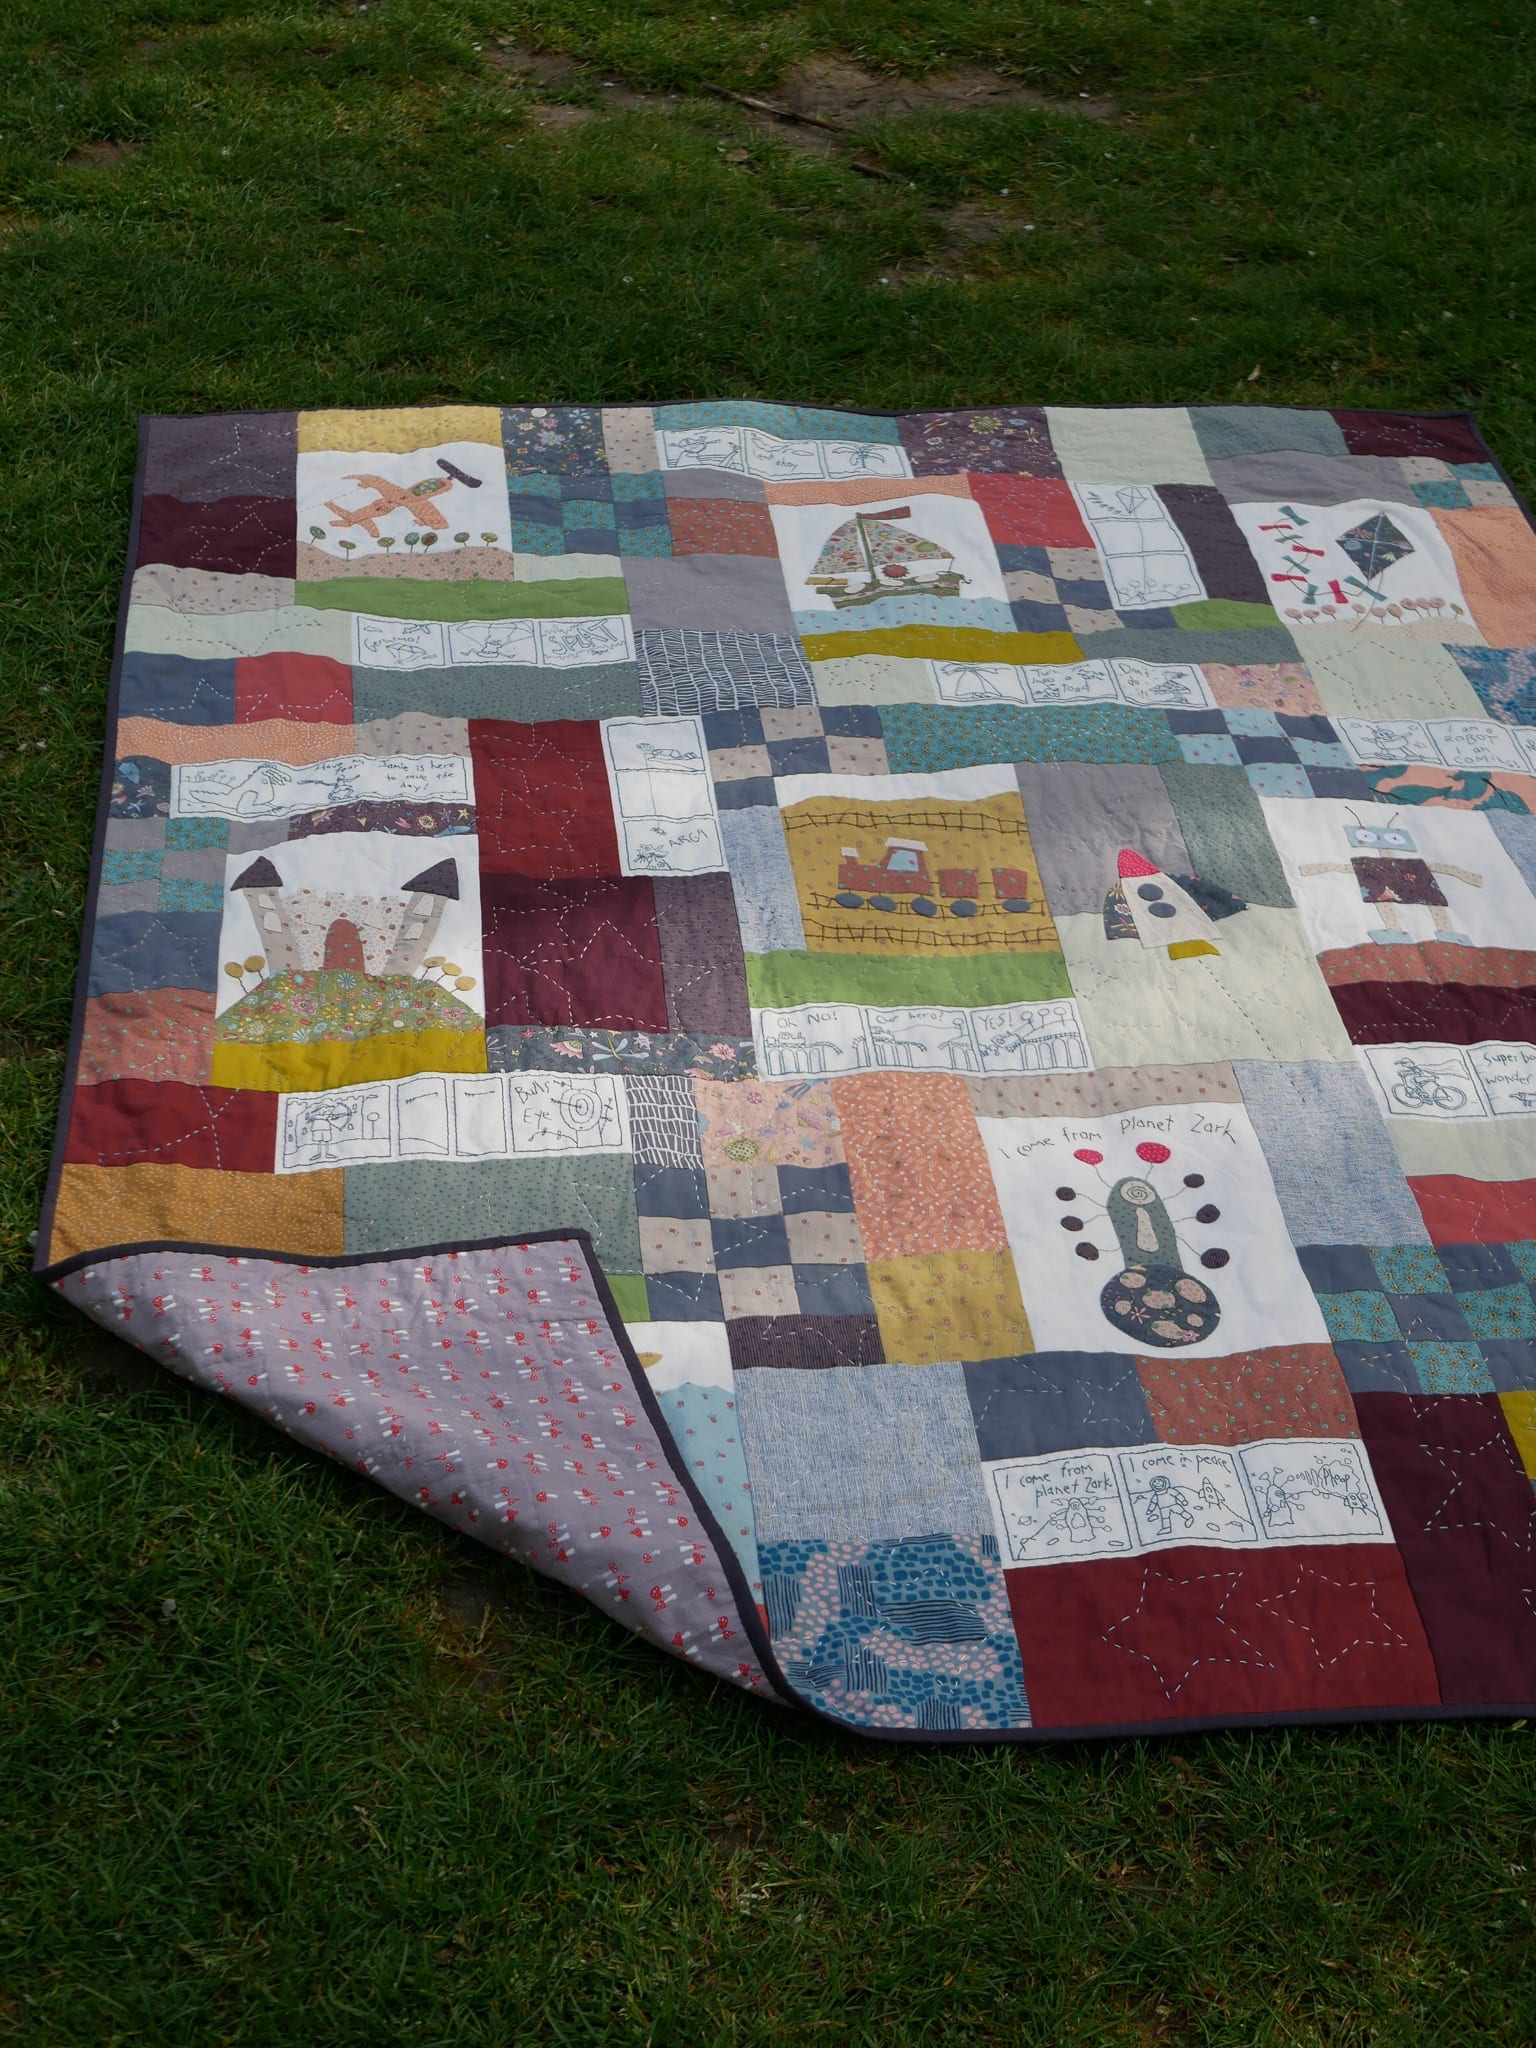
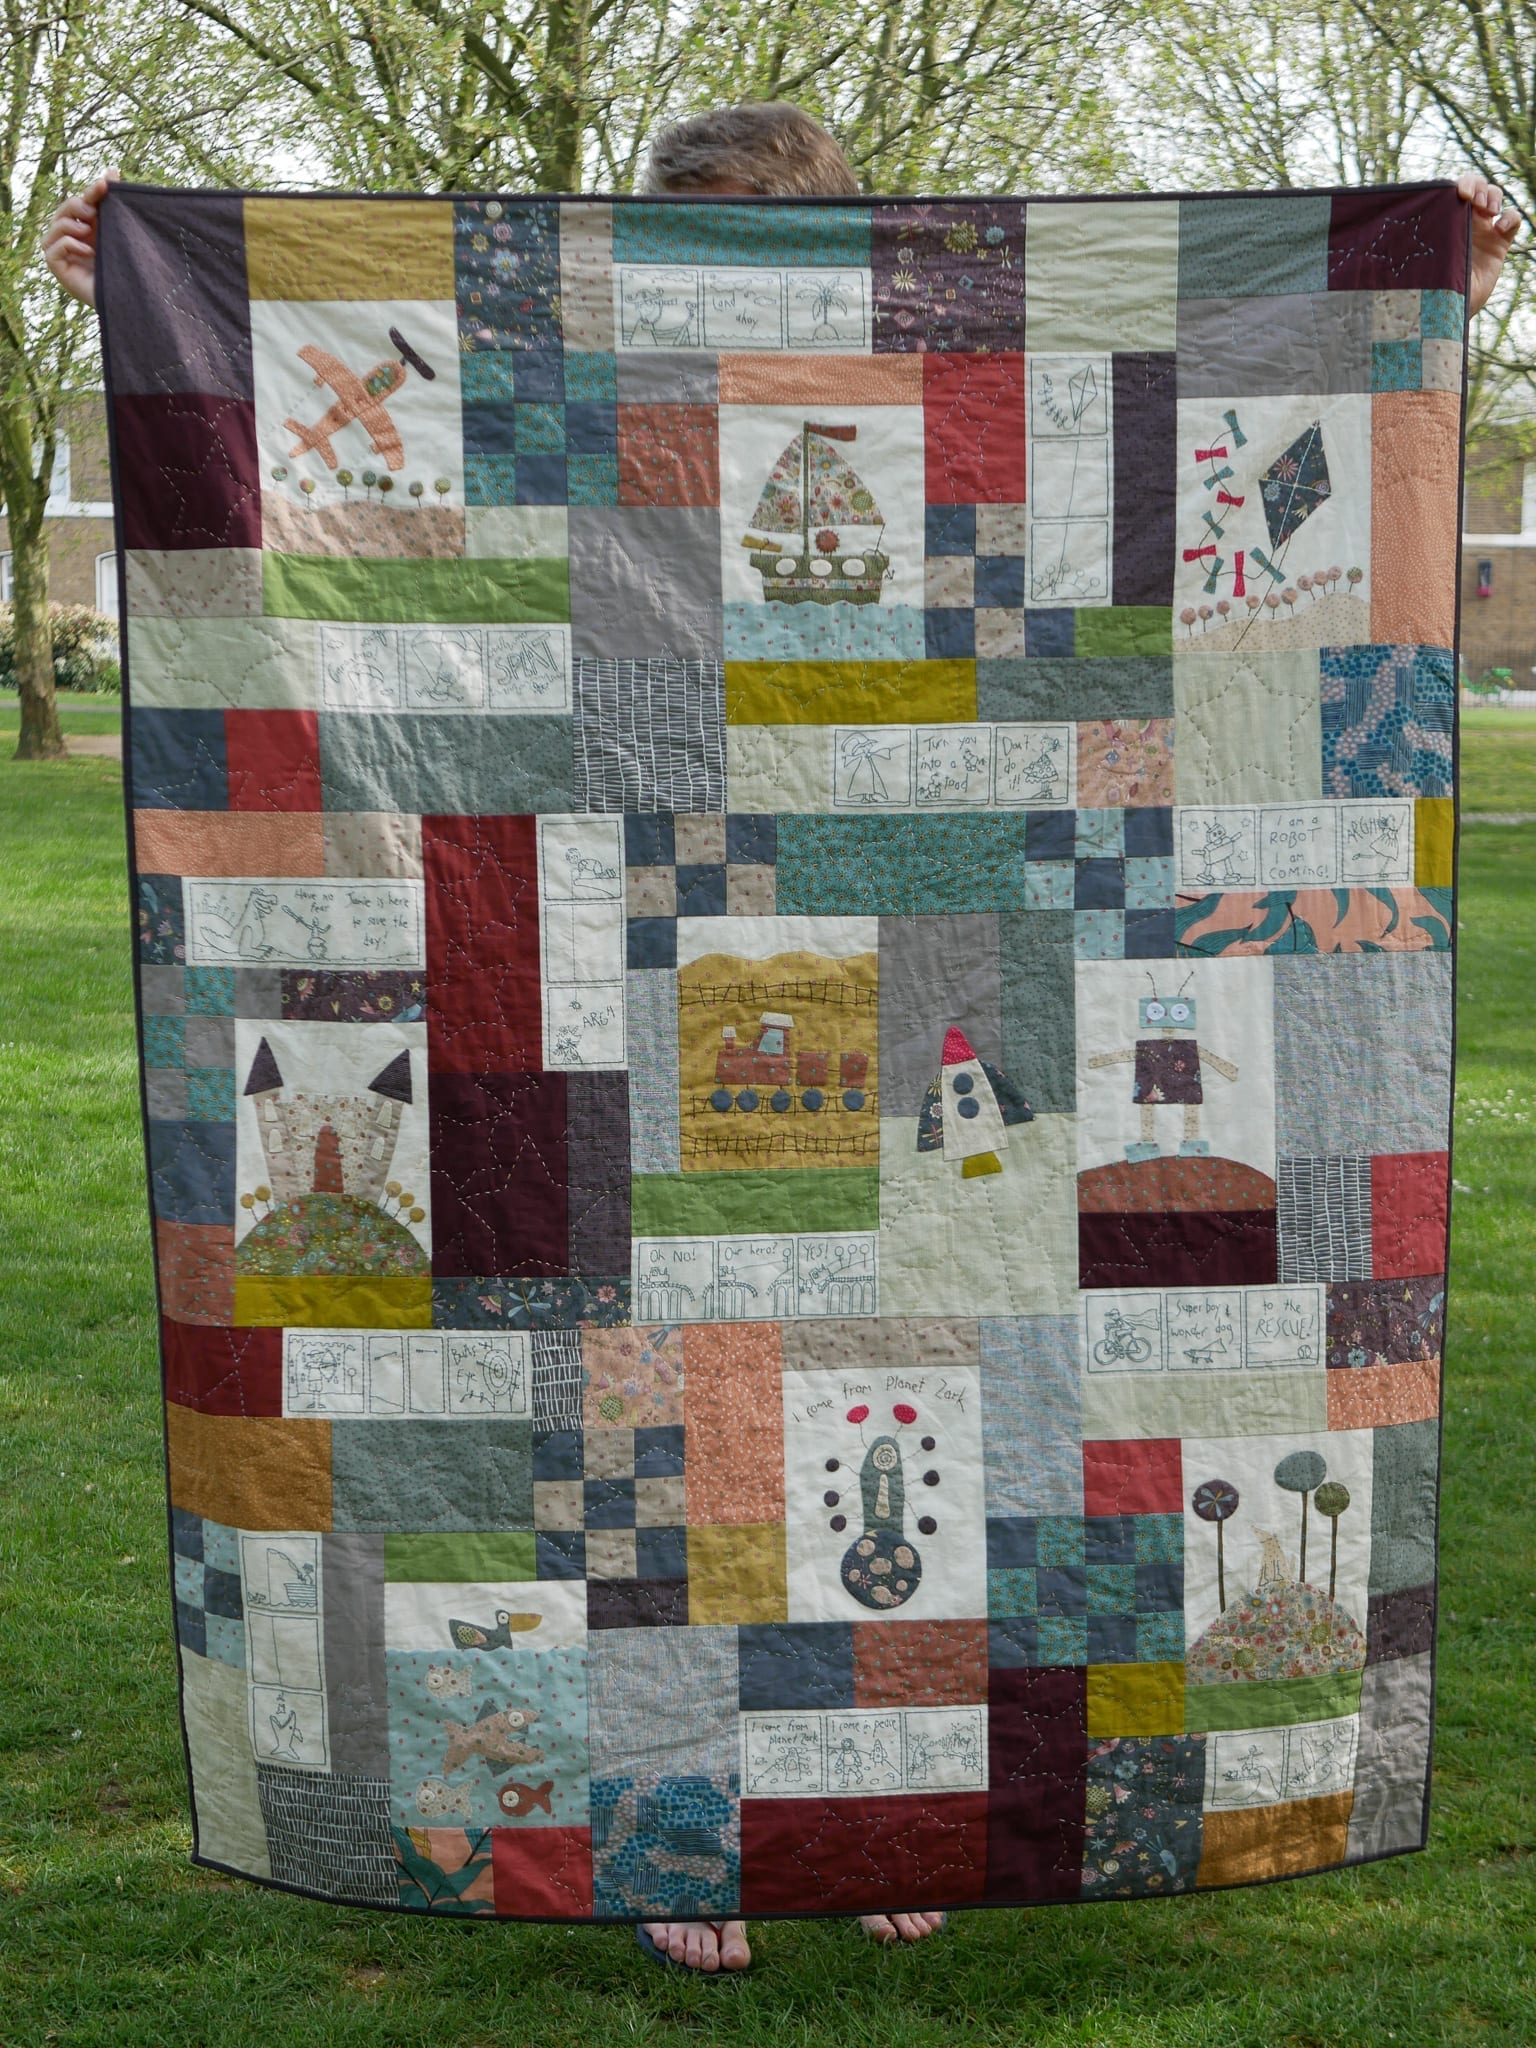
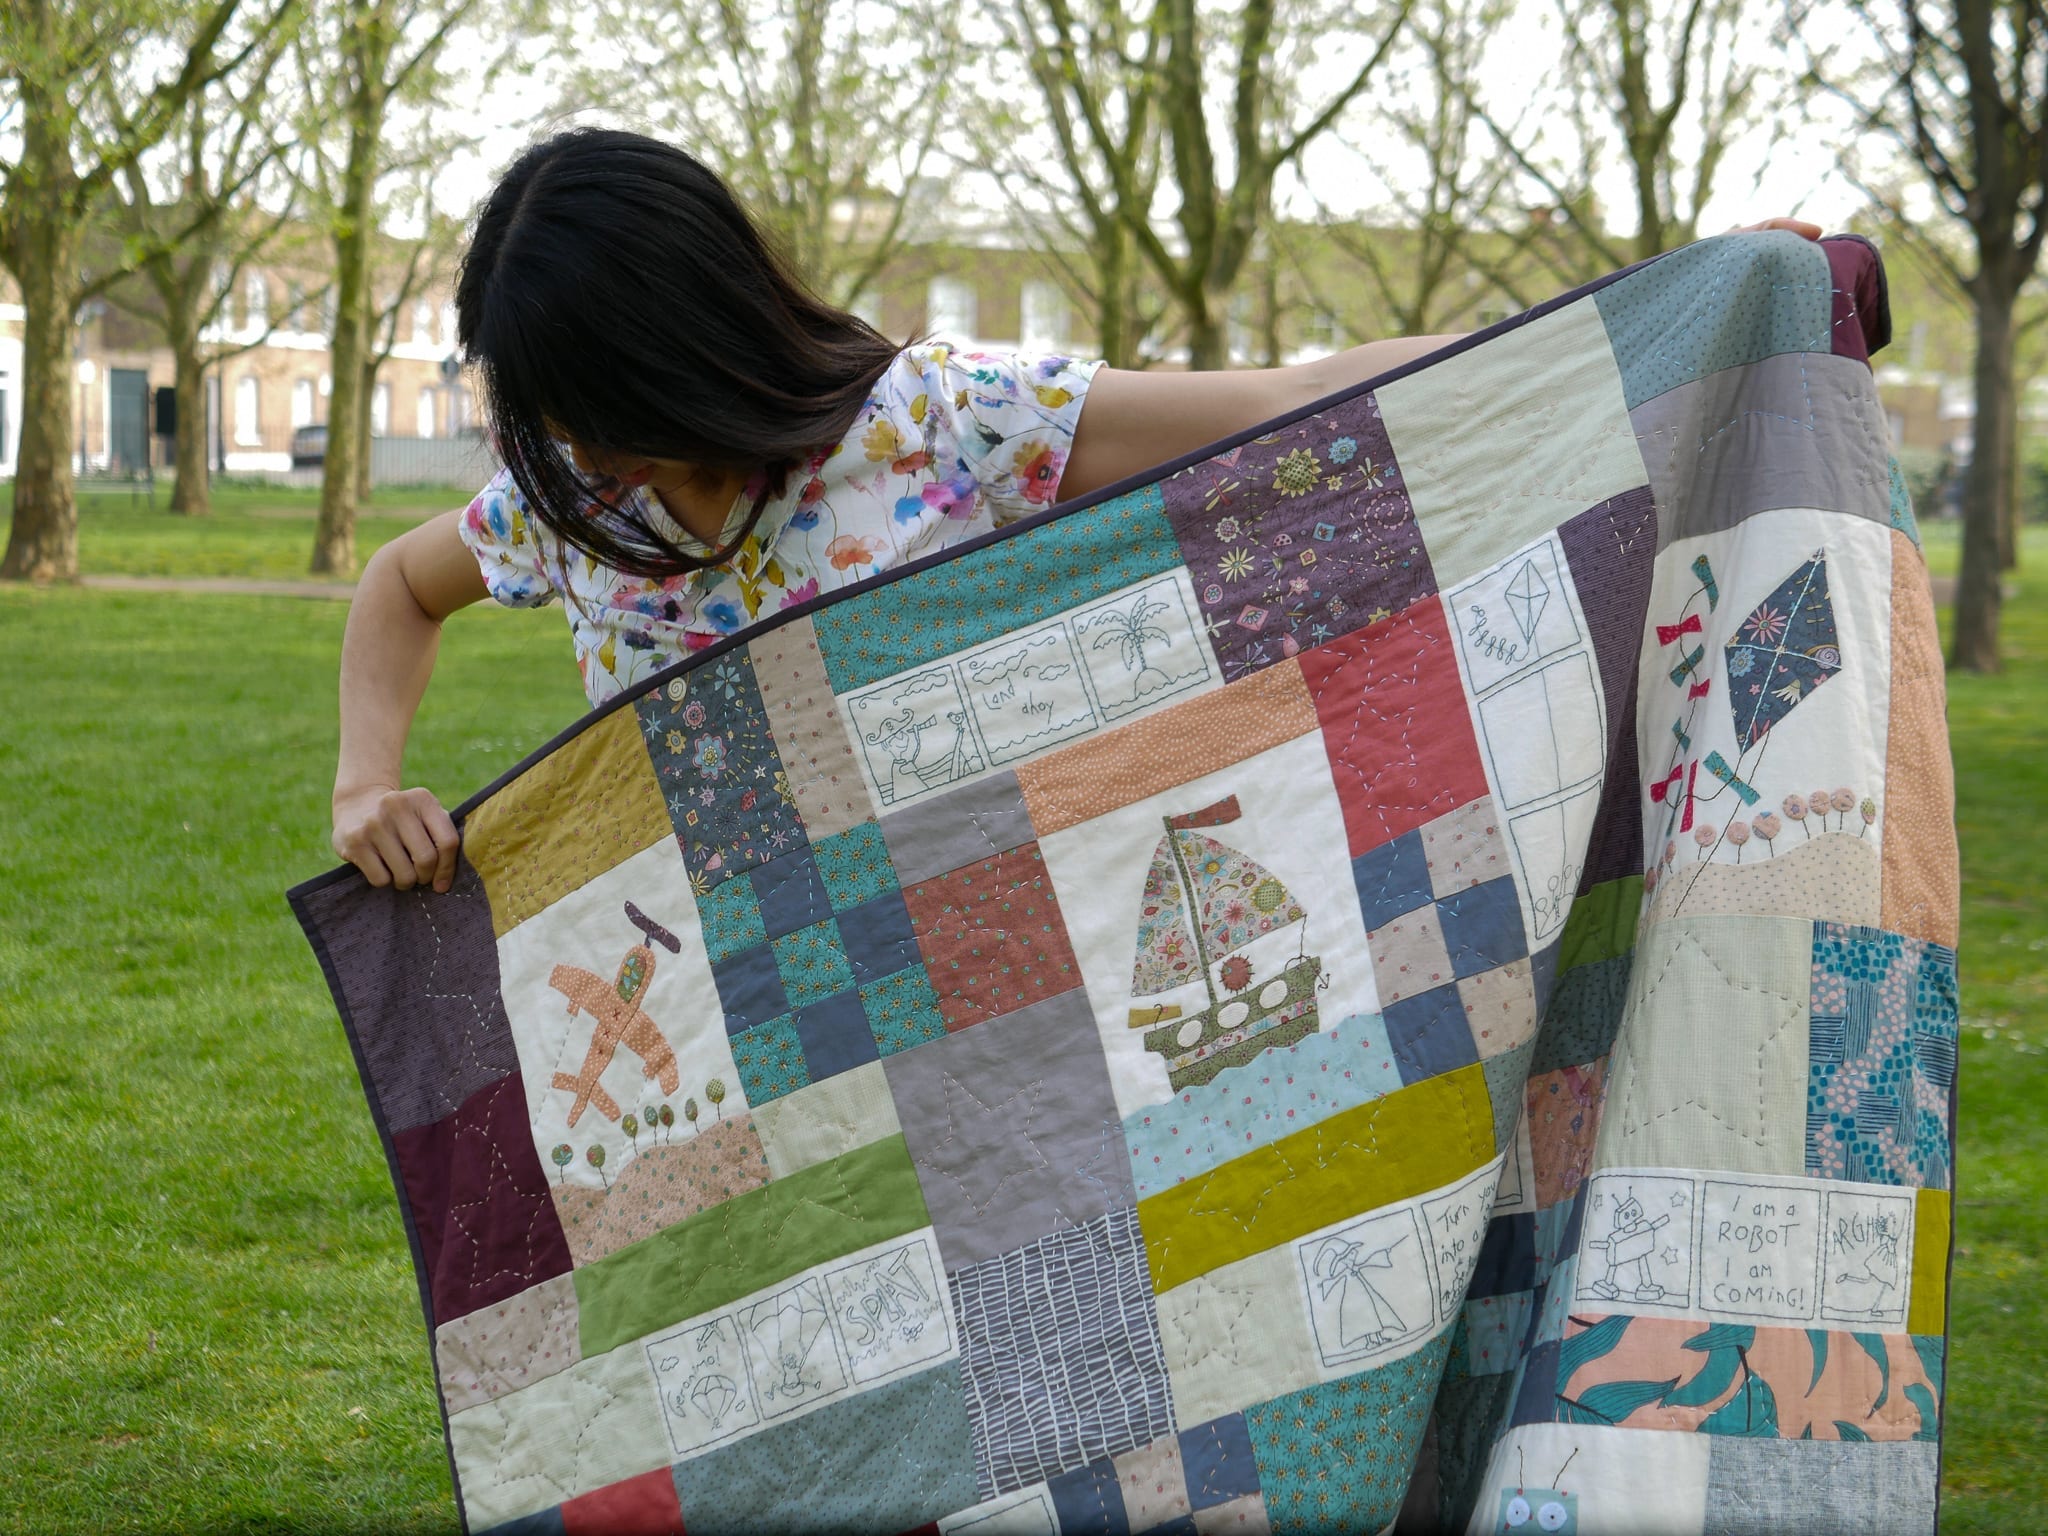
- You will end up with a garment that you will love to wear (or a quilt you want to use if you’re one of my quilty friends!)
- It costs you nothing except time, and it doesn’t cost the planet anything.
- It’s fun to be a part of the Instagram sewing community.
- #makeyourstash does not put a spanner in your sewing plans!
For something a little different, we are also thinking about an online fabric swap via Instagram. If you are interested in this let me know in the comments or tell me on IG and we’ll see what we can do.
Why the change?
We have run #makeyourstash as a sustainable sewing challenge twice now, complete with pattern and book giveaways. This was all to try and put the idea of “mindful making” out into the sewing community. The most sustainable fabric is the one you already own, so why not dust off the fabric sitting in your stash and show it some love.
As for the giveaway – in a recent poll I did on Instagram stories, around 85% of people said that a giveaway didn’t affect whether they would join a sewing challenge. This says to me that we’re more interested in the social part of it and being inspired by others. You can also read my friend Alex’s (@sewrendipity) thoughts on sewing challenges on her blog. Also check out the comments to see how her readers are feeling about them – some positive, some ambivalent.
After 2 years…
The idea of sustainable sewing has come a long way. The original reason for the challenge was because we were noticing that we were sewing and shopping a lot and being overwhelmed with too much stuff. The comments we were getting that we were not alone!
But over time this has changed. This year we’ve noticed that there are a lot more people posting about curating their closet, limiting their fabric shopping, sewing from their stash. No doubt the idea of sustainability is “in trend” (and in my opinion, it should be the norm) when it comes to general lifestyle. So I’m super happy to be seeing this filter into the sewing mindset as well.
So that’s it.
We’re really happy that the #makeyourstash hashtag has been picked up on Instagram as a “regular” hashtag to use for sewing. There is so much inspiration out there and we’re looking forward to encouraging each other to sew with what we have, and thinking more about sustainability. See you online!
PS – all my previous #makeyourstash blog posts are here.

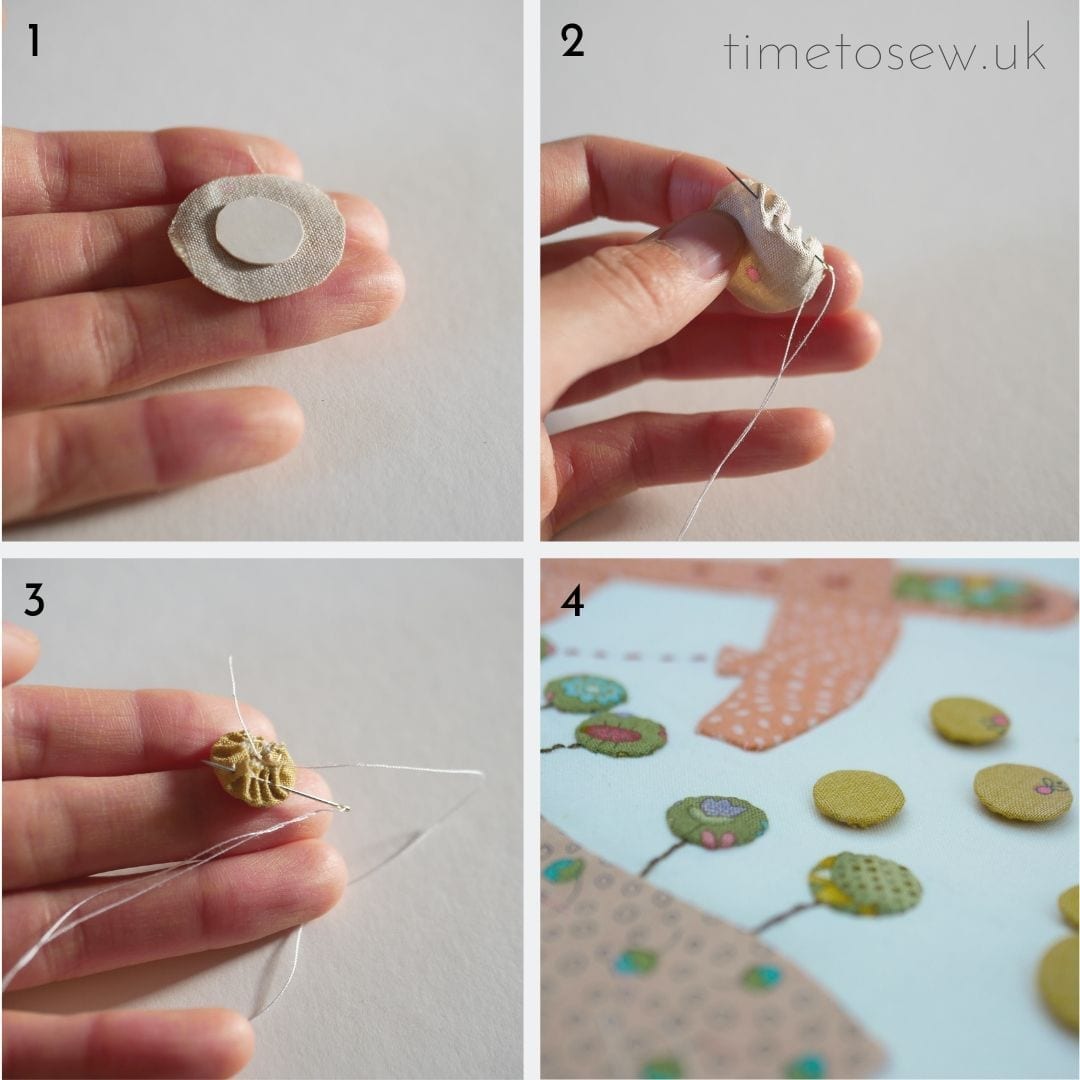


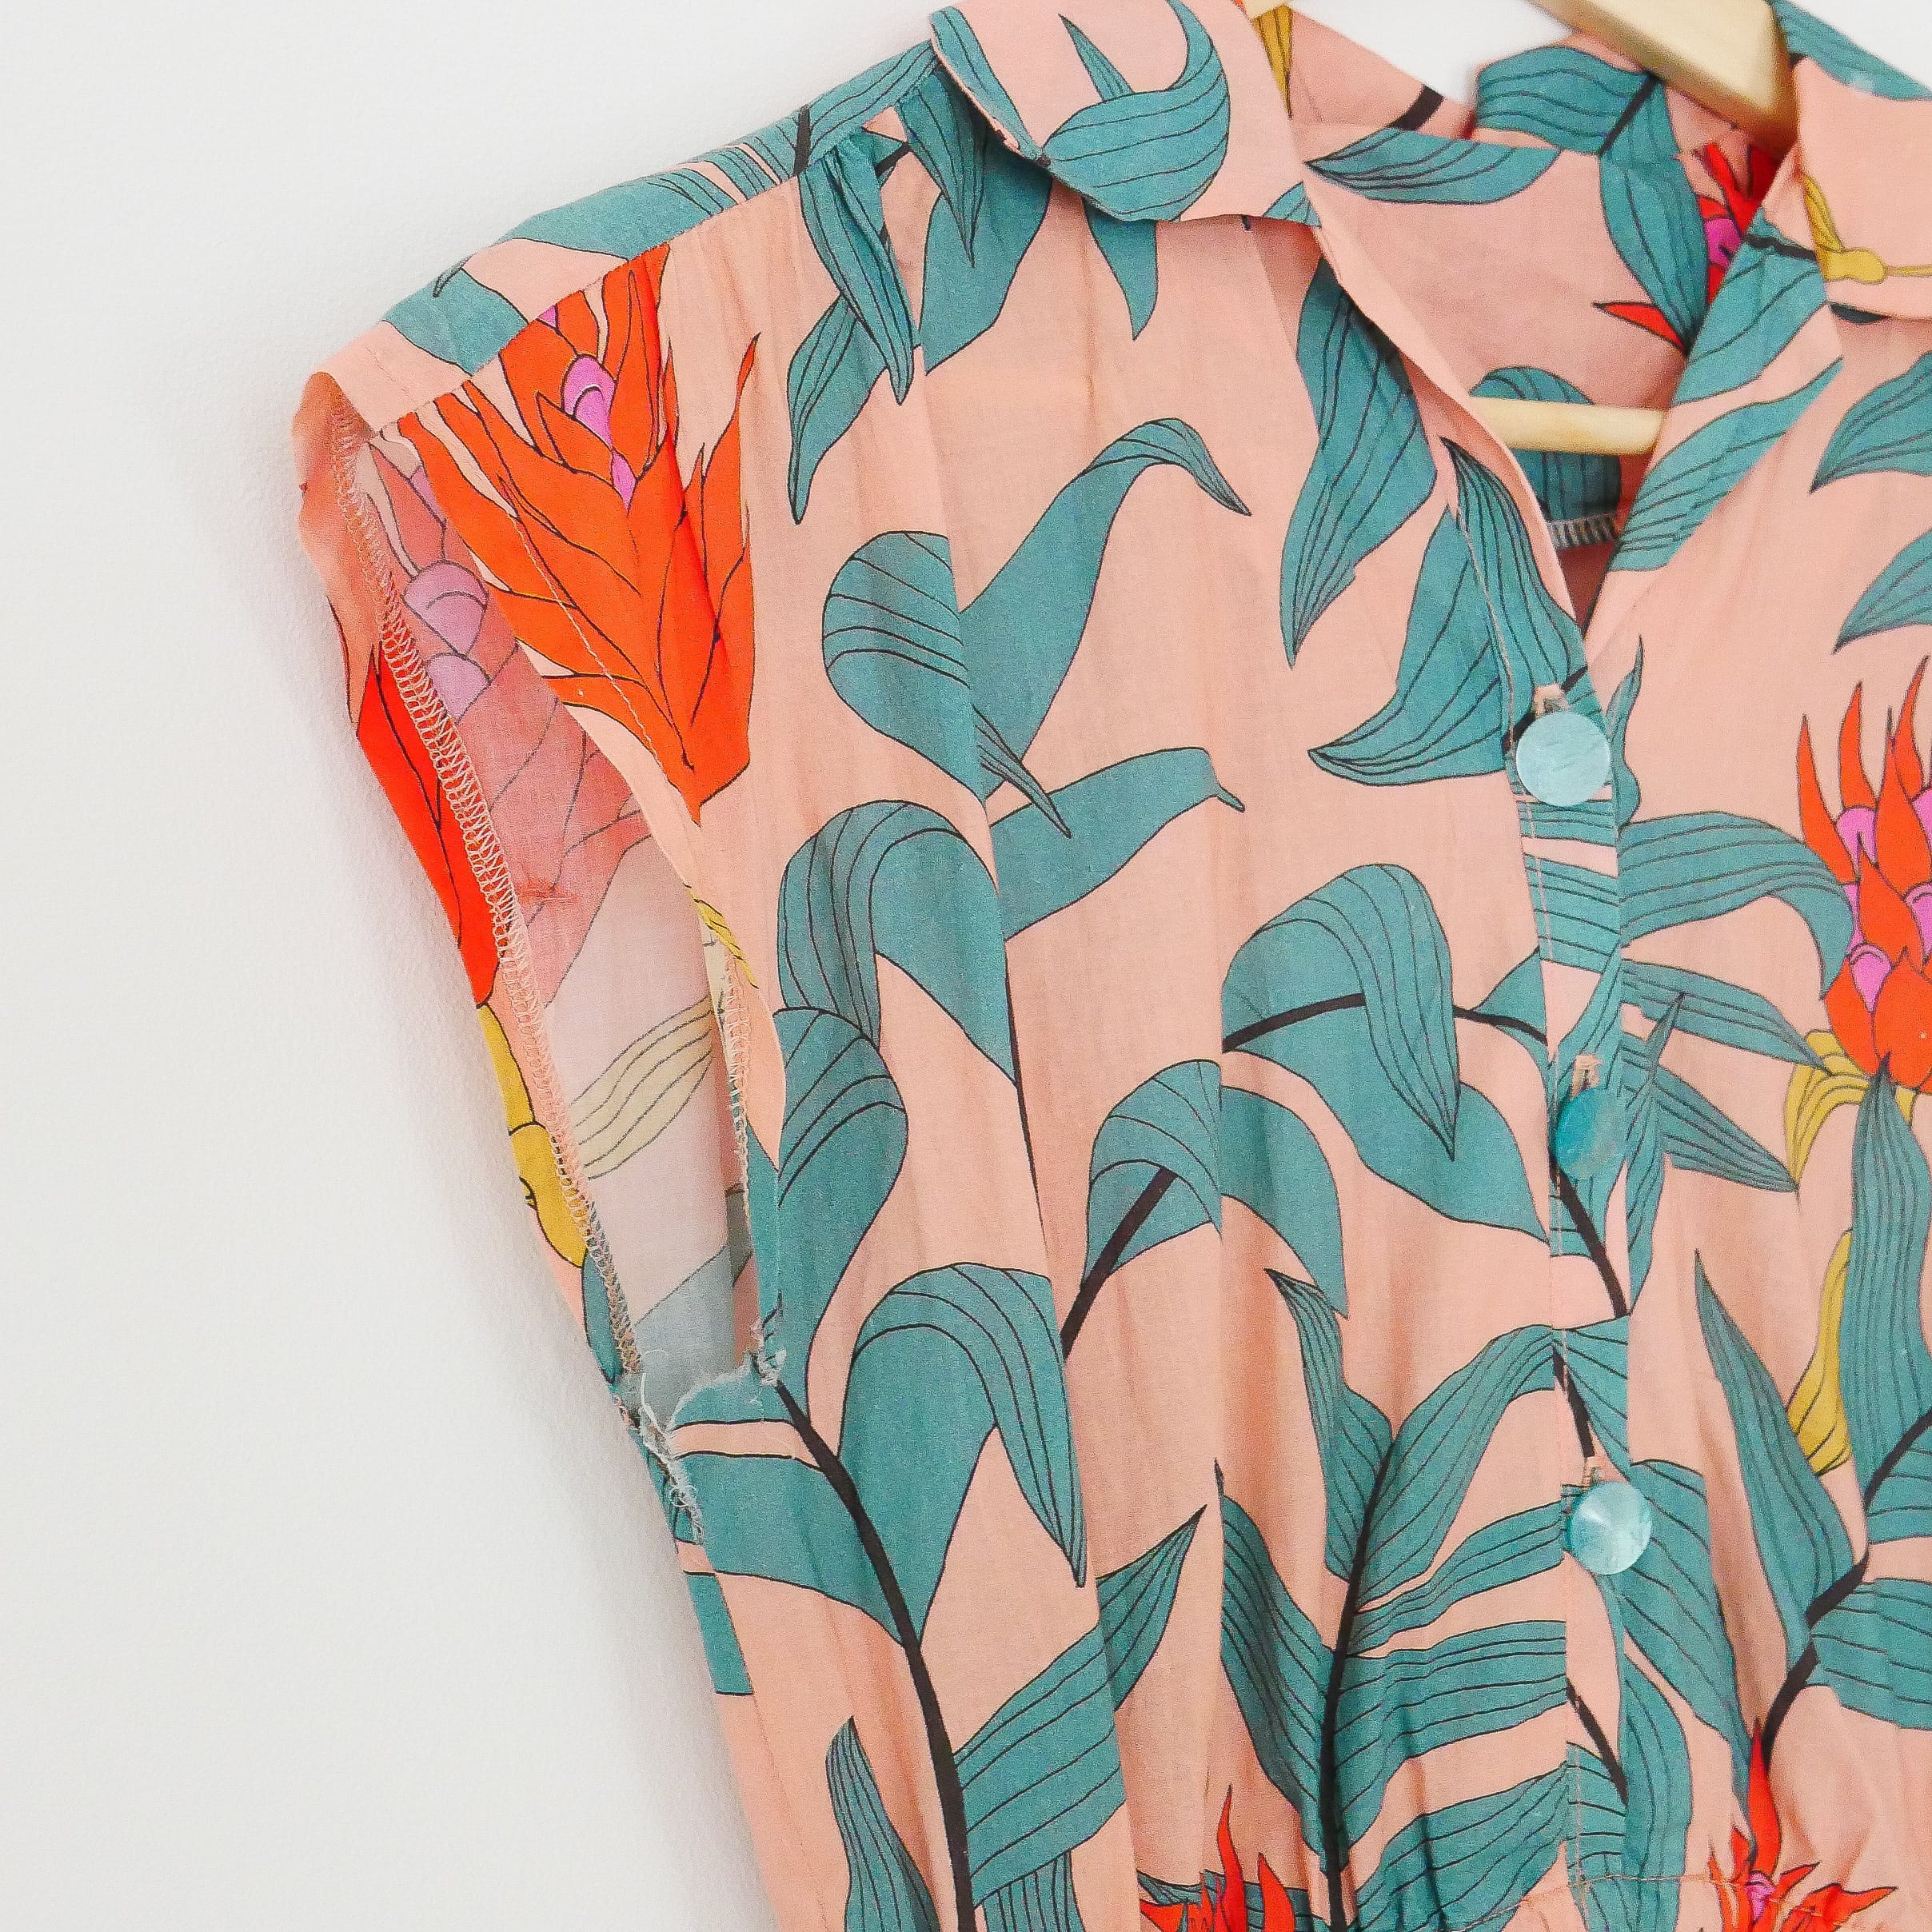
 Finally, the buttons are from my stash. I found them after excavating my haberdashery drawers.